Introduction
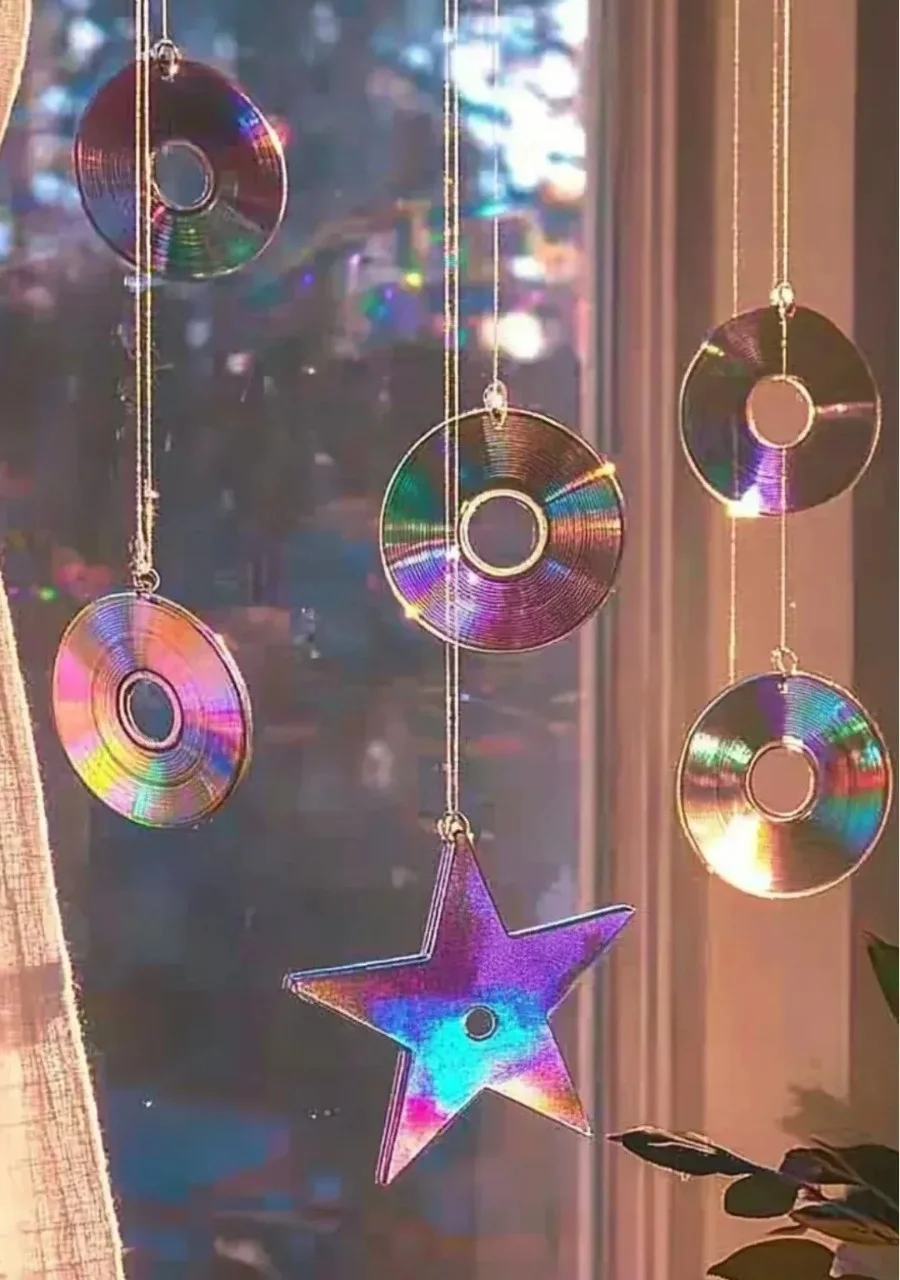
If you have a few old CDs lying around and are looking for a creative way to repurpose them, you’re in for a treat! This craft transforms those shiny discs into a stunning rainbow decoration that adds a pop of color and sparkle to any space. Perfect for crafters of all ages, this project is simple, fun, and encourages creativity. Along with being an entertaining activity, it also promotes upcycling and sustainability. Whether you want to decorate your home, create a unique gift, or have fun with the kids, this vibrant DIY endeavor will surely brighten your day!
Why You’ll Love This
- Upcycling Fun: Give your old CDs a new lease on life while reducing waste.
- Cosmic Creation: Create mesmerizing colors that reflect light and catch the eye.
- Easy and Accessible: Requires only a few materials and is suitable for all ages.
- Customizable: Personalize designs with different colors and embellishments.
- Sensory Experience: Enjoy the tactile and visual stimulation as you craft.
Materials
- Old CDs (as many as you like)
- Craft glue or hot glue gun
- Colorful tissue paper or craft paper
- Scissors
- Paintbrush (if using craft glue)
- Optional: sequins, glitter, or beads for extra sparkle
- String or fishing line (for hanging)
Full Step-by-Step
Prepare Your Workspace
- Ensure you have a clean, flat surface.
- Gather all materials for easy access.
Cut the Tissue Paper
- Action: Tear or cut tissue paper into small squares or strips.
- Sensory Cue: Feel the soft, crinkly texture as you handle the paper.
Apply Glue
- Key Action: Use a paintbrush to spread craft glue over the surface of the CD.
- Sensory Cue: Enjoy the smooth application as you coat the CD.
Add Tissue Paper
- Lay the colorful tissue paper squares over the glued CD, pressing gently.
- Action: Overlap pieces to create a vibrant, layered effect.
Optional Embellishments
- If you want more sparkle, add sequins, glitter, or beads using your glue.
Dry and Hang
- Allow the glued CD to dry completely.
- Once dry, attach string or fishing line to hang your rainbow masterpiece.
Tips & Variations
- Customize Colors: Choose different color themes to match your room decor.
- Swapping Materials: Use wrapping paper, old newspapers, or magazine clippings instead of tissue paper.
- Motifs: Create patterns or specific shapes for a themed decoration.
- Size Alteration: To make it larger or smaller, adjust the number of CDs used.
Frequently Asked Questions
1. Can I use any type of glue?
Yes, both craft glue and hot glue work! Hot glue provides a quicker hold.
2. What if I don’t have old CDs?
You can try using sturdy cardboard or plastic discs as an alternative.
3. How can I hang the rainbows?
String, fishing line, or adhesive hooks work well for easy hanging.
4. Can I add more embellishments than just tissue paper?
Absolutely! Feel free to use other decorative items like washi tape, buttons, or paints.
Suggestions
- Gift Idea: Consider making these as gifts for friends or family members.
- Party Decoration: Use them as vibrant decorations for a birthday or festive event.
- Educational Tool: Teach children about colors and light reflection as they create their art.
Final Thoughts
Creating a rainbow from old CDs is not only a simple and enjoyable craft project, but it also encourages sustainability and creativity. We hope you enjoy crafting your own unique piece! Feel free to share your versions, suggestions, or any tips in the comments below. Happy crafting!
Print
Rainbow CD Decoration
- Total Time: 15 minutes
- Yield: As many decorations as you create
- Diet: N/A
Description
Transform old CDs into stunning rainbow decorations with this simple and fun craft project.
Ingredients
- Old CDs (as many as you like)
- Craft glue or hot glue gun
- Colorful tissue paper or craft paper
- Scissors
- Paintbrush (if using craft glue)
- Optional: sequins, glitter, or beads for extra sparkle
- String or fishing line (for hanging)
Instructions
- Prepare your workspace: Ensure you have a clean, flat surface and gather all materials for easy access.
- Cut the tissue paper: Tear or cut tissue paper into small squares or strips.
- Apply glue: Use a paintbrush to spread craft glue over the surface of the CD.
- Add tissue paper: Lay the colorful tissue paper squares over the glued CD, pressing gently and overlapping pieces.
- Optional embellishments: Add sequins, glitter, or beads for extra sparkle.
- Dry and hang: Allow the glued CD to dry completely and then attach string or fishing line to hang your beautiful creation.
Notes
Customize colors and materials for personalized designs. This craft is suitable for all ages and promotes creativity and upcycling.
- Prep Time: 15 minutes
- Cook Time: 0 minutes
- Category: Crafts
- Method: Crafting
- Cuisine: N/A
Nutrition
- Serving Size: 1 decoration
- Calories: 0
- Sugar: 0g
- Sodium: 0mg
- Fat: 0g
- Saturated Fat: 0g
- Unsaturated Fat: 0g
- Trans Fat: 0g
- Carbohydrates: 0g
- Fiber: 0g
- Protein: 0g
- Cholesterol: 0mg

