Introduction
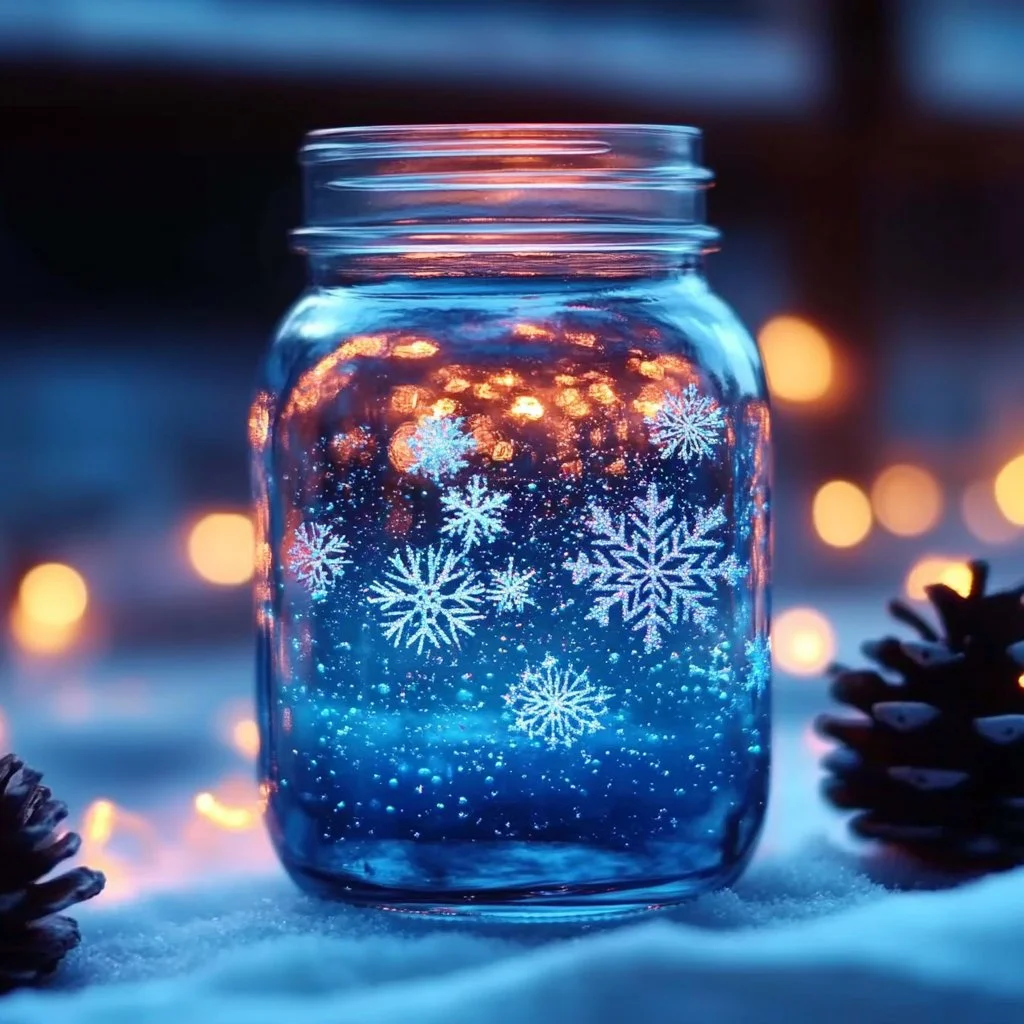
Creating a glitter snow jar is a delightful and enchanting craft that brings a sprinkle of magic into your home. Ideal for all ages, this project not only serves as a charming decoration but also as a fun bonding activity for families and friends. Imagine a twinkling winter wonderland encapsulated in a jar—complete with shimmering snowflakes and a calming glow. The process is simple and flexible, allowing for plenty of creativity and personal touches. Whether you want to represent a snowy holiday scene or a cozy winter night, this craft is the perfect way to express your artistic side while bringing a smile to those who admire your creation. So gather your materials, unleash your creativity, and let’s embark on this crafting adventure!
Why You’ll Love This Glitter Snow Jar:
- Captivating Visuals: The sparkling glitter creates an enchanting effect.
- Simple and Quick: Easy to follow and does not take much time to complete.
- Customizable: Personalize with colors, themes, and decorations.
- Perfect for All Ages: A fun project for kids, teens, and adults alike.
- Great as Gifts: Handcrafted jars make thoughtful presents for loved ones.
- Easy Cleanup: Most materials are safe and easy to tidy up after crafting.
Materials:
- Clean glass jar with lid
- Distilled water
- Clear glue or glycerin
- Glitter (fine or chunky, your choice)
- Artificial snow (optional)
- Small figurines (like trees, animals, etc.)
- Mixing stick
- Funnel (optional)
- Decorative ribbon or paint (for jar decoration)
Full Step-by-Step
1. Prepare Your Jar
- Begin by thoroughly cleaning the glass jar.
- Dry it carefully to ensure no moisture is trapped inside.
2. Add Figurines
- Place small figurines or decorations at the bottom of the jar.
- Ensure they are centered and positioned as desired.
3. Mix the Snow Solution
- In a separate bowl, mix 1 cup of distilled water with 1 tablespoon of clear glue or glycerin.
- Stir well until fully combined.
4. Incorporate the Glitter
- Add 2-3 tablespoons of glitter to the water mixture.
- Mix until the glitter is evenly distributed throughout the solution.
5. Assemble the Jar
- Pour the glitter solution into the jar using a funnel to avoid spills.
- Fill the jar almost to the rim, allowing room to seal it.
6. Seal and Secure
- Carefully screw on the lid tightly.
- You can use glue around the edge to secure it further and prevent leaks.
7. Decorate the Jar (Optional)
- Wrap a decorative ribbon around the lid or paint the jar for added flair.
Tips & Variations:
- Magical Colors: Experiment with colored glitter for a unique look.
- Themed Figurations: Use seasonal items, such as mini pumpkins or hearts for different occasions.
- Ecosystem Effect: Replace glitter with Epsom salt for a snow-like texture.
- Light Up Your Creation: Place a soft LED light under the jar for a glowing effect.
Frequently Asked Questions:
Q1: What type of jar should I use for the glitter snow jar?
A1: Any clean glass jar works well, such as a mason jar, candle jar, or even a small vase.
Q2: Can I use regular water instead of distilled water?
A2: Distilled water is recommended as it helps prevent any cloudiness over time.
Q3: How can I make my glitter snow jar last longer?
A3: Use a small amount of glycerin in your solution; it helps slow down the glitter and create a more magical effect.
Q4: Is the glitter safe for children?
A4: Most craft glitters are non-toxic, but it’s best to supervise young children during the crafting process.
Suggestions:
- Host a crafting party where everyone can make their own jars.
- Use the glitter snow jar as a centerpiece at winter-themed events.
- Create a series of jars to represent different seasons or holidays.
Final Thoughts
Crafting a glitter snow jar is not only a wonderful way to spruce up your decor but also a fun and engaging activity. We hope you enjoyed this craft guide! If you try making your own glitter snow jar, feel free to share your version or leave a comment below. Whether it’s for your home or as a delightful gift, we’d love to hear about your creative endeavors!
Print
Glitter Snow Jar
- Total Time: 15 minutes
- Yield: 1 jar
- Diet: N/A
Description
Create a delightful glitter snow jar that serves as a charming decoration and a fun bonding activity for all ages.
Ingredients
- Clean glass jar with lid
- Distilled water
- Clear glue or glycerin
- Glitter (fine or chunky)
- Artificial snow (optional)
- Small figurines (like trees, animals, etc.)
- Mixing stick
- Funnel (optional)
- Decorative ribbon or paint (for jar decoration)
Instructions
- Prepare your jar by cleaning it thoroughly and drying it carefully.
- Add figurines or decorations at the bottom of the jar, ensuring they are centered.
- Mix 1 cup of distilled water with 1 tablespoon of clear glue or glycerin in a bowl.
- Incorporate 2-3 tablespoons of glitter into the solution, mixing until evenly distributed.
- Pour the glitter solution into the jar using a funnel to avoid spills.
- Seal the jar tightly by screwing on the lid, using glue around the edge for added security if desired.
- Decorate the jar by wrapping a ribbon around the lid or painting it for flair.
Notes
Experiment with colored glitter, themed figurations for occasions, or replace glitter with Epsom salt for a snow-like texture.
- Prep Time: 15 minutes
- Cook Time: 0 minutes
- Category: Craft
- Method: Crafting
- Cuisine: N/A
Nutrition
- Serving Size: 1 jar
- Calories: 0
- Sugar: 0g
- Sodium: 0mg
- Fat: 0g
- Saturated Fat: 0g
- Unsaturated Fat: 0g
- Trans Fat: 0g
- Carbohydrates: 0g
- Fiber: 0g
- Protein: 0g
- Cholesterol: 0mg

