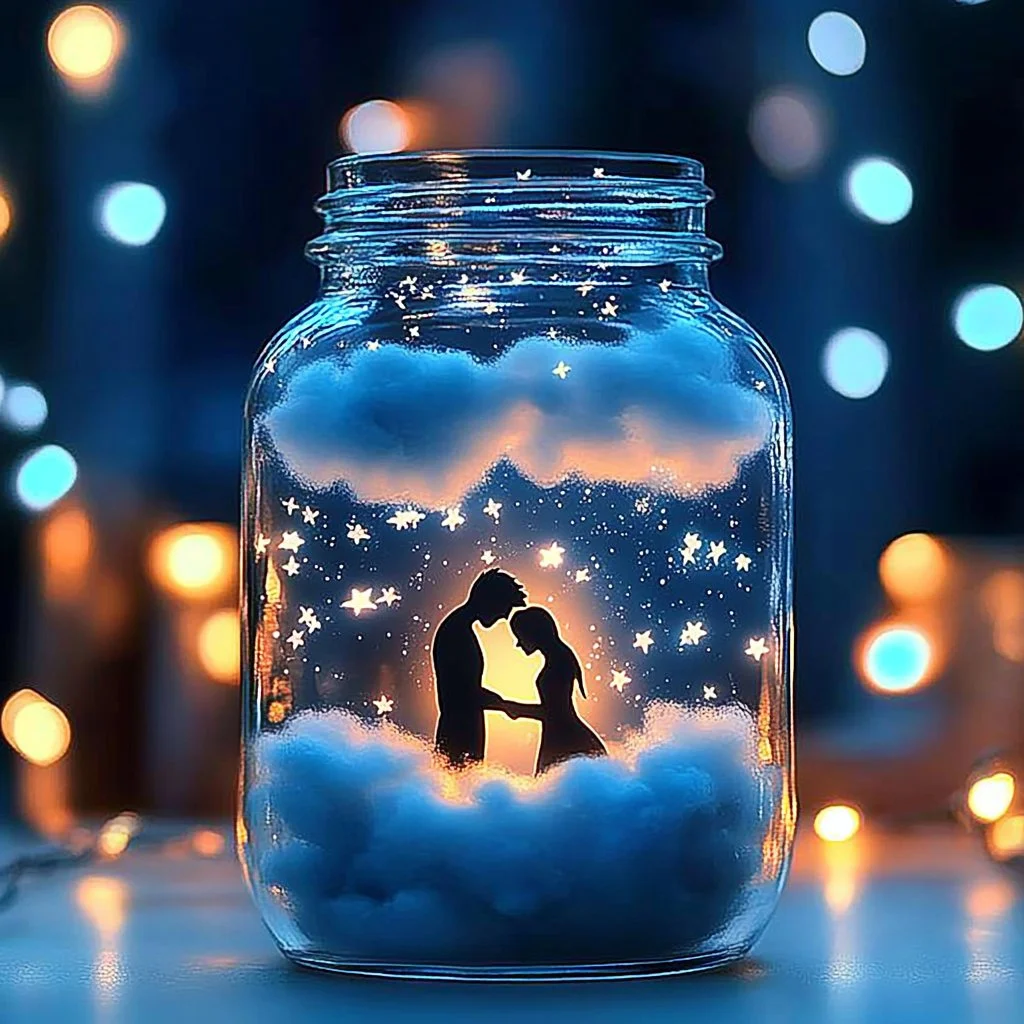
Creating a DIY glow-in-the-dark fairy jar is a magical way to bring some enchantment to your home or garden. This charming craft captures the whimsical essence of fireflies and starlight, making it perfect for children and adults alike. Whether you’re looking to enhance your nighttime ambiance, gift it to a friend, or simply enjoy a relaxing crafting session, you’ll find joy in every step of this simple, yet stunning project. With just a few materials and some creativity, you can bring a bit of ethereal glow into your life. Let’s dive into the materials and steps that will have your fairy jar shining bright in no time!
Why You’ll Love This DIY Glow-in-the-Dark Fairy Jar:
- Easy to Make: Requires minimal crafting skills and materials.
- Customization: Personalize your jar to match your décor or style.
- Affordable: Most materials can be found at home or local craft stores.
- Fun for All Ages: A delightful activity for kids, teens, and adults.
- Mood Enhancer: The soft glow can create a calming atmosphere.
- Great Gifts: Unique, handmade gifts for friends and family.
Materials
- A clean glass jar (mason jar works great!)
- Glow-in-the-dark paint or glow powder
- Paintbrush or sponge
- Small fairy lights (optional)
- Decorative elements (e.g., faux moss, glitter, pebbles)
- Water (if using glow powder for a liquid effect)
- Optional: ribbon or twine for embellishment
Full Step-by-Step
Step 1: Prepare the Jar
- Clean the glass jar thoroughly to remove any dust or grease.
- Dry the jar completely to ensure even application of paint.
Step 2: Paint the Inside
- Using a paintbrush or sponge, apply the glow-in-the-dark paint to the inside of the jar.
- Apply a thick layer for maximum glow and leave some areas clear for a more twinkling effect.
Step 3: Add Extras
- If desired, sprinkle glitter or add decorative elements like faux moss and pebbles at the bottom of the jar.
- For a twinkling effect, you can also layer in small fairy lights.
Step 4: Final Touches
- Allow the jar to dry completely, following the instructions on the glow paint.
- Once dry, seal the jar if necessary, and embellish the outside with ribbon or twine.
Step 5: Charge and Enjoy
- Expose your fairy jar to sunlight or a bright light for a few hours to "charge" the glow.
- Once charged, place your jar in a dark room or outdoor space to enjoy its enchanting glow.
Tips & Variations
- Color Choices: Experiment with different colors of glow-in-the-dark paint for varying effects.
- Layering: For added depth, you can layer different shades of paint inside the jar.
- Nature Themes: Incorporate natural elements like dried flowers or branches for a more rustic look.
- Holiday Themes: Use seasonal decorations to make themed fairy jars for holidays.
Frequently Asked Questions
Q1: Can I use regular paint instead of glow-in-the-dark paint?
A1: Regular paint may not glow in the dark; however, you can mix glow powder with clear paint for a similar effect.
Q2: How long does the glow last?
A2: The duration of the glow varies by paint used, but most will glow for a few hours after being charged.
Q3: What if I don’t have a glass jar?
A3: You can use any clear container, such as a plastic jar or bottle, but keep in mind that the effect may vary.
Q4: Can I use other decorating materials?
A4: Absolutely! You can add rhinestones, sequins, or even dried fruits for a personalized touch.
Suggestions
- Create a series of fairy jars in different colors to serve as beautiful centerpieces.
- Incorporate a small, battery-operated candle for an additional light source.
- Use fairy jars as nightlights in children’s rooms.
Final Thoughts
Creating your very own glow-in-the-dark fairy jar is not only a fun craft project but also a wonderful way to add a sprinkle of magic to your environment. We encourage you to get creative, experiment with different ideas, and make this project your own! Don’t forget to share your versions or leave a comment down below – we’d love to see how your fairy jar turns out!
Print
DIY Glow-in-the-Dark Fairy Jar
- Total Time: 15 minutes
- Yield: 1 fairy jar
- Diet: N/A
Description
A magical, easy-to-make DIY project that captures the whimsical essence of fireflies and starlight, perfect for enhancing your nighttime ambiance.
Ingredients
- A clean glass jar
- Glow-in-the-dark paint or glow powder
- Paintbrush or sponge
- Small fairy lights (optional)
- Decorative elements (e.g., faux moss, glitter, pebbles)
- Water (if using glow powder for a liquid effect)
- Optional: ribbon or twine for embellishment
Instructions
- Clean the glass jar thoroughly to remove any dust or grease. Dry completely.
- Using a paintbrush or sponge, apply glow-in-the-dark paint to the inside of the jar. Apply a thick layer for maximum glow.
- Sprinkle glitter or add decorative elements like faux moss and pebbles at the bottom of the jar; layer in small fairy lights if desired.
- Allow the jar to dry completely, following the instructions on the glow paint. Seal it if necessary and embellish the outside with ribbon or twine.
- Expose the fairy jar to sunlight or a bright light for a few hours to charge the glow. Place it in a dark room to enjoy its enchanting glow.
Notes
Experiment with different colors of glow-in-the-dark paint and incorporate natural elements for themed jars.
- Prep Time: 15 minutes
- Cook Time: 0 minutes
- Category: Craft
- Method: Crafting
Nutrition
- Serving Size: 1 jar
- Calories: N/A
- Sugar: N/A
- Sodium: N/A
- Fat: N/A
- Saturated Fat: N/A
- Unsaturated Fat: N/A
- Trans Fat: N/A
- Carbohydrates: N/A
- Fiber: N/A
- Protein: N/A
- Cholesterol: N/A

