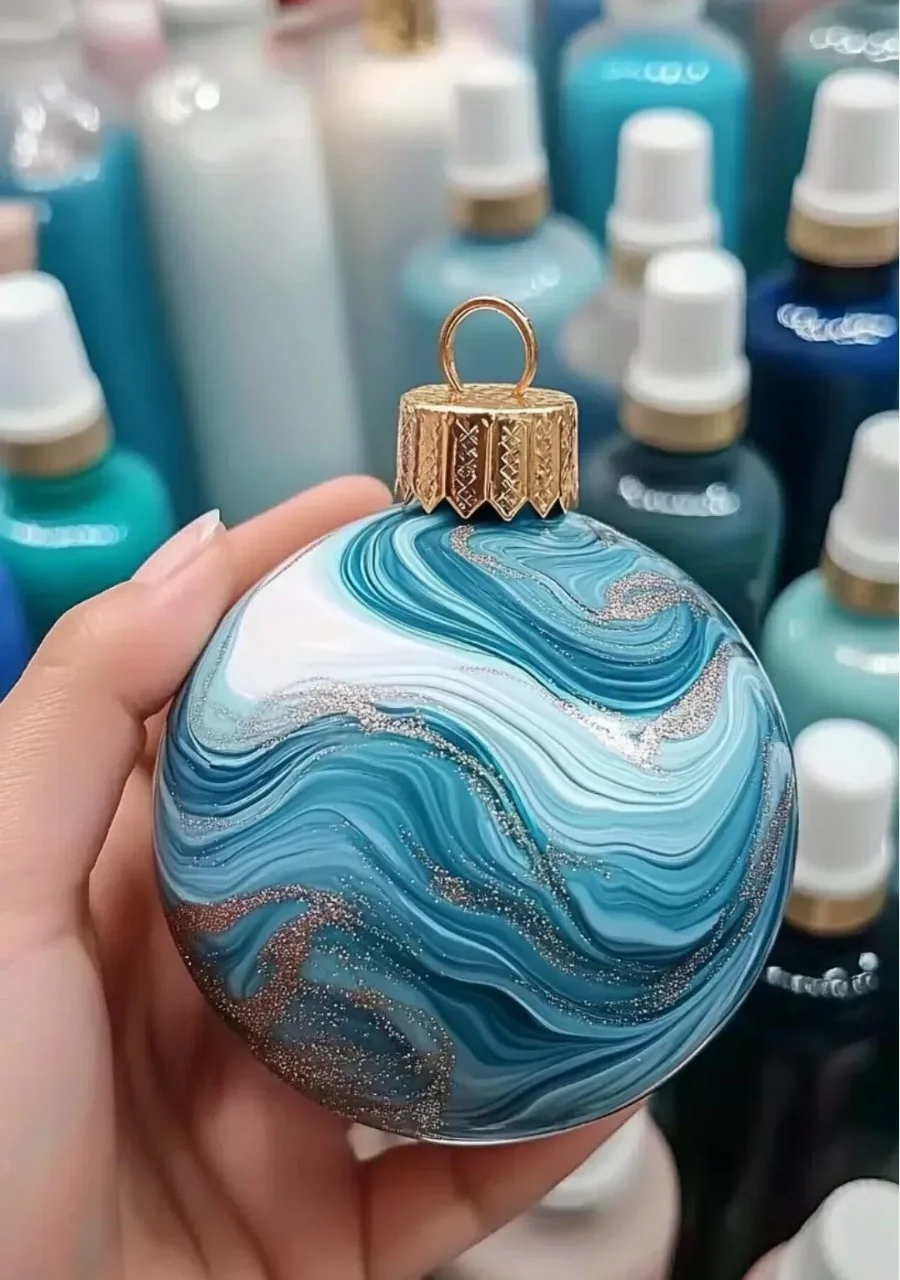
Creating unique and stunning paint swirl ornaments is a delightful craft that can bring a burst of color and creativity to your holiday decor. This project is not only enjoyable for all ages but also offers a fantastic way to collaborate with family and friends. Using simple materials and a few easy-to-follow steps, you can create a beautiful assortment of ornaments that truly reflect your individual style. Whether you’re decorating your Christmas tree or presenting these as thoughtful gifts, paint swirl ornaments will surely add a personal touch that lights up any space. Pairing artistic expression with seasonal spirit, this craft is an absolute must-try!
Why You’ll Love This Paint Swirl Ornaments:
- Unique Designs: No two ornaments will be the same, making each piece one-of-a-kind.
- Simple and Fun: Easy for all skill levels, making it perfect for family bonding.
- Vibrant Colors: Bright and cheerful, these ornaments will liven up your holiday décor.
- Great Gift Idea: Handmade ornaments make thoughtful and cherished gifts.
- Flexible Materials: Use what you have on hand or choose your favorite colors.
Materials:
- Clear glass or plastic ornaments
- Acrylic paints (in multiple colors)
- A small cup or bowl for paint mixing
- Toothpicks or small paintbrushes
- Glitter (optional for added sparkle)
- Paper towels
- A funnel (optional for easy pouring)
Full Step-by-Step:
Prep Your Work Area
- Lay down a protective covering on your work surface.
- Gather all materials within arm’s reach to make the process smoother.
Prepare the Ornaments
- Remove the tops from the ornaments and set them aside carefully. This will make it easier to work with the inside.
Mix and Pour Paint
- In a cup, mix your chosen colors of acrylic paint.
- Use a funnel if desired, then gently pour the paint into the ornament. Try various pouring techniques—swirling, dripping, or splattering.
Swirl and Rotate
- After pouring, carefully rotate the ornament to let the paint swirl and coat the inside.
- Tilt the ornament to create various patterns and designs.
Add Glitter (Optional)
- If you want extra sparkle, sprinkle some glitter inside for an added festive touch.
Drying Time
- Place the completed ornaments opening-side down on paper towels to drain excess paint.
- Allow them to dry completely. This may take several hours or overnight.
Replace Ornament Caps
- Once dry, cap your ornaments and give them a gentle shake to ensure they’re secure.
Tips & Variations:
- Color Combinations: Experiment with contrasting or complementary colors for stunning effects.
- Themed Ornaments: Create a set of ornaments based on a color theme or specific season.
- Mixed Media: Incorporate other crafting materials like sequins or ribbons for added flair.
Frequently Asked Questions:
1. Can I use different types of paint?
- Yes, while acrylic paint works best, you can also experiment with other types like enamel, but drying times may vary.
2. What if my paint doesn’t swirl well?
- This could be due to paint thickness. Add a tiny bit of water to thin it slightly for better flow.
3. How do I clean the ornaments if I make a mistake?
- Use rubbing alcohol or acetone on a cloth to clean any unwanted paint from the outside, but avoid getting it inside.
4. Can I add a protective coating after the paint dries?
- Yes! A clear sealant spray can protect your ornaments and give them a glossy finish.
Suggestions:
- Ornament Sets: Create themed sets (e.g., snowflakes, candy canes) for gifting.
- Color Workshops: Host a paint swirl ornament party with friends or family for a memorable day.
- Hang with Style: Use colorful ribbons for hanging that complement your ornament designs.
Final Thoughts
Paint swirl ornaments are a fantastic way to unleash your creativity and make beautiful pieces that are perfect for decorating or gifting. We encourage you to let your imagination run wild and explore different patterns and colors. Once you’ve made your unique ornaments, we would love to hear from you! Share your versions or leave a comment about your experience in this fun crafting adventure!
Print
Paint Swirl Ornaments
- Total Time: 360 minutes
- Yield: Varies based on number of ornaments
- Diet: N/A
Description
Create unique and stunning paint swirl ornaments to add a burst of color to your holiday decor with simple materials and easy steps.
Ingredients
- Clear glass or plastic ornaments
- Acrylic paints (in multiple colors)
- A small cup or bowl for paint mixing
- Toothpicks or small paintbrushes
- Glitter (optional)
- Paper towels
- A funnel (optional)
Instructions
- Lay down a protective covering on your work surface and gather all materials.
- Remove the tops from the ornaments and set them aside.
- In a cup, mix your chosen colors of acrylic paint.
- Use a funnel to gently pour the paint into the ornament, experimenting with various pouring techniques.
- Carefully rotate the ornament to let the paint swirl and coat the inside.
- If desired, sprinkle some glitter inside for an extra sparkle.
- Place the completed ornaments opening-side down on paper towels to drain excess paint and allow them to dry completely.
- Once dry, cap your ornaments and give them a gentle shake to ensure they’re secure.
Notes
Experiment with color combinations, themed ornaments, or mixed media to personalize your creations. Use a clear sealant spray for added protection after the paint dries.
- Prep Time: 10 minutes
- Cook Time: 0 minutes
- Category: Craft
- Method: Crafting
- Cuisine: N/A
Nutrition
- Serving Size: 1 ornament
- Calories: N/A
- Sugar: N/A
- Sodium: N/A
- Fat: N/A
- Saturated Fat: N/A
- Unsaturated Fat: N/A
- Trans Fat: N/A
- Carbohydrates: N/A
- Fiber: N/A
- Protein: N/A
- Cholesterol: N/A

