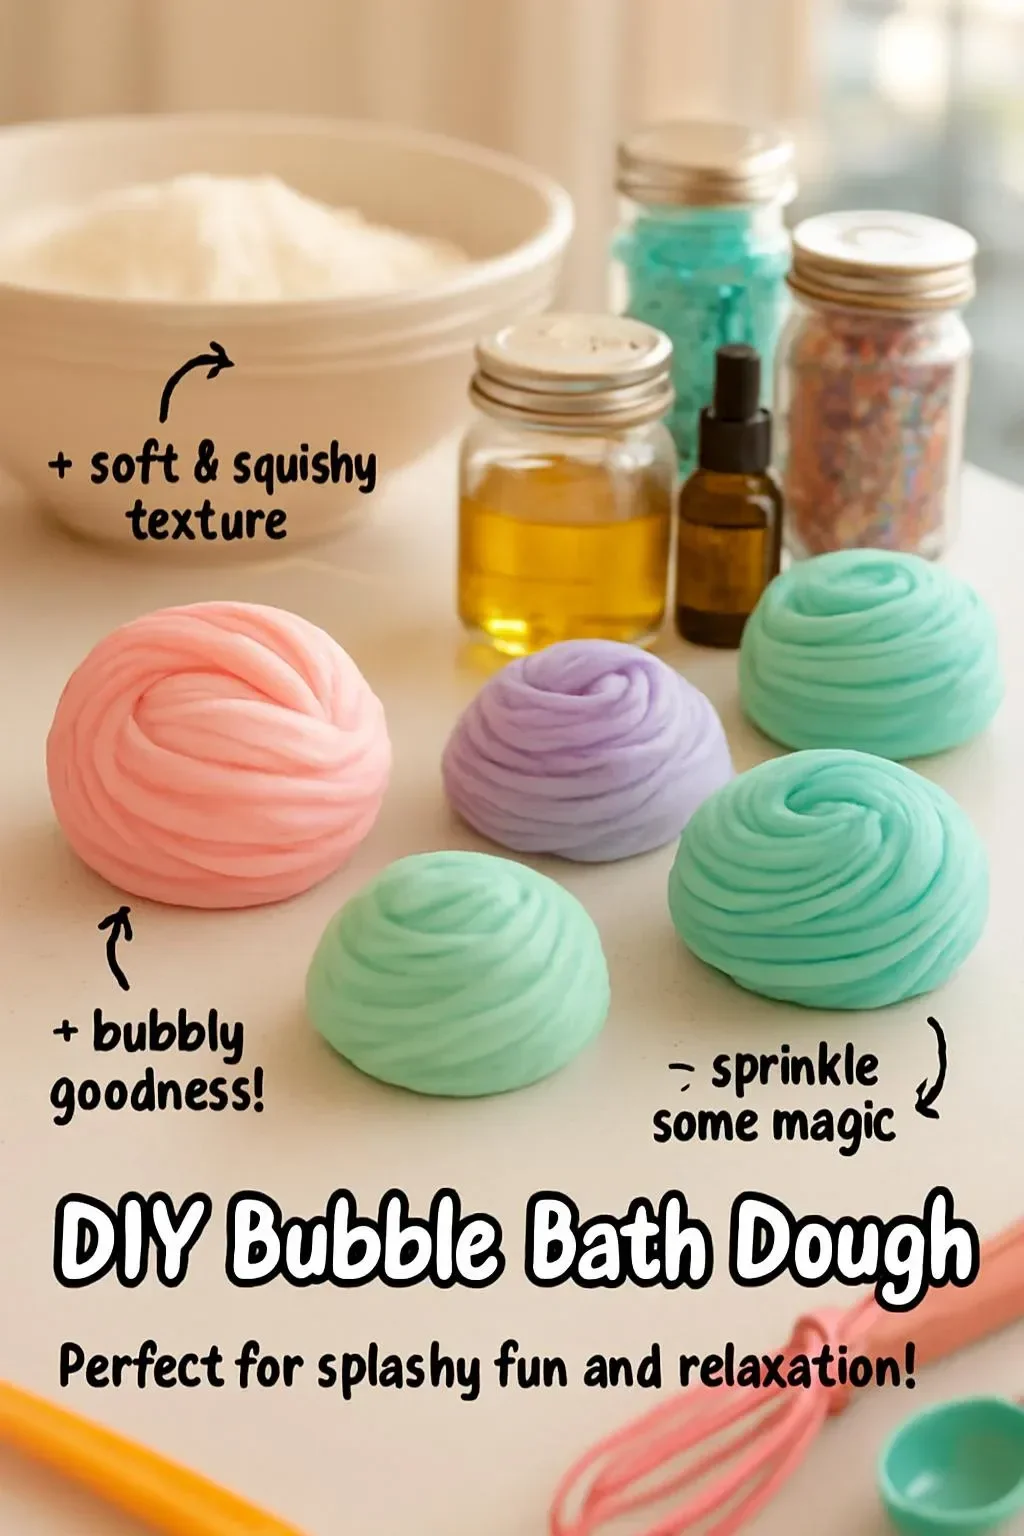
Creating your own bubble bath dough is an exciting and delightful way to add a playful touch to your self-care routines. Not only does this DIY project allow you to engage in a fun craft, but it also results in a product that can transform bath time into a sensory experience. With its soft texture and delightful scent, bubble bath dough can lift your spirits, making it perfect for both kids and adults alike. The best part? You can easily customize the colors and fragrances to match your preferences or even create themed bath experiences. So, roll up your sleeves, gather your materials, and get ready to craft a bubbly wonder!
Why You’ll Love This DIY Bubble Bath Dough:
- Sensory Fun: The dough provides a unique texture that is satisfying to mold and knead.
- Customizable Scents: Choose your favorite essential oils for a personalized fragrance.
- Vibrant Colors: Use food coloring to create bright and cheerful bubble bath dough.
- Budget-Friendly: Making your own bubble bath dough is cost-effective compared to store-bought options.
- Great for All Ages: This craft is perfect for both kids and adults, offering fun for the whole family.
- Creative Play: Engage in imaginative scenarios and role-playing during bath time.
- Stress Relief: Making and using the dough can be a calming, meditative experience.
Materials
- 1 cup baking soda
- 1 cup corn starch
- 1/2 cup liquid dish soap (gentle formula)
- 1/4 cup water (adjust for consistency)
- 2 tablespoons vegetable oil
- Food coloring (optional)
- Essential oils (optional, for fragrance)
- Mixing bowl
- Spoon or spatula
- Airtight container for storage
Full Step-by-Step
Step 1: Mix Dry Ingredients
- In a mixing bowl, combine the baking soda and corn starch.
- Stir well to ensure there are no lumps.
Step 2: Combine Wet Ingredients
- In a separate bowl, mix the liquid dish soap, vegetable oil, and water.
- If desired, add a few drops of food coloring and essential oils for scent.
Step 3: Combine Both Mixtures
- Slowly pour the wet mixture into the dry ingredients.
- Stir continuously to combine until a doughy consistency forms.
- If the mixture is too dry, add a tiny bit of water; if too wet, add a little more baking soda.
Step 4: Knead the Dough
- Transfer the mixture to a clean surface and knead with your hands for a few minutes.
- The dough should be soft, pliable, and slightly tacky but not sticky.
Step 5: Store Properly
- Place the bubble bath dough in an airtight container to keep it fresh.
- Allow it to rest for a few hours before using for best results.
Tips & Variations
- Scent Swap: Experiment with different essential oils like lavender, eucalyptus, or citrus for various aromatherapy effects.
- Color Play: Create layers of colors by dividing the dough into portions and mixing different dyes.
- Texture Addition: Add a sprinkle of Epsom salt or glitter for a sparkling effect.
- Gift Idea: Package the bubble bath dough in mason jars with a ribbon for a charming gift.
Frequently Asked Questions
Q1: Can I use any type of dish soap?
A1: While any liquid dish soap will work, it’s best to use a gentle formula without harsh chemicals, especially for sensitive skin.
Q2: How long does the bubble bath dough last?
A2: When stored in an airtight container, it can last for several weeks. Always check for any changes in smell or texture before use.
Q3: Is the bubble bath dough safe for kids?
A3: Yes, this dough is safe for children. However, supervise young kids during play to avoid ingestion.
Q4: What if the dough is too crumbly?
A4: If the dough crumbles, add a teaspoon of water and knead it again until the desired consistency is achieved.
Suggestions
- Themed Bath Nights: Create bubble bath doughs corresponding to holiday themes (e.g., red and green for Christmas).
- Party Activity: Use this craft recipe at birthday parties or playdates for a fun group activity.
- Relaxing Bath Rituals: Pair the bubble bath dough with candles and soothing music for a rejuvenating experience.
Final Thoughts
Crafting your own bubble bath dough is not only enjoyable but also enhances your bathing experience. With endless possibilities for customization, you can create a truly personalized product to elevate your self-care routine. We’d love to hear about your creative takes on this recipe! Please share your versions, variations, or any comments below!
Print
DIY Bubble Bath Dough
- Total Time: 15 minutes
- Yield: 4 servings 1x
- Diet: N/A
Description
Create your own bubble bath dough for a playful and custom bath experience that is enjoyable for all ages.
Ingredients
- 1 cup baking soda
- 1 cup corn starch
- 1/2 cup liquid dish soap (gentle formula)
- 1/4 cup water (adjust for consistency)
- 2 tablespoons vegetable oil
- Food coloring (optional)
- Essential oils (optional, for fragrance)
- Mixing bowl
- Spoon or spatula
- Airtight container for storage
Instructions
- In a mixing bowl, combine the baking soda and corn starch. Stir well to ensure there are no lumps.
- In a separate bowl, mix the liquid dish soap, vegetable oil, and water. If desired, add a few drops of food coloring and essential oils for scent.
- Slowly pour the wet mixture into the dry ingredients. Stir continuously to combine until a doughy consistency forms. If the mixture is too dry, add a tiny bit of water; if too wet, add a little more baking soda.
- Transfer the mixture to a clean surface and knead with your hands for a few minutes. The dough should be soft, pliable, and slightly tacky but not sticky.
- Place the bubble bath dough in an airtight container to keep it fresh. Allow it to rest for a few hours before using for best results.
Notes
Experiment with different essential oils and food coloring for customization. Store in an airtight container for longevity.
- Prep Time: 15 minutes
- Cook Time: 0 minutes
- Category: DIY Craft
- Method: Mixing and Kneading
- Cuisine: N/A
Nutrition
- Serving Size: 1 serving
- Calories: 50
- Sugar: 0g
- Sodium: 100mg
- Fat: 2g
- Saturated Fat: 0g
- Unsaturated Fat: 2g
- Trans Fat: 0g
- Carbohydrates: 10g
- Fiber: 0g
- Protein: 1g
- Cholesterol: 0mg

