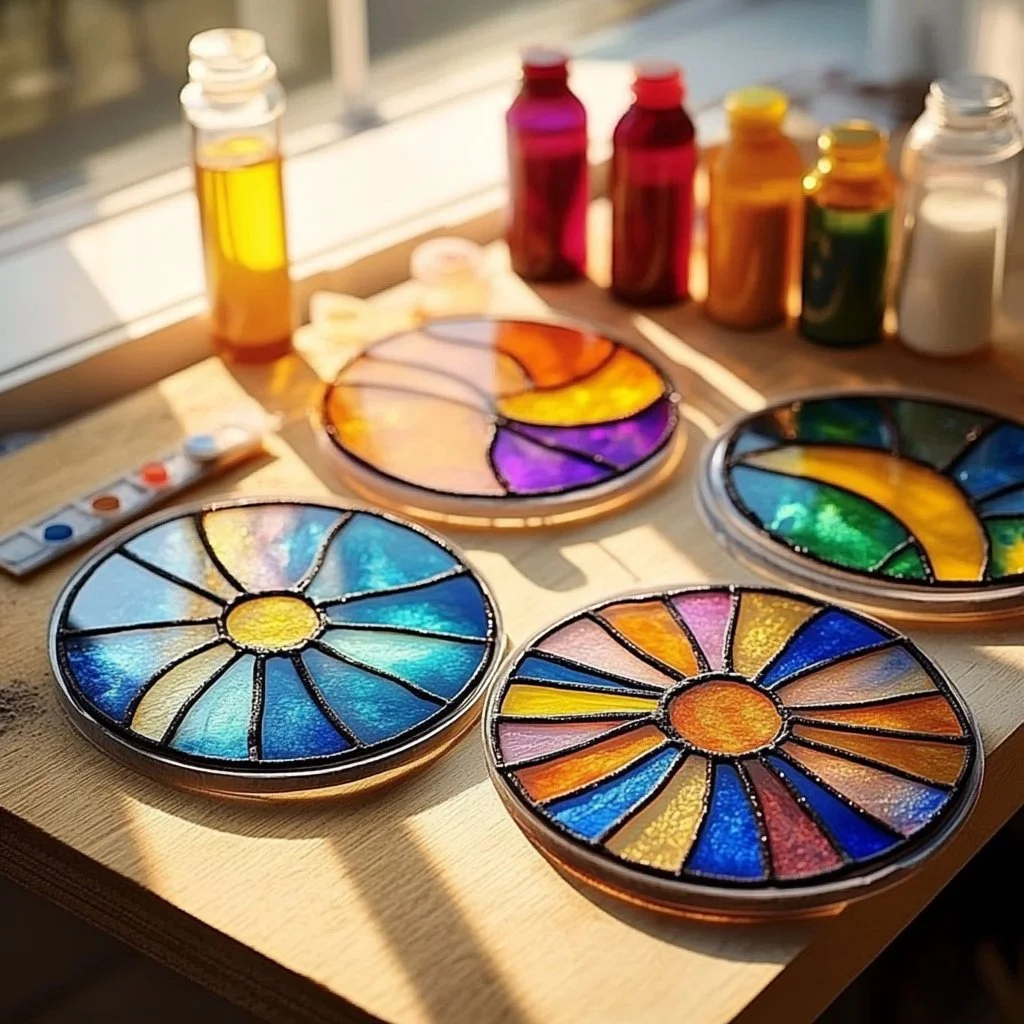
Stained glass art has a charm that brings warmth and personality to any space. With this DIY stained glass glue window art project, you can create colorful, eye-catching decorations that emulate the beauty of traditional stained glass without needing extensive skills or materials. Whether you’re looking to brighten up your home, create unique gifts, or engage kids in a fun and creative activity, this craft is perfect for all ages. The process is straightforward and allows for endless creativity, making it an enjoyable project to dive into. Gather your materials and let your imagination guide you as you transform plain windows into vibrant art pieces!
Why You’ll Love This Stained Glass Glue Window Art:
- Creative Outlet: Unleash your creativity and express your personal style.
- All Ages: A fun craft that the whole family can enjoy, from kids to adults.
- Budget-Friendly: Utilize materials you may already have at home or are easy to find.
- Customizable: Endless possibilities to create unique designs and patterns.
- Instant Gratification: Quick and easy results that will brighten your space immediately.
- Perfect for Gifts: Create personalized, handmade gifts for friends and family.
Materials
- Clear plastic sheet or wax paper
- Colored glue (or food color mixed with white glue)
- Paintbrush or squeeze bottle
- Black permanent marker or black glue (for outlines)
- Scissors
- Optional: Glitter, gems, or other embellishments
Full Step-by-Step
1. Design Your Pattern
- Choose a simple geometric design or create a personalized pattern.
- Use a pencil to sketch the outline on the plastic sheet or wax paper.
2. Outline with Black Glue
- Carefully trace over your design with black permanent marker or black glue.
- Wait for it to dry completely; this will serve as the borders for your "glass."
3. Fill in with Colored Glue
- Use a paintbrush or squeeze bottle to fill in different sections with colored glue.
- Experiment with colors, mixing them directly on the sheet for unique shades.
- If desired, sprinkle glitter while the glue is still wet for extra sparkle.
4. Let It Dry
- Allow your window art to dry fully, which may take several hours or overnight.
- Check that the glue has hardened and holds its shape.
5. Display Your Art
- Carefully peel off your stained glass piece from the sheet.
- Place it on a window, wall, or any area that receives sunlight to showcase the colors beautifully.
Tips & Variations
- Customize Colors: Use food coloring to create different shades of glue or mix colors for a marbled effect.
- Swap Materials: Try using old CD cases or small pieces of glass for a different approach.
- Add Embellishments: Incorporate sequins, beads, or other materials for added texture and depth.
- Create Themes: Make art pieces that reflect seasons, holidays, or special occasions.
Frequently Asked Questions
-
What kind of glue should I use?
- You can buy colored glue or add food coloring to white school glue for a DIY alternative.
-
Can I use real stained glass?
- This method is designed for a safe and easy approach to simulate stained glass without using sharp edges.
-
Is this craft messy?
- While it’s relatively clean, it’s advisable to work over a protected surface to catch any spills.
-
How do I clean my workspace?
- Clean up colored glue with warm soapy water before it dries to prevent hardening.
Suggestions
- Make a series of stained glass pieces to create a colorful gallery wall.
- Host a craft night with friends and create themed art for celebrations like birthdays or holidays.
- Create window art inspired by nature, such as flowers, butterflies, or landscapes.
Final Thoughts
Crafting your own stained glass glue window art is not only a delightful experience but it also adds a personal touch to your home decor. We encourage you to share your unique designs and experiences in the comments below. Let your creativity shine, and inspire others with your beautiful stained glass creations!
Print
DIY Stained Glass Glue Window Art
- Total Time: 1 day
- Yield: 1 art piece
- Diet: N/A
Description
Create colorful stained glass art with this easy DIY project, perfect for all ages and skill levels.
Ingredients
- Clear plastic sheet or wax paper
- Colored glue (or food color mixed with white glue)
- Paintbrush or squeeze bottle
- Black permanent marker or black glue (for outlines)
- Scissors
- Optional: Glitter, gems, or other embellishments
Instructions
- Design Your Pattern: Choose a simple geometric design or create a personalized pattern. Use a pencil to sketch the outline on the plastic sheet or wax paper.
- Outline with Black Glue: Carefully trace over your design with black permanent marker or black glue. Wait for it to dry completely; this will serve as the borders for your ‘glass.’
- Fill in with Colored Glue: Use a paintbrush or squeeze bottle to fill in different sections with colored glue. Experiment with colors, mixing them directly on the sheet for unique shades. If desired, sprinkle glitter while the glue is still wet for extra sparkle.
- Let It Dry: Allow your window art to dry fully, which may take several hours or overnight. Check that the glue has hardened and holds its shape.
- Display Your Art: Carefully peel off your stained glass piece from the sheet. Place it on a window, wall, or any area that receives sunlight to showcase the colors beautifully.
Notes
Work over a protected surface to catch any spills. Clean up colored glue with warm soapy water before it dries.
- Prep Time: 15 minutes
- Cook Time: 0 minutes
- Category: Crafts
- Method: DIY Crafting
- Cuisine: N/A
Nutrition
- Serving Size: 1 piece
- Calories: N/A
- Sugar: N/A
- Sodium: N/A
- Fat: N/A
- Saturated Fat: N/A
- Unsaturated Fat: N/A
- Trans Fat: N/A
- Carbohydrates: N/A
- Fiber: N/A
- Protein: N/A
- Cholesterol: N/A

