Introduction
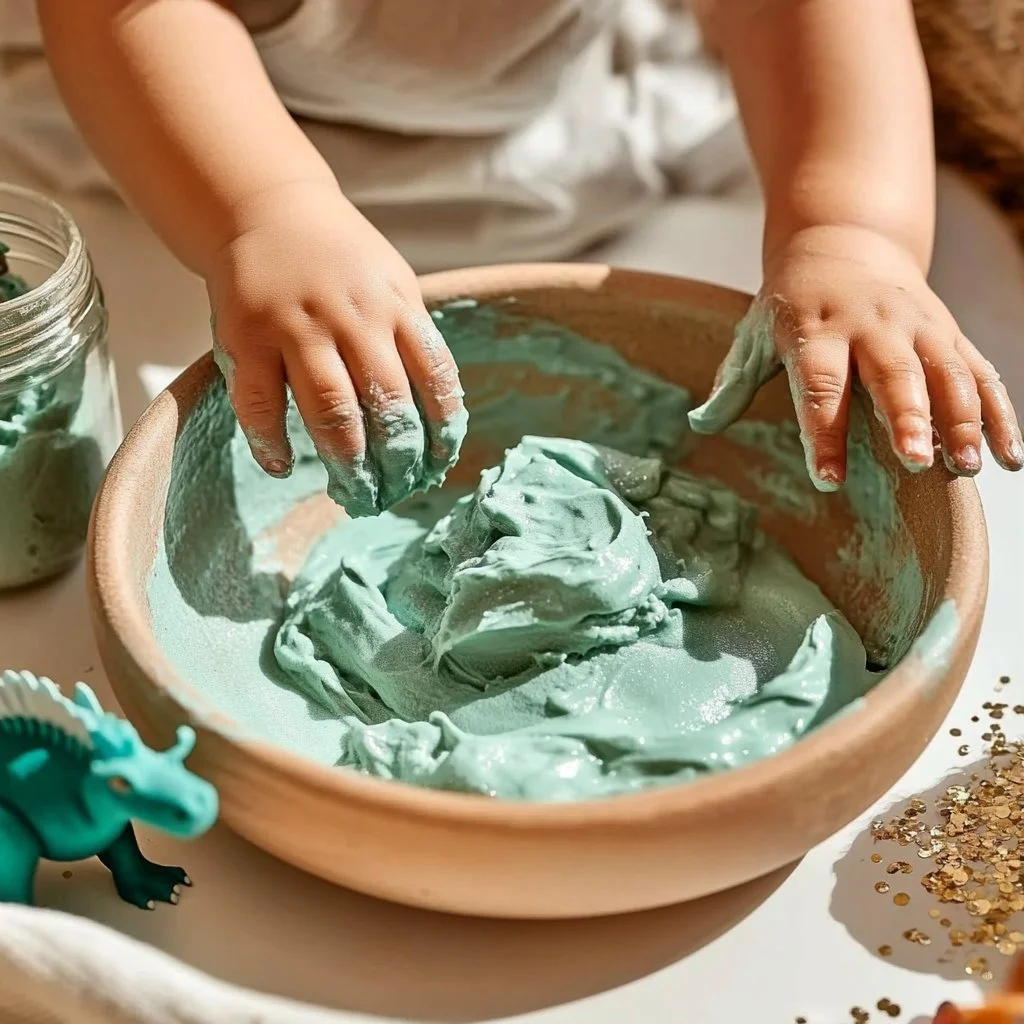
Creating your very own magic mud is not only an enjoyable craft activity but also a fantastic way to engage in sensory play. This unique mixture offers a delightful combination of textures—smooth yet malleable—that can spark creativity and curiosity in both children and adults alike. Magic mud—often referred to as kinetic sand or moon sand—provides endless hours of playtime fun due to its ability to hold shape while being easily moldable. Crafting this sensory delight together can nurture fine motor skills, improve hand-eye coordination, and even serve as an educational tool for learning about textures and properties of materials. Whether you’re a parent looking for a hands-on activity with your little ones or a DIY enthusiast eager to explore new crafts, this magic mud recipe will quickly become a favorite.
Why You’ll Love This Magic Mud:
- Endless Play: Provides hours of entertainment and promotes imaginative play.
- Customizable: Easily tailored to suit your preferences with colors and scents.
- Safe and Non-Toxic: Made with common household ingredients.
- Easy Cleanup: Simple to clean up; doesn’t stain surfaces.
- Sensory Benefits: Aids in sensory exploration and fine motor skill development.
Materials:
- 2 cups of all-purpose flour
- 1/2 cup of vegetable oil
- 1/2 cup of water
- Food coloring (optional)
- Mixing bowl
- Airtight container for storage
Full Step-by-Step:
Step 1: Mix the Dry Ingredients
- In a mixing bowl, combine 2 cups of all-purpose flour.
- Ensure that it is lump-free for a smooth texture.
Step 2: Add the Oil
- Gradually pour in 1/2 cup of vegetable oil while mixing.
- Blend until the mixture resembles damp sand.
Step 3: Incorporate Water
- Slowly add 1/2 cup of water to the mixture.
- Stir continuously until all ingredients are well combined and the mixture is not too sticky.
Step 4: Add Color (Optional)
- If you want colored magic mud, add a few drops of food coloring.
- Mix thoroughly until you achieve your desired color.
Step 5: Texture Check
- Use your hands to feel the texture. If it’s too dry, add a tiny bit of water; if too wet, sprinkle a little flour.
Step 6: Store Your Magic Mud
- Place the magic mud in an airtight container.
- Store it in a cool place to keep it fresh for longer.
Tips & Variations:
- Scented Magic Mud: Add a few drops of essential oil for a fragrant experience.
- Colorful Layers: Create layered colors by dividing the mixture and coloring each batch separately.
- Texture Additions: Consider adding glitter or small beads for extra visual interest.
- Alternative: Replace vegetable oil with coconut or olive oil for a different texture and scent.
Frequently Asked Questions:
Q1: Can I make this magic mud gluten-free?
A1: Yes! Substitute the all-purpose flour with gluten-free flour or cornstarch.
Q2: How do I prevent my magic mud from drying out?
A2: Keep it in an airtight container when not in use, and store it in a cool, dry place.
Q3: What if my magic mud is too sticky?
A3: Add a little more flour gradually until you achieve the desired consistency.
Q4: How long will this magic mud last?
A4: When stored properly, magic mud can last for several weeks!
Suggestions:
- Pair your magic mud with moldable toys like plastic shovels and sand molds for enhanced fun.
- Use it for arts and crafts projects, creating different shapes and sculptures.
- Organize a magic mud playdate with friends and family for shared experiences.
Final Thoughts
Crafting magic mud is an exciting and rewarding activity, allowing for countless creative possibilities. We hope you enjoy making your own version, and we’d love to hear about it! Share your creations or any customizations you make in the comments below!
Print
Magic Mud
- Total Time: 10 minutes
- Yield: Approximately 4 cups 1x
- Diet: N/A
Description
Create your own magic mud—an enjoyable and sensory-rich activity that offers hours of creative play.
Ingredients
- 2 cups all-purpose flour
- 1/2 cup vegetable oil
- 1/2 cup water
- Food coloring (optional)
- Mixing bowl
- Airtight container for storage
Instructions
- Mix the Dry Ingredients: In a mixing bowl, combine 2 cups of all-purpose flour. Ensure that it is lump-free for a smooth texture.
- Add the Oil: Gradually pour in 1/2 cup of vegetable oil while mixing. Blend until the mixture resembles damp sand.
- Incorporate Water: Slowly add 1/2 cup of water to the mixture. Stir continuously until all ingredients are well combined and the mixture is not too sticky.
- Add Color (Optional): If you want colored magic mud, add a few drops of food coloring. Mix thoroughly until you achieve your desired color.
- Texture Check: Use your hands to feel the texture. If it’s too dry, add a tiny bit of water; if too wet, sprinkle a little flour.
- Store Your Magic Mud: Place the magic mud in an airtight container. Store it in a cool place to keep it fresh for longer.
Notes
For scented magic mud, add a few drops of essential oil. Consider colorful layers or texture additions like glitter for enhanced fun.
- Prep Time: 10 minutes
- Cook Time: 0 minutes
- Category: Craft
- Method: Mixing
- Cuisine: N/A
Nutrition
- Serving Size: as desired
- Calories: 15 per 100g
- Sugar: 0g
- Sodium: 5mg
- Fat: 7g
- Saturated Fat: 1g
- Unsaturated Fat: 6g
- Trans Fat: 0g
- Carbohydrates: 30g
- Fiber: 1g
- Protein: 2g
- Cholesterol: 0mg

