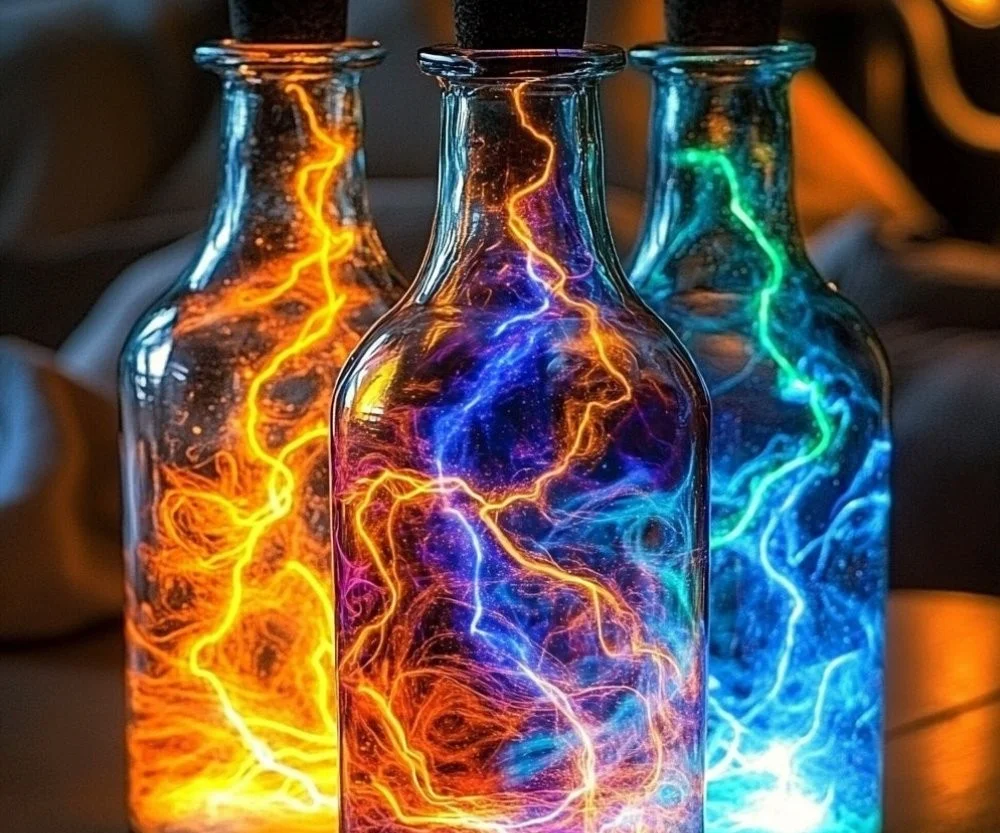
Creating a bubbling rainbow lightning bottle is a delightful DIY project that combines visual arts with science experiments, perfect for both kids and adults. This vivid activity not only sparks creativity but also teaches valuable lessons about chemical reactions and color mixing. You’ll be amazed as swirling colors mimic the dynamic flashes of lightning, captivating anyone who lays eyes on it. Whether you’re looking for a fun family activity, an educational lesson plan, or simply a unique centerpiece for an event, these bottles will surely dazzle and entertain. Plus, they are incredibly easy to make with just a few supplies you probably already have at home! Let’s dive into this fun and colorful journey together.
Why You’ll Love This DIY Bubbling Rainbow Lightning Bottles
- Visually Stunning: The swirling colors create an eye-catching effect that’s sure to impress.
- Educational: Learn about density and chemical reactions in a fun, hands-on way.
- Customizable: Modify the colors and effects to fit your personal style or theme.
- Simple & Quick: With minimal materials, this project comes together in no time.
- Perfect for Any Age: Kids and adults alike can enjoy creating and experimenting.
Materials
- Clear plastic bottles or glass jars with lids
- Water
- Vegetable oil (or mineral oil)
- Food coloring (various colors)
- Baking soda
- Vinegar
- Funnel (optional)
- Spoon or stir stick
- Glitter (optional for extra sparkle)
Step-by-Step Instructions
Prepare Your Bottles
- Fill with Water: Use the funnel to fill the bottle about one-third full with water.
- Add Oil: Slowly pour vegetable or mineral oil into the bottle until it’s about two-thirds full. Watch how the oil rises above the water!
Add Colors and Effects
- Mix Colors: Add a few drops of food coloring to the water. Mix different colors to create your desired rainbow effect.
- Add Glitter: If desired, sprinkle a little glitter on top for additional flair.
Create the Bubbling Effect
- Combine Ingredients: In a separate cup, mix a tablespoon of baking soda with a little water to create a paste.
- Pour in Baking Soda: Using a spoon, carefully add the baking soda paste into your bottle.
- Add Vinegar: Quickly pour a small amount of vinegar into the bottle and watch the bubbling reaction take place!
Seal and Store
- Seal the Bottle: Once the reaction is done, seal the bottle with the lid for safe storage and to prevent spills.
Tips & Variations
- Color Variations: Experiment with different food colorings to achieve your perfect rainbow.
- Swap Oils: Other types of oil can create different visual effects; try coconut or olive oil.
- Add Essential Oils: For a sensory experience, add a few drops of essential oils for a pleasant aroma.
- Size Matters: Use smaller or larger containers to change the overall look and effects.
Frequently Asked Questions
1. Can I use glass instead of plastic containers for the bubbling rainbow lightning bottles?
Yes! Glass containers work great as long as they are securely sealed to prevent spills.
2. What happens if I mix the baking soda and vinegar before adding them to the bottle?
Mixing them beforehand will cause a rapid reaction and create a mess. It’s best to add them separately to control the bubbling effect.
3. How long can I keep my bubbling rainbow lightning bottle?
You can store it indefinitely, but for the best visual effect, it’s recommended to recreate it if the colors fade.
4. Can I use other liquids instead of water?
Yes, but water provides the best density contrast with oil. You could experiment with flavored or colored liquids, but they might affect the reaction.
Serving Suggestions or Pairings
- Pair with fizzy drinks for a fun party theme.
- Use as a centerpiece alongside colorful snacks like fruit skewers or candy dishes.
- Create a sensory station with additional science experiments for kids.
Final Thoughts
The DIY bubbling rainbow lightning bottle is not just a fun project, but an engaging way to explore the wonders of science and color. Enjoy showcasing your creations or using them as unique decorative pieces. We’d love to see your versions of this project! Share your photos or leave a comment below to inspire others in their colorful adventure!
Print
Bubbling Rainbow Lightning Bottle
- Total Time: 10 minutes
- Yield: 1 bottle
- Diet: N/A
Description
A fun and colorful DIY project that combines visual arts with science experiments, perfect for all ages.
Ingredients
- Clear plastic bottles or glass jars with lids
- Water
- Vegetable oil (or mineral oil)
- Food coloring (various colors)
- Baking soda
- Vinegar
- Funnel (optional)
- Spoon or stir stick
- Glitter (optional for extra sparkle)
Instructions
- Fill bottle about one-third full with water using a funnel.
- Slowly pour oil into the bottle until it’s about two-thirds full.
- Add a few drops of food coloring to the water.
- If desired, sprinkle a little glitter on top.
- Mix a tablespoon of baking soda with a little water to create a paste in a separate cup.
- Carefully add the baking soda paste into your bottle using a spoon.
- Quickly pour a small amount of vinegar into the bottle and watch the bubbling reaction!
- Seal the bottle with the lid for safe storage.
Notes
Experiment with different food colorings and oils for unique effects. Add essential oils for fragrance.
- Prep Time: 10 minutes
- Cook Time: 0 minutes
- Category: DIY Project
- Method: Crafting
- Cuisine: N/A
Nutrition
- Serving Size: 1 bottle
- Calories: 50
- Sugar: 0g
- Sodium: 5mg
- Fat: 0g
- Saturated Fat: 0g
- Unsaturated Fat: 0g
- Trans Fat: 0g
- Carbohydrates: 12g
- Fiber: 0g
- Protein: 1g
- Cholesterol: 0mg

