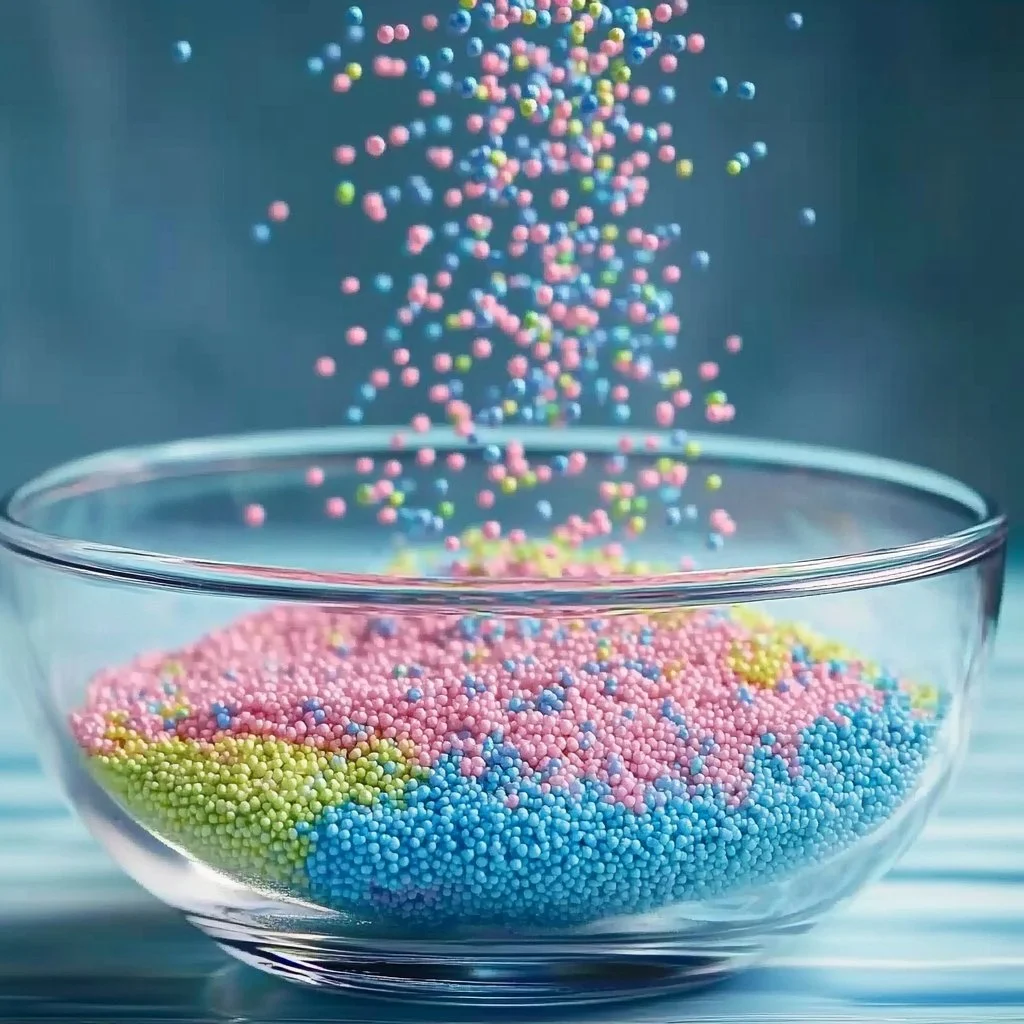
Creating a kid-safe waterproof sand recipe is an exciting and sensory-rich project that young ones will love. This DIY sand not only provides endless hours of creative play but is also completely safe for kids. Whether you’re planning a fun outdoor activity or a unique indoor play experience, this waterproof sand can be shaped, molded, and used with various toys. The best part is that it can be made easily at home with a few simple ingredients! Say goodbye to messy sand spills and hello to a fun, clean playtime experience that fosters imagination and fine motor skills. Let’s dive into the benefits of this fantastic sensory material, as well as how to craft it in just a few easy steps.
Why You’ll Love This Kid-Safe Waterproof Sand
- Non-toxic Ingredients: Made with safe materials for worry-free play.
- Waterproof Action: Instructions included for creating sand that won’t clump when wet.
- Customizable Texture: You can adjust the coarseness or smoothness to suit your child’s preferences.
- Easy Cleanup: Minimal mess compared to traditional sand.
- Sensory Development: Enhances fine motor skills and tactile experiences.
- Versatile Use: Perfect for indoor and outdoor play, including sandboxes, sensory bins, and more.
Materials
- 4 cups of all-purpose flour
- 1 cup of baby oil (or coconut oil)
- 1 cup of water (optional)
- Plastic storage container
- Food coloring (optional, for a fun twist)
- Measuring cups
- Mixing bowl
Step-by-Step Instructions
Step 1: Combine Dry Ingredients
- In a large mixing bowl, measure out 4 cups of all-purpose flour.
- Make sure there are no clumps; this will ensure a smooth texture.
Step 2: Add Oil
- Gradually add 1 cup of baby oil to the flour.
- Mix it in using your hands or a spatula until you achieve a sand-like consistency.
Step 3: Add Color (Optional)
- If desired, mix in a few drops of food coloring to make vibrant, colorful sand.
- Knead until the color is uniformly distributed.
Step 4: Add Water for Waterproof Sand
- If you want waterproof sand, slowly add 1 cup of water while mixing.
- The sand should still be moldable but not too wet. Adjust by adding small amounts of flour or water.
Step 5: Store the Sand
- Once the sand is mixed to your liking, transfer it to a plastic storage container.
- Seal tightly to keep it fresh and hydrated.
Tips & Variations
- Change the Oil: Substitute baby oil with coconut oil for a different scent and texture.
- Add Extras: Incorporate glitter or small beads for added sensory play.
- Scented Sand: Add a few drops of essential oils for a delightful aroma.
- Vary Texture: Adjust the flour-to-oil ratio to create either coarser or finer sand.
Frequently Asked Questions
1. Is it safe for young children?
Yes! All the ingredients are non-toxic and suitable for children.
2. How can I store the sand?
Keep the sand in a tightly sealed plastic container or bag to maintain its texture and prevent it from drying out.
3. Can I use essential oils?
Absolutely! Adding a few drops of kid-safe essential oils can give a pleasant scent, but be cautious of potential allergic reactions.
4. What if the sand feels too sticky?
If it’s too sticky, simply mix in a bit more flour until you reach the desired consistency.
Serving Suggestions or Pairings
Pair your kid-safe waterproof sand with refreshing drinks like homemade lemonade or fruit-infused water to keep the summer fun going! Set up a small snack station nearby with fruit skewers or veggie sticks for a wholesome treat during playtime.
Final Thoughts
This DIY kid-safe waterproof sand is a wonderful way to engage your children in creative and tactile play without the mess of traditional sand. It encourages exploration while being completely customizable to your child’s preferences. We’d love to hear how your sand turns out! Share your versions or leave a comment below with your experiences or any exciting variations you tried. Happy crafting!
Print
Kid-Safe Waterproof Sand
- Total Time: 10 minutes
- Yield: 1 batch of sand 1x
- Diet: N/A
Description
A fun and safe DIY recipe for kid-safe waterproof sand that fosters creativity and sensory development.
Ingredients
- 4 cups of all-purpose flour
- 1 cup of baby oil (or coconut oil)
- 1 cup of water (optional)
- Plastic storage container
- Food coloring (optional)
- Measuring cups
- Mixing bowl
Instructions
- In a large mixing bowl, measure out 4 cups of all-purpose flour, ensuring there are no clumps.
- Gradually add 1 cup of baby oil and mix until you achieve a sand-like consistency.
- If desired, mix in a few drops of food coloring for vibrant sand and knead until color is even.
- For waterproof sand, slowly add 1 cup of water while mixing until the sand is moldable.
- Transfer the mixed sand to a plastic storage container and seal tightly.
Notes
Feel free to substitute baby oil with coconut oil for a different scent. You can also incorporate glitter or small beads for added sensory play. Adjust the flour-to-oil ratio to vary the texture.
- Prep Time: 10 minutes
- Cook Time: 0 minutes
- Category: Craft
- Method: Mixing
- Cuisine: DIY
Nutrition
- Serving Size: N/A
- Calories: N/A
- Sugar: 0g
- Sodium: 0mg
- Fat: 100g
- Saturated Fat: 15g
- Unsaturated Fat: 85g
- Trans Fat: 0g
- Carbohydrates: 330g
- Fiber: 0g
- Protein: 12g
- Cholesterol: 0mg

