Introduction
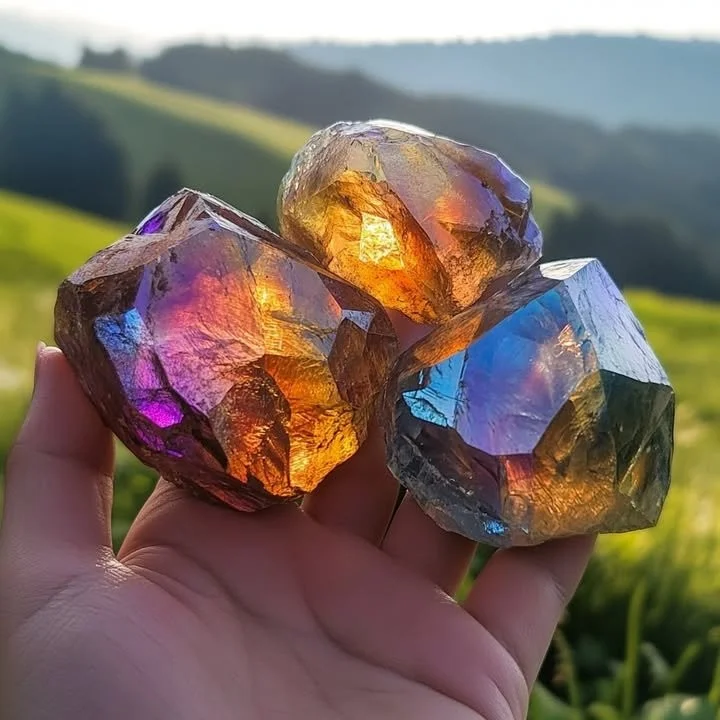
Magic Treasure Rocks will transport you to a world of whimsical delight and creativity right in your kitchen! This charming DIY project is not only an entertaining activity for kids and adults alike but also imparts a sense of wonder with its colorful, glittery results. Using simple ingredients and minimal cooking, you can create your magical rocks that spark joy and make the perfect keepsakes or gifts. Imagine the delight on your little ones’ faces as they unveil their own treasures! This recipe invites you to unleash your creativity, making it a wonderful bonding activity for friends and family. Let’s embark on this enchanting journey and unlock the magic behind these fascinating rocks!
Why You’ll Love This Magic Treasure Rocks
- Creative Outlet: Unleash your artistic side by customizing colors and patterns.
- Sensory Fun: Enjoy the tactile experience of molding and decorating your rocks.
- Great for All Ages: An engaging project suitable for children and adults, promoting teamwork.
- Perfect Gifts: Customized rocks make thoughtful, unique gifts for loved ones.
- Memorable Keepsakes: These treasures are great for preserving memories from special occasions.
- Eco-Friendly: Use natural materials and reduce waste with this charming DIY project.
Materials
- 1 cup of baking soda
- 1/2 cup of vinegar
- 1 cup of cornstarch
- Food coloring (various colors)
- Glitter (optional)
- Mixing bowl
- Muffin tin or silicone molds
- Paintbrush for decoration (optional)
- Wax paper for drying
Step-by-Step Instructions
1. Prepare the Mixture
- In a mixing bowl, combine 1 cup of baking soda and 1/2 cup of vinegar.
- Watch the fun as the vinegar fizzes upon contact with the baking soda!
- Stir until well combined, forming a paste.
2. Mix in Cornstarch
- Gradually add 1 cup of cornstarch to your mixture.
- Stir continuously until you achieve a dough-like consistency.
3. Add Color
- Divide the mixture into smaller bowls if using different colors.
- Add a few drops of food coloring to each bowl and mix thoroughly until you achieve your desired hues.
4. Mold the Rocks
- Spoon the colored mixture into a muffin tin or silicone molds, packing it down well.
- Optional: Sprinkle glitter on top for extra sparkle.
5. Drying
- Place your molds on wax paper and let them dry for 24-48 hours.
- Once dry, gently pop the rocks out of the molds.
6. Optional Decoration
- Use a paintbrush to apply more food coloring or glitter for extra flair.
Tips & Variations
- Customize Shapes: Use different molds for unique rock shapes.
- Swap Ingredients: Substitute baking soda for other powders like citric acid for fizzy effects.
- Natural Colors: Use natural dyes for coloring (like beet juice or turmeric).
- Personal Messages: Write encouraging messages or designs on the rocks with permanent markers after they’ve dried.
Frequently Asked Questions
1. Can I use different containers instead of a muffin tin?
Yes! Any silicone mold or container will work. Just ensure they are flexible enough for easy removal.
2. What if my mixture is too sticky?
Add more cornstarch until you reach a manageable consistency.
3. How do I store the finished rocks?
Keep them in a cool, dry place, preferably in a decorative box or bag to avoid damage.
4. Can I keep these rocks outdoors?
While they are fun decorations, prolonged exposure to moisture and sun may fade colors and affect durability.
Serving Suggestions or Pairings
- Pair your Magic Treasure Rocks with vibrant fruit-flavored lemonade or herbal iced tea for a whimsical summer gathering.
- These rocks can be beautiful table decorations during parties or family gatherings.
Final Thoughts
Magic Treasure Rocks not only provide a fun and creative experience but also result in lasting keepsakes that can be enjoyed by all ages. We hope you enjoy crafting these magical treasures as much as we do! Feel free to share your unique versions or leave a comment about your experience with this delightful DIY project. Happy crafting!
Print
Magic Treasure Rocks
- Total Time: 1440 minutes
- Yield: Multiple rocks
- Diet: N/A
Description
Create colorful and glittery Magic Treasure Rocks with this fun and easy DIY project, perfect for all ages!
Ingredients
- 1 cup of baking soda
- 1/2 cup of vinegar
- 1 cup of cornstarch
- Food coloring (various colors)
- Glitter (optional)
- Mixing bowl
- Muffin tin or silicone molds
- Paintbrush for decoration (optional)
- Wax paper for drying
Instructions
- In a mixing bowl, combine 1 cup of baking soda and 1/2 cup of vinegar. Stir until well combined to form a paste.
- Gradually add 1 cup of cornstarch, stirring continuously until you achieve a dough-like consistency.
- Divide the mixture into smaller bowls and add a few drops of food coloring to each bowl, mixing until you achieve desired hues.
- Spoon the colored mixture into muffin tin or silicone molds, packing it down well. Optionally, sprinkle glitter on top.
- Place the molds on wax paper and let them dry for 24-48 hours. Once dry, gently pop the rocks out of the molds.
- Optionally, use a paintbrush to apply more food coloring or glitter for extra flair.
Notes
Customize shapes with different molds or use natural dyes for coloring. Enjoy crafting with friends or family!
- Prep Time: 15 minutes
- Cook Time: 0 minutes
- Category: Craft
- Method: Crafting
- Cuisine: N/A
Nutrition
- Serving Size: 1 rock
- Calories: 0
- Sugar: 0g
- Sodium: 0mg
- Fat: 0g
- Saturated Fat: 0g
- Unsaturated Fat: 0g
- Trans Fat: 0g
- Carbohydrates: 0g
- Fiber: 0g
- Protein: 0g
- Cholesterol: 0mg

