Introduction
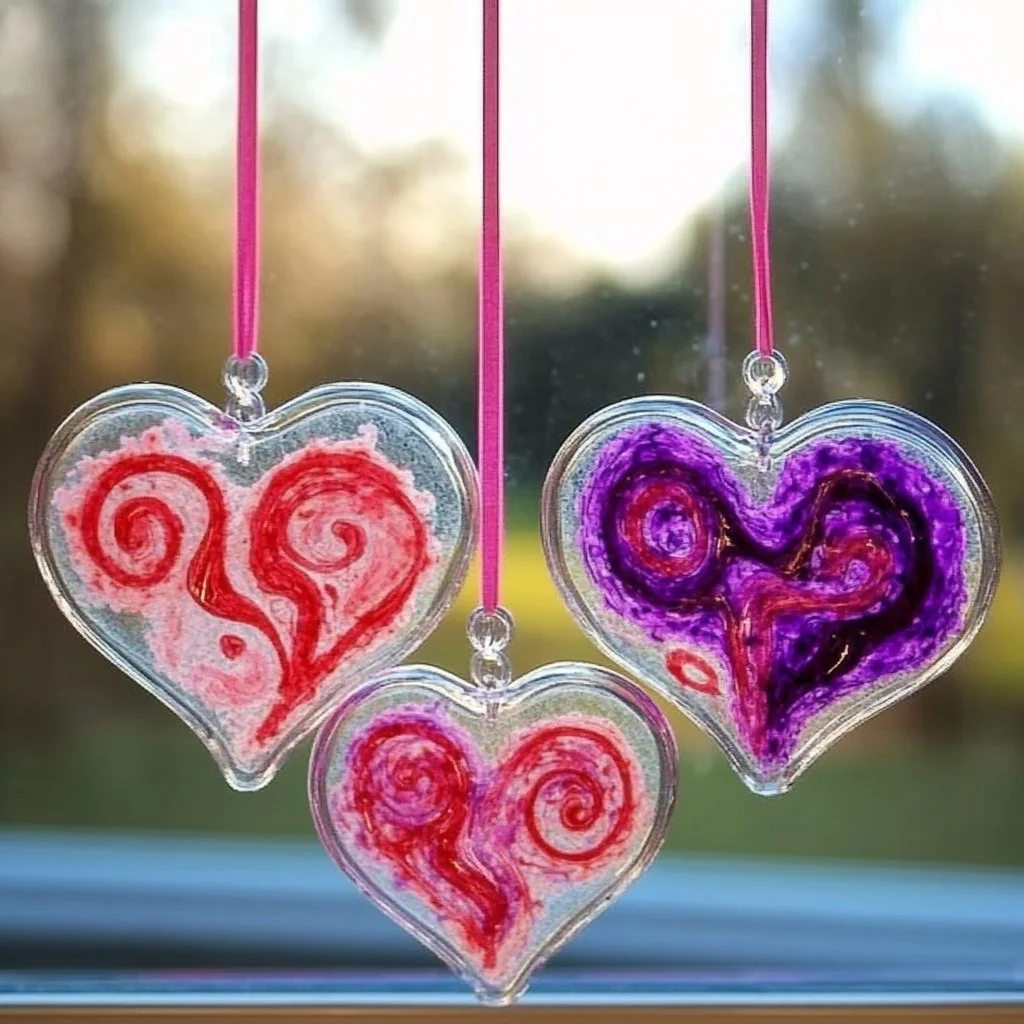
Bringing a touch of creativity into your home can be an enjoyable experience, especially when it involves simple yet beautiful crafts. DIY wax paper sun catchers are a fantastic way to infuse vibrant colors and patterns into any space. Not only are they easy to make, but they also provide a wonderful opportunity for family bonding, particularly with kids. Crafted from basic materials, these sun catchers capture and reflect light beautifully, creating a magical display when hung by your windows. As the sunlight streams through, you’ll be delighted by the kaleidoscope of colors dancing on your walls, making this craft both aesthetically pleasing and a joyful activity to share with loved ones.
Why You’ll Love This DIY Wax Paper Sun Catchers
- Easy to Make: Simple steps that are perfect for all ages.
- Creative Fun: Encourage imagination with color choices and designs.
- Beautiful Decor: Add a splash of color and vibrance to your home.
- Cost-Effective: Use materials you may already have at home.
- Great for All Seasons: Perfect for any time of year, from bright summer sunlight to cozy winter vibes.
Materials
- Wax paper (2 sheets)
- Crayons (various colors)
- Grater or knife (for shavings)
- Iron
- Parchment paper
- Scissors
- String or fishing line (for hanging)
Step-by-Step Instructions
1. Prepare the Crayon Shavings
- Choose your colors: Select a variety of crayon colors for vibrant displays.
- Grate the crayons: Using a grater or a knife, create shavings. This is a fun and sensory activity, as the colors and textures come to life.
2. Create the Wax Paper Layers
- Arrange the wax paper: Lay one sheet of wax paper flat on a surface.
- Sprinkle shavings: Evenly distribute the crayon shavings over the paper, ensuring no area is left bare.
3. Cover with Second Wax Paper
- Top layer: Place the second sheet of wax paper on top of the shavings, creating a sandwich of sorts.
4. Iron the Layers
- Heat up the iron: Set it to a low heat without steam.
- Use parchment paper: Place a sheet of parchment paper over the wax paper sandwich.
- Iron carefully: Gently press the iron over the parchment paper for about 10-20 seconds, watching as the shavings melt and colors blend. Note: Make sure to keep moving the iron to prevent burning.
5. Cut and Hang
- Cool down: Let the wax paper cool for a minute.
- Cut out shapes: Use scissors to cut out various shapes or fun designs.
- Attach string: Punch a hole at the top of each shape and tie your string or fishing line for hanging.
Tips & Variations
- Color Blending: Experiment with different crayon combinations for unique effects.
- Shape Play: Instead of traditional shapes, try animal silhouettes or seasonal designs.
- Layering: Add more layers of wax paper for thicker, more durable sun catchers.
- Seasonal Themes: Create themed designs for holidays or seasons by using specific colors or patterns.
Frequently Asked Questions
Q1: Can I use colored pencils instead of crayons?
A1: Colored pencils do not melt in the same way as crayons, so it’s best to stick with crayons for vibrant results.
Q2: What if I don’t have an iron?
A2: You can use a hair straightener set on low heat to melt the crayon shavings if an iron isn’t available.
Q3: How do I clean the iron after?
A3: Let the iron cool down and wipe it with a damp cloth to remove any crayon residue.
Q4: Can I use different types of paper?
A4: Wax paper is ideal because it withstands heat and allows light to shine through. Other materials may not yield the same results.
Serving Suggestions or Pairings
Enhance your crafting day by pairing it with refreshing iced tea, homemade lemonade, or light snacks like fruit skewers or popcorn. This will keep everyone energized and inspired throughout the activity.
Final Thoughts
Creating DIY wax paper sun catchers is not just a craft—it’s an experience filled with joy, color, and creativity. As you hang your beautiful creations by your windows, take a moment to enjoy the delightful patterns of light they cast across your home. We’d love to see your versions of these sun catchers! Feel free to share your thoughts or variations in the comments below. Happy crafting!
Print
DIY Wax Paper Sun Catchers
- Total Time: 25 minutes
- Yield: Varies, depending on shapes cut
- Diet: N/A
Description
A fun and vibrant craft project to create beautiful wax paper sun catchers with your kids.
Ingredients
- Wax paper (2 sheets)
- Crayons (various colors)
- Grater or knife (for shavings)
- Iron
- Parchment paper
- Scissors
- String or fishing line (for hanging)
Instructions
- Prepare the crayon shavings by selecting a variety of crayon colors and grating them.
- Create the wax paper layers by laying one sheet flat and sprinkling the shavings over it.
- Cover with the second wax paper sheet, creating a sandwich.
- Iron the layers by heating the iron to low without steam and placing parchment paper over the sandwich before ironing gently.
- Cut out shapes after the wax paper cools down and attach a string for hanging.
Notes
Experiment with different crayon combinations and shapes for unique effects. Use a hair straightener if you don’t have an iron.
- Prep Time: 15 minutes
- Cook Time: 10 minutes
- Category: Craft
- Method: Crafting
- Cuisine: N/A
Nutrition
- Serving Size: N/A
- Calories: N/A
- Sugar: N/A
- Sodium: N/A
- Fat: N/A
- Saturated Fat: N/A
- Unsaturated Fat: N/A
- Trans Fat: N/A
- Carbohydrates: N/A
- Fiber: N/A
- Protein: N/A
- Cholesterol: N/A

