Introduction
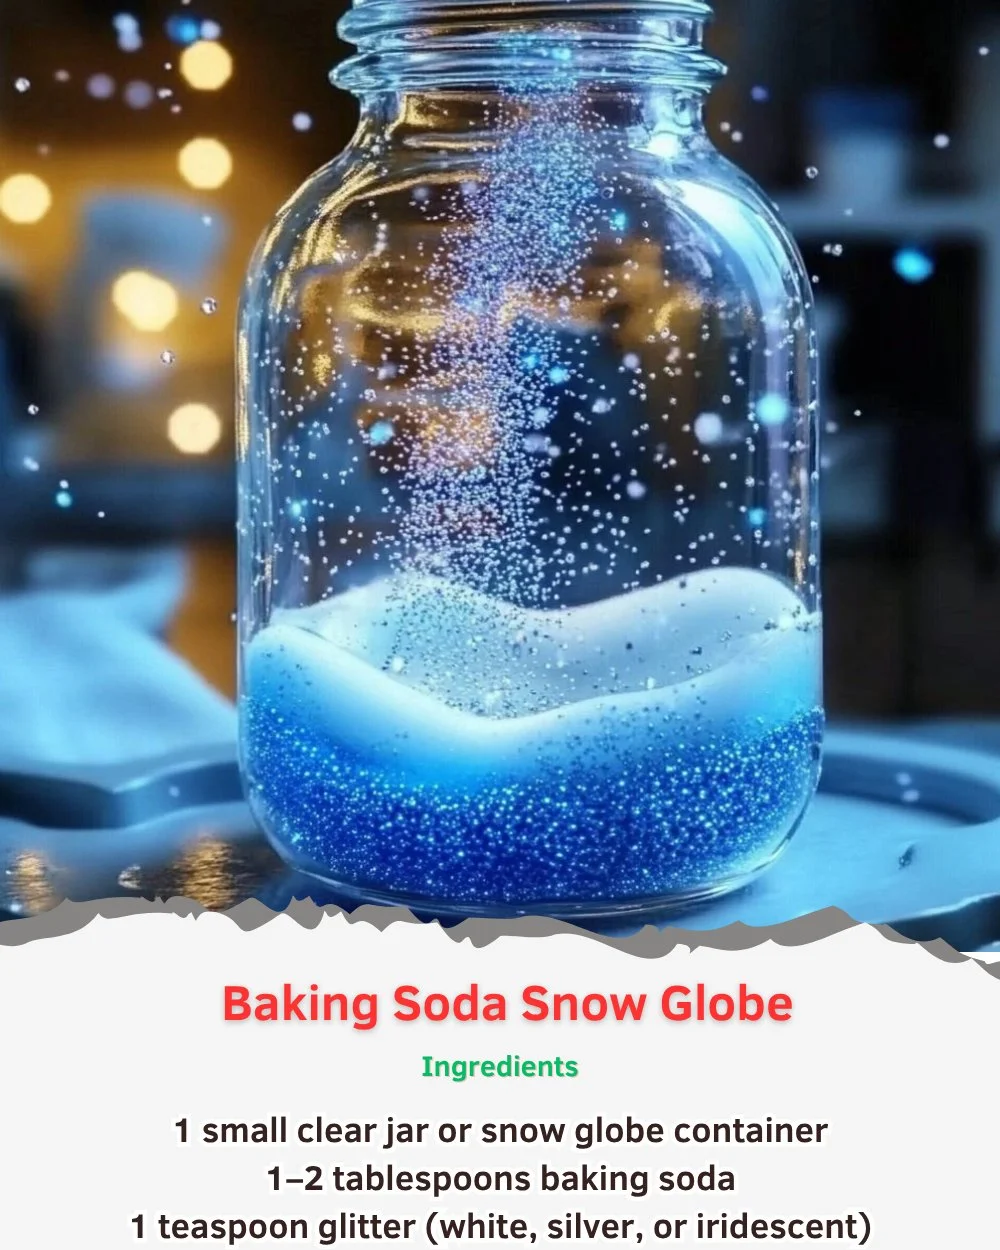
Creating a baking soda snow globe can transport you to a winter wonderland, no matter the season. This delightful DIY project combines the magic of a snow globe with the fun of a craft activity. You’ll appreciate how simple and inexpensive it is to create a charming decorative piece that brings a touch of whimsy to any home. This project is perfect for both kids and adults, offering a wonderful way to bond, enhance fine motor skills, and spark creativity. Not only do you end up with a beautiful keepsake or gift, but you’ll also enjoy an engaging hands-on experience that can brighten any day. Let’s dive into the reasons you’ll love making your own baking soda snow globe!
Why You’ll Love This Baking Soda Snow Globe
- Easy to make: Requires minimal materials and effort.
- Customizable: Personalize with favorite characters or colors.
- Sensory fun: The sight of swirling snow creates a magical atmosphere.
- Family activity: Perfect for crafting with kids or friends.
- Budget-friendly: Uses common supplies you likely already have.
- Unique gift idea: A heartfelt and creative present for any occasion.
Materials
- 1 cup of baking soda
- 1/3 cup of water
- Small figurines or decorations (e.g., miniature trees, animals)
- Clear jar with a lid (e.g., mason jar)
- Glitter or fake snow (optional)
- Food coloring (optional)
- Hot glue gun (for securing figurines)
- Spoon for mixing
Step-by-Step Instructions
Prepare the Base
- Mix the Snow: In a bowl, combine 1 cup of baking soda with 1/3 cup of water. Stir until you have a moldable, dough-like consistency.
- Shape the Snow: Form the baking soda mixture into a snow-filled landscape around your figurines. You can create hills, or just a flat surface.
Secure Your Decorations
- Attach Figurines: Use a hot glue gun to securely attach small figurines to the bottom inside of the jar lid. Allow the glue to dry completely.
- Add Snow: Spoon the baking soda mixture around the base of the figurines, ensuring a good amount surrounds them for a snowy effect.
Assemble the Globe
- Fill the Jar: If desired, sprinkle some glitter or fake snow around the figurines and fill the jar with water, leaving a little space at the top.
- Seal the Jar: Carefully screw the lid onto the jar, making sure not to disturb the contents.
Final Touches
- Shake and Swirl: Turn your snow globe upside down to enjoy the swirling snow effect. Adjust the contents as necessary, and you’re done!
Tips & Variations
- Customize Decorations: Switch out the figurines based on seasons or holidays (e.g., pumpkins for fall, hearts for Valentine’s Day).
- Color it Up: Add a few drops of food coloring to the water for an exciting twist.
- Use Different Jars: Explore different jar sizes or shapes for unique displays.
- Make It a Gifting Project: Let kids help make these as gifts; they can personalize the designs!
Frequently Asked Questions
1. Can I use other materials instead of baking soda?
Yes, you can use salt or flour as an alternative, but baking soda provides the best texture for snow.
2. What if I don’t have a clear jar?
You can use any container with a lid, ensuring it’s sealable and allows visibility of the globe’s interior.
3. Can I add more than one figurine?
Absolutely! Just make sure there’s enough space and that they don’t obstruct water flow when the globe is shaken.
4. How long does the snow globe last?
As long as the jar is sealed properly, it should last indefinitely. If any water evaporates, just add more!
Serving Suggestions or Pairings
Pair your baking soda snow globe project with a hot beverage, such as hot chocolate or warm apple cider, for a cozy craft night. If hosting friends, serve alongside winter-themed treats, like gingerbread cookies or peppermint bark.
Final Thoughts
Creating a baking soda snow globe is a charming and engaging way to capture the magic of winter. The joy of personalizing it makes each globe truly unique, whether for home decor or a thoughtful gift. We’d love to see your creative versions! Share your snow globes or leave a comment below on any variations you tried. Happy crafting!
Print
Baking Soda Snow Globe
- Total Time: 10 minutes
- Yield: 1 snow globe 1x
- Diet: N/A
Description
Create a charming baking soda snow globe that captures the magic of winter in a delightful DIY project.
Ingredients
- 1 cup of baking soda
- 1/3 cup of water
- Small figurines or decorations (miniature trees, animals)
- Clear jar with a lid (mason jar)
- Glitter or fake snow (optional)
- Food coloring (optional)
- Hot glue gun (for securing figurines)
- Spoon for mixing
Instructions
- Mix the baking soda and water in a bowl until it reaches a moldable consistency.
- Shape the mixture around the figurines to create a snow-filled landscape.
- Use a hot glue gun to attach figurines to the bottom of the jar lid and allow to dry.
- Spoon the baking soda mixture around the figurines inside the jar.
- Fill the jar with water, sprinkle glitter or fake snow if desired, and seal the lid on tightly.
- Shake the globe upside down to enjoy the swirling snow effect.
Notes
Customize with different figurines or colors for different seasons. Ensure the jar is well-sealed to maintain the globe’s longevity.
- Prep Time: 10 minutes
- Cook Time: 0 minutes
- Category: Craft
- Method: Crafting
- Cuisine: N/A
Nutrition
- Serving Size: 1 snow globe
- Calories: 0
- Sugar: 0g
- Sodium: 0mg
- Fat: 0g
- Saturated Fat: 0g
- Unsaturated Fat: 0g
- Trans Fat: 0g
- Carbohydrates: 0g
- Fiber: 0g
- Protein: 0g
- Cholesterol: 0mg

