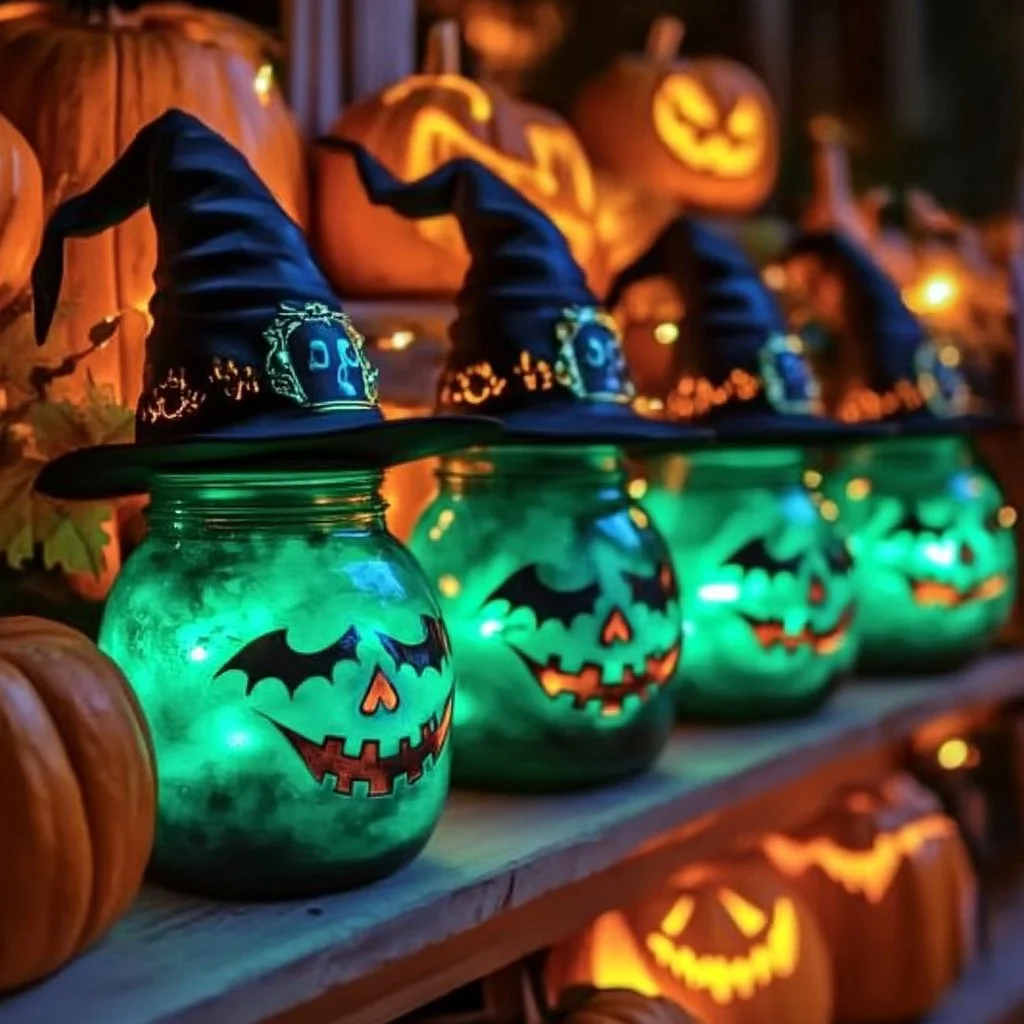
Glow jars are a captivating DIY project that can brighten up any space while unleashing your creativity. Perfect for parties, cozy evenings, or simply enhancing your home decor, these luminescent wonders capture the essence of magic and whimsy. The beauty of glow jars lies not only in their aesthetic appeal but also in the personal touch each one can reflect, making them unique to every creator. The best part? They’re simple to make and can be customized to suit any theme or occasion. Whether you’re looking to craft a serene ambience for a romantic dinner or a festive atmosphere for a celebration, glowing jars can help you achieve that desired mood.
In this guide, we’ll walk you through the materials you need, the simple steps to create your own glow jars, and helpful tips for customization. Let’s dive into this enchanting world of DIY creativity!
Why You’ll Love This Glow Jars
- Enchanting Ambiance: Create a magical glow that easily enhances any room.
- Customizable: Use different colors and materials to match your personal style.
- Kid-Friendly: An excellent project for children to enjoy under supervision.
- Affordable: Utilize inexpensive ingredients while creating beautiful decor.
- Versatile Use: Perfect for home decor, outdoor gatherings, or gifts.
Materials
- Mason jars or glass containers
- Glow-in-the-dark paint (non-toxic)
- Paintbrush or sponge applicator
- Water (if using diluted paint)
- Blacklight (optional for enhanced effect)
- Optional decorations (glitter, ribbons, stickers)
Step-by-Step Instructions
Prepare Your Space
- Lay down newspaper or a plastic sheet to protect your working area.
- Make sure your jars are clean and dry.
Apply Glow Paint
- Scoop out the paint: If your glow paint requires dilution, mix it with water according to the instructions.
- Brush it on: Using your paintbrush or sponge applicator, apply the glow paint inside the jar.
- Focus on details: Consider painting designs or patterns for an artistic touch.
Dry the Jars
- Wait patiently: Allow the paint to dry completely, which may take about 1-2 hours.
- Optional glow test: Shine a blacklight inside the jar to see an immediate glowing effect.
Final Touches
- Decorate: Add glitter, ribbons, or stickers on the outside for a personal flair.
- Seal (optional): A clear sealant can be used for added durability if desired.
Tips & Variations
- Color Themes: Experiment with different shades of glow paint for a more colorful display.
- Layering: Layer different paints for a cool depth effect.
- Nature Elements: Consider adding small pebbles or dried flowers inside the jar for added texture.
- Scent: Add a few drops of essential oil to the base for an aromatic experience (ensure it’s safe for the jar material).
Frequently Asked Questions
1. Can I use regular paint instead of glow-in-the-dark paint?
No, regular paint won’t glow in the dark. Be sure to use a specific glow-in-the-dark paint for the desired effect.
2. How long does the glow last once the jars are charged?
The glowing effect can last several hours, depending on the type of glow paint used and the initial charging time.
3. What if my jars are not glowing as expected?
Ensure that you’ve applied a thick enough layer of glow paint, and charge them in a lighted area before using.
4. Can I reuse the jars?
Yes! If removing the paint carefully, you can clean the jars and apply a new design whenever you wish.
Serving Suggestions or Pairings
- Pair your glow jars with LED candles or fairy lights for additional illumination.
- Enjoy a cozy outdoor bonfire with friends while having glow jars as centerpieces.
- Perfect for a movie night, accompanied by popcorn and refreshing beverages.
Final Thoughts
Creating glow jars is not just a fun and easy project but also a delightful way to express your creativity and Set the mood in any setting. Feel free to share your versions and variations of glow jars in the comments below! We love to see how you bring your own unique touch to this luminous craft. Happy crafting!
Print
DIY Glow Jars
- Total Time: 140 minutes
- Yield: 3-4 glow jars
- Diet: Non-Dietary
Description
Brighten up any space with enchanting DIY glow jars, perfect for parties and home decor.
Ingredients
- Mason jars or glass containers
- Glow-in-the-dark paint (non-toxic)
- Paintbrush or sponge applicator
- Water (if using diluted paint)
- Blacklight (optional for enhanced effect)
- Optional decorations (glitter, ribbons, stickers)
Instructions
- Prepare Your Space: Lay down newspaper or a plastic sheet to protect your working area. Ensure jars are clean and dry.
- Apply Glow Paint: If necessary, mix glow paint with water. Using your applicator, apply the glow paint inside the jar, focusing on details for artistic designs.
- Dry the Jars: Allow the paint to dry completely (1-2 hours). Optionally, shine a blacklight inside to see the glowing effect.
- Final Touches: Decorate the outside with glitter, ribbons, or stickers. Optionally, seal with a clear sealant for durability.
Notes
Experiment with different colors, layering techniques, and optional scents for a unique glow jar.
- Prep Time: 20 minutes
- Cook Time: 120 minutes
- Category: Craft
- Method: Crafting
Nutrition
- Serving Size: 1 jar
- Calories: 50
- Sugar: 0g
- Sodium: 0mg
- Fat: 0g
- Saturated Fat: 0g
- Unsaturated Fat: 0g
- Trans Fat: 0g
- Carbohydrates: 0g
- Fiber: 0g
- Protein: 0g
- Cholesterol: 0mg

