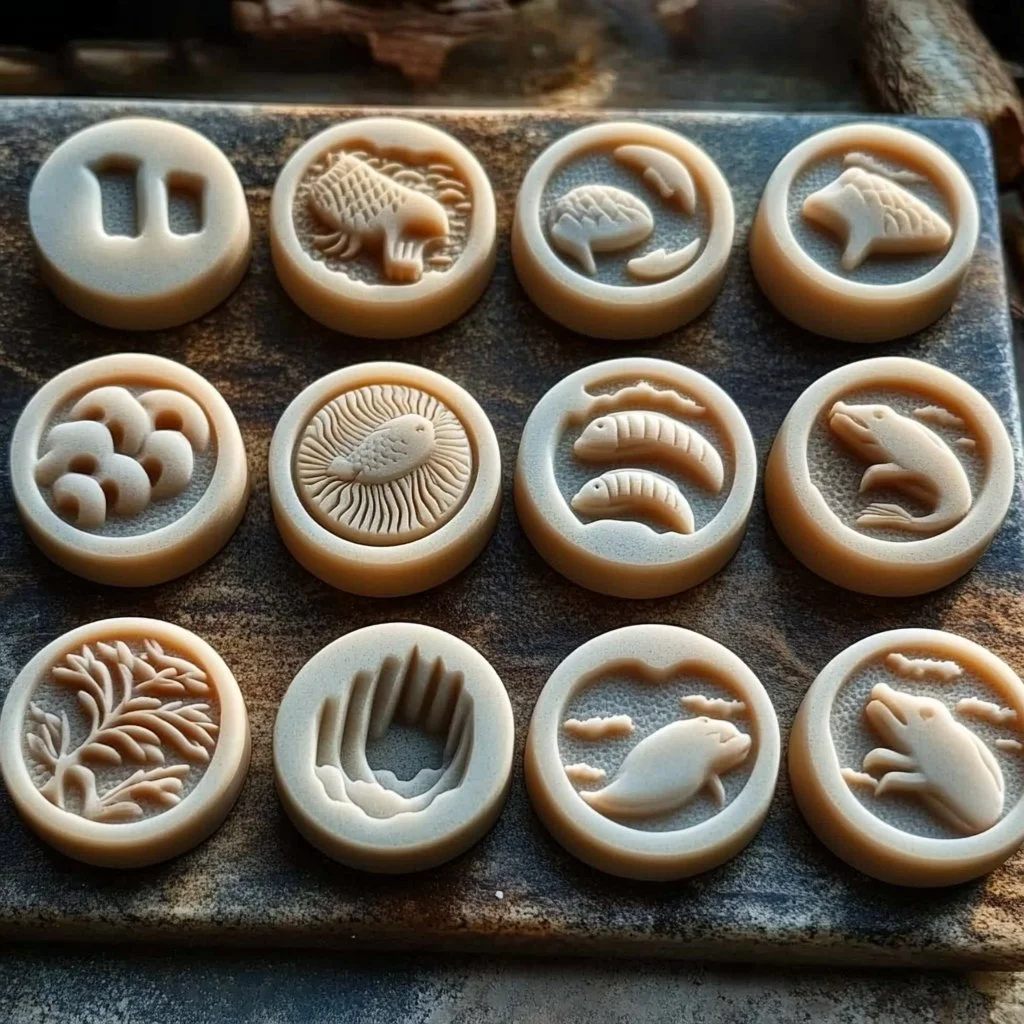
Dinosaur fossils may sound like a relic of the past, but this DIY recipe brings a whimsical twist to your kitchen. Imagine crafting your very own dinosaur-shaped treats that will delight kids and adults alike! Inspired by paleontological wonders, this fun activity not only sparks creativity but also encourages learning about science through the world of dinosaurs. Each bite of these playful snacks will transport you to an age when giant reptiles roamed the earth. Grab your aprons and get ready to dive into a prehistoric adventure in baking!
Why You’ll Love This Dinosaur Fossils
- Fun for All Ages: Kids and adults can enjoy the process of making these treats together.
- Encourages Creativity: Each dinosaur can be customized in shape and colors.
- Educational: A unique way to teach kids about dinosaurs and natural history.
- Easy to Make: Simple ingredients and straightforward steps make this a breeze.
- Perfect for Parties: Great as party snacks, especially for dinosaur-themed events.
Materials
- 2 cups all-purpose flour
- 1 cup salt
- 1 cup water
- Dinosaur cookie cutters
- Baking sheet
- Parchment paper
- Food coloring (optional)
- Rolling pin
Step-by-Step Instructions
1. Prepare the Dough
- In a large mixing bowl, combine the flour and salt.
- Gradually add water and mix until a dough forms.
- If desired, add a few drops of food coloring for a fun touch.
2. Roll Out the Dough
- Dust a clean surface with flour.
- Use a rolling pin to roll out the dough to about 1/4 inch thick.
3. Cut Out Dinosaur Shapes
- Take dinosaur cookie cutters and press them into the dough to create shapes.
- Carefully transfer the shapes to a baking sheet lined with parchment paper.
4. Bake the Fossils
- Preheat your oven to 200°F (90°C).
- Bake the dinosaur shapes for about 3 hours, or until completely dry and hard.
5. Cool and Display
- Allow the dinosaur fossils to cool completely.
- Use them as decorations or fun toys!
Tips & Variations
- Customize Shapes: Use different cookie cutters for other prehistoric creatures.
- Add Color: Before baking, brush the dinosaurs with food coloring or water-based paint for vibrant designs.
- Texture Variations: Mix in spices like cinnamon for a fragrant twist.
- Preserve as Keepsakes: Seal with a clear varnish for lasting decorative pieces.
Frequently Asked Questions
1. Can I eat these dinosaur fossils?
- These fossils are meant for fun and decoration, not for consumption. If you’re looking for edible treats, consider a cookie or brownie recipe instead.
2. What can I use if I don’t have cookie cutters?
- You can use a knife to freehand shapes or mold the dough into dinosaurs by hand.
3. How should I store these after they are baked?
- Store in a cool, dry place. They can be kept in a sealed plastic bag or box to prevent moisture.
4. How long will the dinosaur fossils last?
- If stored properly, they can last for years as long as they remain dry.
Serving Suggestions or Pairings
To complement your dinosaur fossils, consider serving them alongside a refreshing lemonade, fruity punch, or even whimsical cupcakes topped with edible colored sprinkles. They could also make a great conversation starter at parties when placed near a dinosaur-themed table setup!
Final Thoughts
Creating dinosaur fossils in your kitchen is not only a fun project but also a wonderful way to foster creativity and learning. We hope this recipe brings joy and inspiration to your baking adventures. Feel free to share your versions of these dinosaur fossils or leave a comment about your experience! Happy crafting!
Print
Dinosaur Fossils
- Total Time: 210 minutes
- Yield: 10 fossils 1x
- Diet: Non-edible
Description
Craft your own dinosaur-shaped treats with this fun DIY recipe that sparks creativity and encourages learning about dinosaurs.
Ingredients
- 2 cups all-purpose flour
- 1 cup salt
- 1 cup water
- Dinosaur cookie cutters
- Baking sheet
- Parchment paper
- Food coloring (optional)
- Rolling pin
Instructions
- In a large mixing bowl, combine the flour and salt. Gradually add water and mix until a dough forms. If desired, add a few drops of food coloring for a fun touch.
- Dust a clean surface with flour and use a rolling pin to roll out the dough to about 1/4 inch thick.
- Take dinosaur cookie cutters and press them into the dough to create shapes. Carefully transfer the shapes to a baking sheet lined with parchment paper.
- Preheat your oven to 200°F (90°C) and bake the dinosaur shapes for about 3 hours, or until completely dry and hard.
- Allow the dinosaur fossils to cool completely. Use them as decorations or fun toys!
Notes
These fossils are meant for fun and decoration, not for consumption. Store in a cool, dry place to preserve them for years.
- Prep Time: 30 minutes
- Cook Time: 180 minutes
- Category: Craft
- Method: Baking
- Cuisine: American
Nutrition
- Serving Size: 1 fossil
- Calories: 0
- Sugar: 0g
- Sodium: 0mg
- Fat: 0g
- Saturated Fat: 0g
- Unsaturated Fat: 0g
- Trans Fat: 0g
- Carbohydrates: 0g
- Fiber: 0g
- Protein: 0g
- Cholesterol: 0mg

