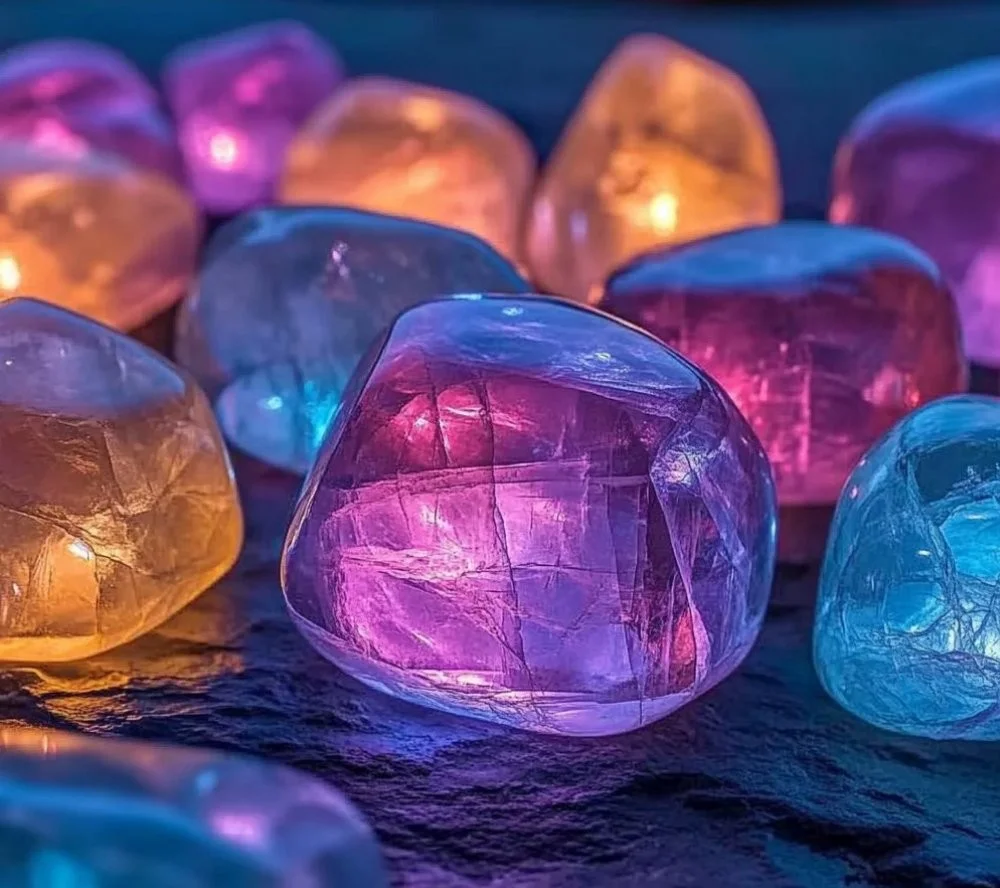
If you’re looking for a fun and imaginative DIY project, creating glowing moon rocks is an exciting way to blend science, art, and play! These luminous stones embody the essence of the night sky, allowing you to bring a bit of celestial magic into your home or backyard. Perfect for kids and adults alike, this project fosters creativity and encourages exploration of the natural world. With just a few materials, you can transform ordinary rocks into radiant treasures, creating an enchanting atmosphere after dark. Whether you’re planning a backyard gathering, a themed party, or simply want to add some whimsy to your evenings, this DIY glowing moon rocks recipe is sure to shine bright in your creative repertoire!
Why You’ll Love This DIY Glowing Moon Rocks
- Easy and Fun: A simple project that anyone can do, perfect for family bonding.
- Customizable: Vary colors and sizes to suit your personal aesthetic.
- Educational: A hands-on science activity that teaches about luminescence.
- Unique Decor: Amazing night-time decor that adds charm to your garden or home.
- Great Gift Idea: Handmade gifts that are delightful and original.
- Sustainable: Use natural materials for an eco-friendly crafting option.
Materials
- Smooth stones or pebbles
- Glow-in-the-dark paint (non-toxic)
- Paintbrushes or sponges
- Newspaper or protective covering for your workspace
- Clear sealant spray (optional, for durability)
- Water (if required by paint instructions)
Step-by-Step Instructions
1. Preparation
- Gather all your materials and set up a clean workspace by covering it with newspaper.
- Choose smooth stones of various sizes for added interest.
2. Painting
- Using a paintbrush or sponge, apply a generous layer of glow-in-the-dark paint to each rock.
- Make sure to cover all visible surfaces, ensuring no stone is missed to maximize glow.
3. Drying
- Allow the painted stones to dry completely; check the paint instructions for recommended drying times.
- Optionally, you can apply a second coat for a brighter glow.
4. Sealing (Optional)
- Once dry, spray a light layer of clear sealant to increase the durability of the paint.
- Let the sealant dry as per product instructions.
5. Display
- Place your glowing moon rocks in a garden area or indoors where they can charge by day and illuminate at night.
Tips & Variations
- Color Swaps: Experiment with various glow colors, such as green, blue, or even mixed hues for a unique effect.
- Texture: Try using a sponge to create textured surfaces for an interesting visual.
- Shape: Instead of regular stones, use larger natural items like wood slices for a different look.
- Layering: Consider adding a layer of glitter or sequins before sealing them for added sparkle.
Frequently Asked Questions
Q1: Can I use regular paint instead of glow-in-the-dark paint?
A1: Regular paint will not glow in the dark. Be sure to use a specific glow-in-the-dark paint for the desired effect.
Q2: How long does the glow last?
A2: The duration varies by paint brand, usually lasting from a few minutes to several hours after being charged by light.
Q3: Can I wash the stones after they’re painted?
A3: It’s advisable to avoid submerging them in water, as this may affect the paint. Spot clean gently if necessary.
Q4: What should I do if my glow isn’t bright enough?
A4: Ensure you applied enough paint and that the rocks were charged sufficiently under a bright light.
Serving Suggestions or Pairings
Pair your glowing moon rocks with festive string lights for magical garden displays or use them in conjunction with outdoor seating arrangements to set the mood for evening gatherings. A cozy hot chocolate, cocktails, or sparkling water pairs beautifully with the enchanting atmosphere created by the glowing stones.
Final Thoughts
Creating glowing moon rocks is not only a delightful DIY project but also a wonderful way to explore creativity with those you love. These radiant stones will undoubtedly light up your space and spark joy and wonder in anyone who sees them. We encourage you to share your unique versions or any creative ideas you come up with in the comments below! Happy crafting!
Print
DIY Glowing Moon Rocks
- Total Time: 15 minutes
- Yield: Varies based on number of stones used
- Diet: N/A
Description
Transform ordinary stones into glowing treasures with this fun and easy DIY project that combines art and science.
Ingredients
- Smooth stones or pebbles
- Glow-in-the-dark paint (non-toxic)
- Paintbrushes or sponges
- Newspaper or protective covering for your workspace
- Clear sealant spray (optional, for durability)
- Water (if required by paint instructions)
Instructions
- Preparation: Gather all your materials and set up a clean workspace by covering it with newspaper. Choose smooth stones of various sizes for added interest.
- Painting: Using a paintbrush or sponge, apply a generous layer of glow-in-the-dark paint to each rock, ensuring no stone is missed to maximize glow.
- Drying: Allow the painted stones to dry completely; check the paint instructions for recommended drying times. Optionally, you can apply a second coat for a brighter glow.
- Sealing (Optional): Once dry, spray a light layer of clear sealant to increase the durability of the paint and let it dry as per product instructions.
- Display: Place your glowing moon rocks in a garden area or indoors where they can charge by day and illuminate at night.
Notes
Experiment with various glow colors, texturing methods, and larger natural items for a unique look.
- Prep Time: 15 minutes
- Cook Time: 0 minutes
- Category: Craft
- Method: Crafting
- Cuisine: N/A
Nutrition
- Serving Size: N/A
- Calories: N/A
- Sugar: N/A
- Sodium: N/A
- Fat: N/A
- Saturated Fat: N/A
- Unsaturated Fat: N/A
- Trans Fat: N/A
- Carbohydrates: N/A
- Fiber: N/A
- Protein: N/A
- Cholesterol: N/A

