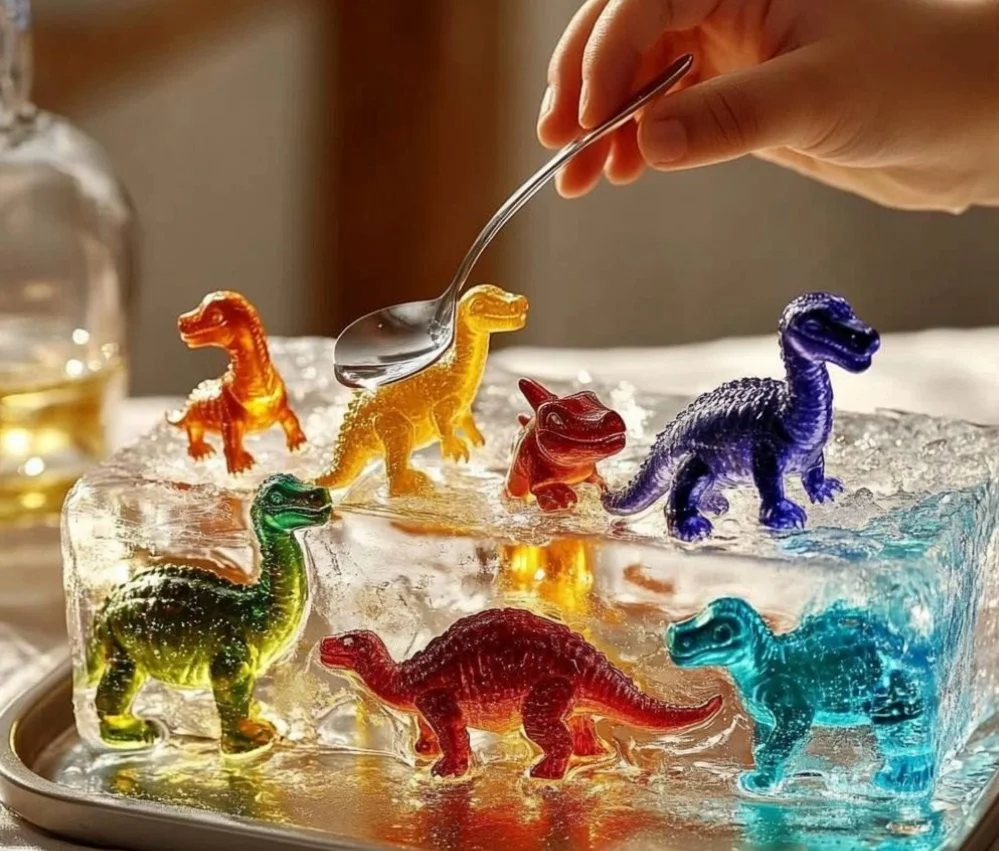
Ice excavation combines the fun of DIY crafts with the refreshing delight of homemade treats. This exciting activity not only engages kids and adults alike but also cools down those hot summer days! As you excavate colorful, frozen creations, you’ll discover the joy of experimenting with different flavors and textures. It’s an engaging way to spend time with family and friends, unleash your creativity, and even learn a bit about the science of freezing and melting. So grab your materials and get ready to dig into a world of icy fun that’s perfect for hot days, birthday parties, or just a cozy afternoon at home!
Why You’ll Love This Ice Excavation
- Fun for All Ages: Engages children while providing a nostalgic experience for adults.
- Creative Customization: Use your favorite juices and flavor combinations.
- Sensory Exploration: Excavate ice with different tools and feel the textures.
- Interactive Learning: Teach kids about the science of freezing and melting.
- Easy to Make: Minimal preparation with simple ingredients.
- Refreshing Treat: Perfect for hot weather and summer gatherings.
Materials
- Fruit juices (your choice: orange, grape, berry, etc.)
- Ice molds or a shallow container
- Small plastic toys or figurines (optional)
- Decorative salt or food items for excavation (e.g., gummy candies)
- Tools for excavation (small shovels, spoons, or pickaxes)
Step-by-Step Instructions
Prepare the Mixture
- Choose your favorite fruit juices.
- Pour them into ice molds or a shallow container.
- If desired, place small plastic toys in the molds for a surprise inside.
Freeze the Mixture
- Cover the molds with plastic wrap to avoid freezer odors.
- Allow the mixture to freeze for at least 4-6 hours or until solid.
Excavate the Ice
- Remove the frozen blocks from the molds.
- Place them in a large basin or tray for excavation.
- Hand out excavation tools, and let the fun begin!
- Encourage participants to hammer or dig into the ice, revealing hidden surprises.
Enjoy Your Creations
- Once excavated, serve the ice pieces with chill drinks or enjoy them as is.
Tips & Variations
- Flavor Swaps: Try using flavored soda or herbal teas instead of juice for unique tastes.
- Add-ins: Incorporate sliced fruits or candy pieces into the ice mixture for extra flavor and fun.
- Color Play: Use food coloring in plain water to create vibrant, colorful ice layers.
- Make It a Challenge: Set a timer during the excavation for a more competitive experience!
Frequently Asked Questions
Q1: Can I use carbonated drinks to make ice?
A: Yes, but the texture might be different due to the bubbles! They may create a more frosty effect.
Q2: How long does it take for the ice to freeze?
A: It typically takes 4-6 hours, but overnight is best for solid results.
Q3: What can I do if I don’t have ice molds?
A: Any shallow container will work, just ensure it’s freezer-safe!
Q4: Are the excavated pieces edible?
A: Absolutely, as long as you used food-safe ingredients, they are completely edible!
Serving Suggestions or Pairings
- Pair your ice creations with lemonade or iced tea for a refreshing drink.
- Serve alongside fruit salad or yogurt for a healthy dessert option.
- Artistically arrange excavated pieces on a dessert platter for a party treat.
Final Thoughts
Ice excavation is not just a craft; it’s a delightful, sensory-rich experience that blends creativity with enjoyment. Whether you’re hosting a party or simply looking for a unique afternoon activity, this DIY recipe provides endless possibilities for fun. We’d love to hear about your versions or any creative twists you add. Please share your experiences in the comments below!
Print
Ice Excavation
- Total Time: 360 minutes
- Yield: Varies based on container size
- Diet: Vegetarian
Description
A fun and interactive DIY activity that combines crafting with the delight of homemade icy treats, perfect for hot summer days or gatherings.
Ingredients
- Fruit juices (your choice: orange, grape, berry, etc.)
- Ice molds or a shallow container
- Small plastic toys or figurines (optional)
- Decorative salt or food items for excavation (e.g., gummy candies)
- Tools for excavation (small shovels, spoons, or pickaxes)
Instructions
- Choose your favorite fruit juices and pour them into ice molds or a shallow container. If desired, place small plastic toys in the molds for a surprise inside.
- Cover the molds with plastic wrap to avoid freezer odors and allow the mixture to freeze for at least 240-360 minutes or until solid.
- Once frozen, remove the blocks from the molds and place them in a large basin or tray for excavation. Hand out excavation tools and let the fun begin!
- Encourage participants to hammer or dig into the ice to reveal hidden surprises.
- Once excavated, serve the ice pieces with chilled drinks or enjoy them as is.
Notes
You can experiment with different flavors, colors, and add-ins for a more exciting experience. Remember that the excavated ice pieces are edible if food-safe ingredients are used.
- Prep Time: 10 minutes
- Cook Time: 0 minutes
- Category: Dessert
- Method: Freezing
- Cuisine: American
Nutrition
- Serving Size: 1 serving
- Calories: 50
- Sugar: 10g
- Sodium: 15mg
- Fat: 0g
- Saturated Fat: 0g
- Unsaturated Fat: 0g
- Trans Fat: 0g
- Carbohydrates: 12g
- Fiber: 0g
- Protein: 0g
- Cholesterol: 0mg

