-
Introduction
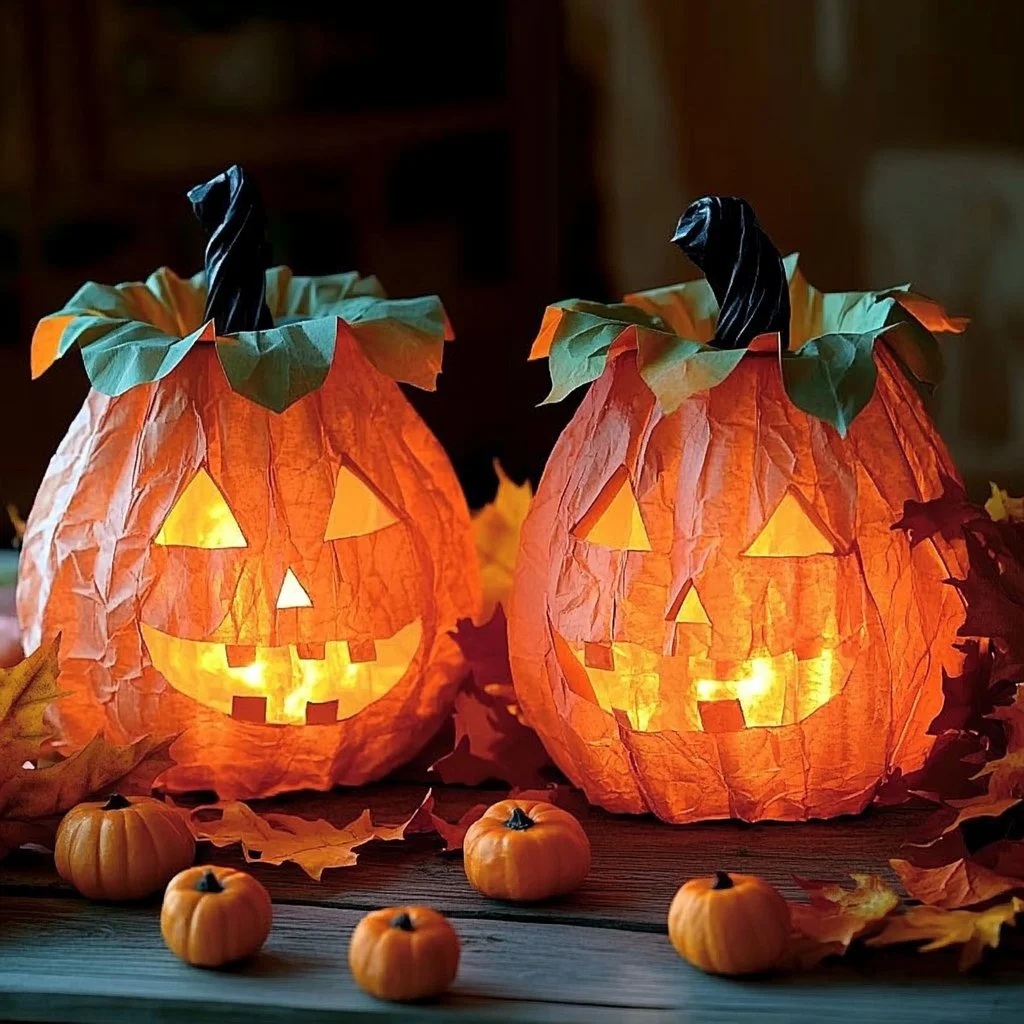
Pumpkin season brings with it a delightful opportunity to immerse yourself in the warm, comforting flavors of fall. One creative way to celebrate this seasonal star is by crafting your own Pumpkin Paper Jars. Not only do they serve as charming decorations, but they also offer a practical way to store treats or create whimsical gifts. This DIY project is a fantastic way to engage your imagination and bring a touch of autumn into your home. The delightful hues of orange, earthy browns, and golden touches will brighten up any space, and the process is simple enough for both beginners and seasoned crafters alike. Get ready to channel your inner artist and create something special that captures the essence of the season! -
Why You’ll Love This Pumpkin Paper Jars
- Aesthetic Appeal: These jars add an adorable autumn touch to your home decor.
- Versatile Use: Perfect for storing candies, small gifts, or home accents.
- Crafting Fun: A wonderful activity for families, friends, or solo crafting time.
- Eco-Friendly: Using paper is a sustainable option compared to plastic.
- Customizable: Easily modify colors and designs to suit your style.
- Materials
- Orange construction paper or scrapbook paper
- Green paper or felt for leaves and stems
- Scissors
- Glue or a hot glue gun
- Pencil
- Tape
- Tea light candles (optional) for illumination
- Step-by-Step Instructions
Prepare the Paper
- Cut a rectangle of orange paper measuring about 12 inches by 8 inches.
- For the top edge, trim it in a wave shape to mimic pumpkin ridges.
Create the Shape
- Roll the orange paper into a cylindrical shape and secure it with tape or glue.
- Ensure the bottom is flat to stand upright.
Add the Leaves and Stem
- Cut a small rectangle (about 2×3 inches) from green paper or felt.
- Roll this into a tube to create the pumpkin stem and glue it to the top.
- Cut out leaf shapes from the green paper or felt and glue them around the stem.
Optional Lighting
- Place a tea light candle inside for a lovely glow during the evening.
- Tips & Variations
- Color Customization: Try using different shades of orange or even mix in other autumn colors like brown or yellow.
- Personal Touches: Add stickers, glitter, or paint for extra detail.
- Size Variations: Experiment with different sizes to create a cluster of pumpkins for decoration.
- Themes: Incorporate holiday themes by changing the shapes of your leaves or using patterned paper.
- Frequently Asked Questions
Q: Can I use different materials instead of paper?
A: Absolutely! Cardstock or recycled cardboard works well too.
Q: How do I store these jars?
A: Keep them in a cool, dry place to maintain their shape and color.
Q: Can I make these pumpkins without adhesive?
A: You can use tape or fold and fit the pieces together snugly without glue.
Q: What if I want to increase the size of the jars?
A: Simply scale up your measurements accordingly for larger pumpkins!
-
Serving Suggestions or Pairings
Pair your Pumpkin Paper Jars with spiced cider or a warm pumpkin latte. They also make a fantastic centerpiece alongside a cheese platter or fall-themed desserts. Add some autumn-scented candles to enhance the cozy atmosphere. -
Final Thoughts
Creating your own Pumpkin Paper Jars is not just a crafting project; it’s a doorway to celebrating the beauty of autumn. Whether you choose to gift them or keep them as a personal decor piece, these jars will bring a touch of joy to your home. We’d love to see your versions! Feel free to share your creations or leave a comment below with any tips or variations you tried. Happy crafting!

Pumpkin Paper Jars
- Total Time: 10 minutes
- Yield: 4 jars
- Diet: N/A
Description
Create charming Pumpkin Paper Jars, perfect for storing treats or as whimsical gifts, while celebrating the beauty of autumn.
Ingredients
- Orange construction paper or scrapbook paper
- Green paper or felt for leaves and stems
- Scissors
- Glue or hot glue gun
- Pencil
- Tape
- Tea light candles (optional)
Instructions
- Cut a rectangle of orange paper measuring about 12 inches by 8 inches and trim the top edge in a wave shape.
- Roll the orange paper into a cylinder and secure it with tape or glue, ensuring the bottom is flat.
- Cut a small rectangle (about 2×3 inches) from green paper or felt, roll it into a tube, and glue it to the top as the stem.
- Cut out leaf shapes from green paper or felt and glue them around the stem.
- Optionally, place a tea light candle inside for illumination.
Notes
Experiment with colors and sizes to make a unique cluster of pumpkin jars.
- Prep Time: 10 minutes
- Cook Time: 0 minutes
- Category: Crafts
- Method: DIY Crafting
- Cuisine: N/A
Nutrition
- Serving Size: 1 jar
- Calories: 0
- Sugar: 0g
- Sodium: 0mg
- Fat: 0g
- Saturated Fat: 0g
- Unsaturated Fat: 0g
- Trans Fat: 0g
- Carbohydrates: 0g
- Fiber: 0g
- Protein: 0g
- Cholesterol: 0mg

