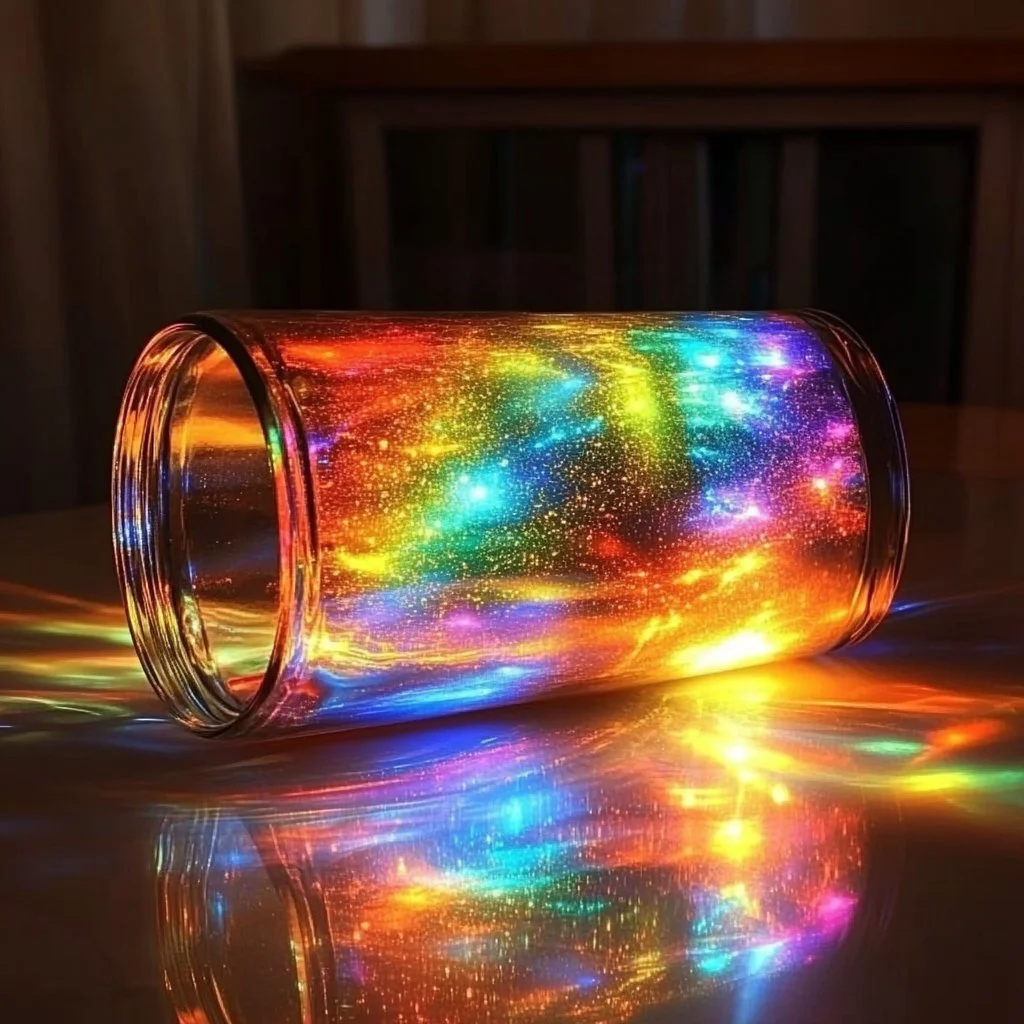
Creating a DIY Rainbow Light Show is an engaging and delightful way to experiment with light and color in your home. This fun project not only entertains but also provides a perfect opportunity to learn about basic principles of light refraction and reflection. Whether you’re planning a special event, looking to brighten up a gathering, or simply want to indulge your creativity, this DIY light show will mesmerize viewers of all ages. Just imagine the colorful beams dancing around your space, transforming an ordinary room into an extraordinary visual experience. With a few easily accessible materials, you can bring joy and a touch of magic to your surroundings.
Why You’ll Love This DIY Rainbow Light Show
- Educational Fun: Discover the science behind colors and light.
- Easy to Make: Requires minimal materials that are easy to find.
- Customizable Effects: Adjust colors and patterns to suit your mood or event.
- Perfect for All Ages: Engaging for children and adults alike.
- Creates a Magical Atmosphere: Perfect for parties, sleepovers, or relaxation.
- Inexpensive: A budget-friendly way to liven up your space.
Materials
- Clear glass or acrylic prism
- Flashlight or LED light
- White paper or wall (as a projection surface)
- Rope or string (for hanging, if necessary)
- Tape (optional, for securing positions)
- Colored filters (optional for additional effects)
Step-by-Step Instructions
1. Set Up Your Space
- Choose a dark room or space where the light can be displayed without distractions.
- Make sure the surface for projection is smooth and white, like a wall or a large piece of paper.
2. Prepare Your Prism
- Hold the prism in your hand or secure it to a stable surface using tape.
- Position it so that it can catch the light from the flashlight.
3. Direct the Light
- Shine the flashlight directly onto one side of the prism.
- Adjust the angle until you see the beam of light refracting through the prism.
4. Project the Rainbow
- Observe where the light projects onto the surface.
- Experiment with different angles and distances to create larger or more concentrated rainbows.
5. Customize Your Show
- If using colored filters, switch them on and off for added visual effects.
- Hang the prism from a string to create moving rainbows as the light shifts.
Tips & Variations
- Use Different Light Sources: Try different types of flashlights (colored, patterned) to change effects.
- Add More Prisms: Layer multiple prisms together for a more complex light show.
- Experiment with Backgrounds: Use other colors or materials as backdrops to see how they change the rainbow effect.
- Incorporate Music: Synchronize your light show with music for a stunning multisensory experience.
Frequently Asked Questions
Q1: Can I use other light sources instead of a flashlight?
A: Yes! Any strong light source, such as a lamp or projector, can work as long as it can direct light into the prism.
Q2: What if I don’t have a prism?
A: You can use a clear glass container filled with water as an alternative to achieve similar effects.
Q3: How can I make the light show last longer?
A: Keep the light source steady or set it on a timer with a strobe function for an ongoing display.
Q4: Are there any safety considerations?
A: Ensure not to look directly into bright lights, and supervise young children during the activity.
Serving Suggestions or Pairings
Pair your DIY rainbow light show with refreshing beverages like lemonade or sparkling water to enhance the festive atmosphere. Consider serving popcorn, colorful snacks, or sweets that match the rainbow theme. For events, integrate themed decorations that complement the colorful light display.
Final Thoughts
Creating your own DIY Rainbow Light Show can be a fulfilling adventure into the world of light and colors. The possibilities are endless, and each show can be uniquely yours. We encourage you to share your experiences and versions of this project in the comments below. Let your creativity shine, and illuminate your space with joy!
Print
DIY Rainbow Light Show
- Total Time: 15 minutes
- Yield: Unlimited light shows
- Diet: N/A
Description
A fun and educational project to create a mesmerizing rainbow light show using simple materials.
Ingredients
- Clear glass or acrylic prism
- Flashlight or LED light
- White paper or wall (as a projection surface)
- Rope or string (for hanging, if necessary)
- Tape (optional, for securing positions)
- Colored filters (optional for additional effects)
Instructions
- Set up your space in a dark room with a smooth, white surface for projection.
- Prepare your prism by securing it in place or holding it in your hand.
- Direct the flashlight onto one side of the prism and adjust the angle.
- Observe where the light projects onto the surface and experiment with angles and distances.
- If using colored filters, switch them on and off for added effects. Hang the prism to create moving rainbows.
Notes
Experiment with different light sources and backgrounds for unique effects. Consider synchronizing the light show with music for added sensory enjoyment.
- Prep Time: 15 minutes
- Cook Time: 0 minutes
- Category: DIY Project
- Method: DIY
- Cuisine: N/A
Nutrition
- Serving Size: 1 light show
- Calories: 0
- Sugar: 0g
- Sodium: 0mg
- Fat: 0g
- Saturated Fat: 0g
- Unsaturated Fat: 0g
- Trans Fat: 0g
- Carbohydrates: 0g
- Fiber: 0g
- Protein: 0g
- Cholesterol: 0mg

