Introduction
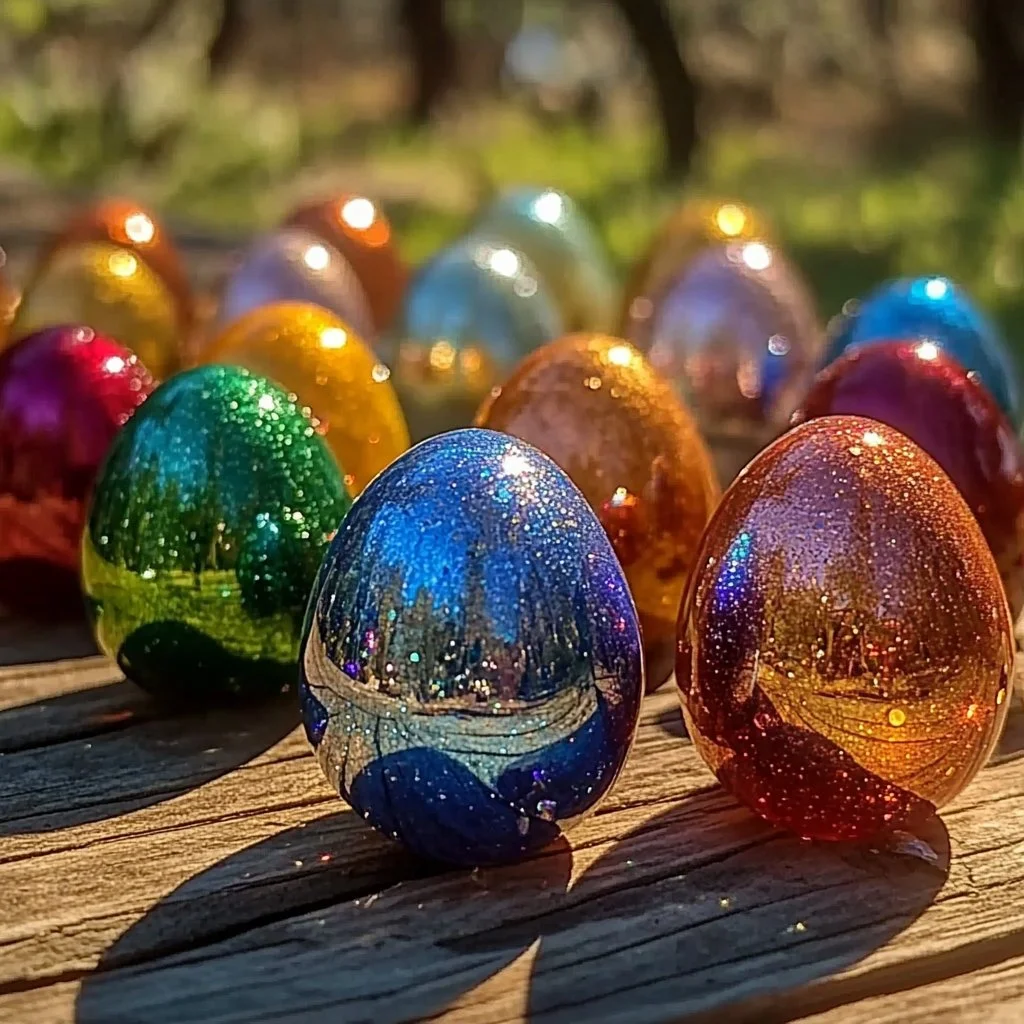
Making your own bouncy balls is not only a fun and engaging activity, but it also taps into the creativity of both kids and adults alike. This DIY project allows you to explore the fascinating world of polymers while creating something that’s both playful and satisfying. Whether you’re hosting a crafting party or simply looking for a rainy day project, these homemade bouncy balls can provide endless entertainment. Plus, you’ll have the satisfaction of watching something you created bounce right back after each throw. Get ready to channel your inner scientist and craft your own colorful, bouncy delights!
Why You’ll Love This DIY Bouncy Balls
- Fun & Interactive: Engage with family and friends in a hands-on crafting experience.
- Customizable: Choose your colors and textures for a unique creation.
- Educational: Learn about science concepts like polymers and reactions while crafting.
- Budget-Friendly: A cost-effective alternative to store-bought toys.
- Satisfaction Guaranteed: Experience the joy of creating something that bounces back!
Materials
- 1 tablespoon of white school glue
- 1 teaspoon of liquid starch
- 1 teaspoon of baking soda
- Food coloring (optional)
- A mixing bowl
- A spoon for mixing
- Wax paper for drying
Step-by-Step Instructions
1. Prepare Your Workspace
Set up a clean, flat surface where you can comfortably work. Lay down some wax paper to protect your table.
2. Mix Ingredients
- In a mixing bowl, combine 1 tablespoon of white school glue and 1 teaspoon of liquid starch.
- Add 1 teaspoon of baking soda to the mixture.
- If you want to add color, this is the time! Add a few drops of food coloring and mix until well combined.
3. Knead the Mixture
- As you mix, the ingredients will start to come together.
- Once the mixture becomes a thick, gel-like substance, use your hands to knead it. This will feel slightly sticky and elastic.
4. Shape the Balls
- Roll the mixture into a ball shape using your palms. Aim for about the size of a golf ball.
- If the mixture is too sticky, let it rest for a few minutes before rolling again.
5. Let it Dry
- Place your newly shaped bouncy balls on the wax paper and allow them to dry for at least 24 hours.
- The drying time helps to harden the balls for a better bounce.
Tips & Variations
- Add Glitter: For extra sparkle, add a teaspoon of glitter to your mixture before rolling.
- Experiment with Colors: Mix different food coloring to create swirl patterns.
- Try Different Sizes: Adjust the size of your bouncy balls to create mini or giant versions.
- Swap Glue: If you’re sensitive to certain ingredients, try using non-toxic alternatives like clear craft glue.
Frequently Asked Questions
1. Can I use different colors of food coloring?
Yes! Feel free to mix different colors to create a variety of vibrant shades.
2. What happens if my bouncy ball isn’t bouncing?
Ensure the ball has dried completely for optimal bounce. If it’s still too soft, it may need more baking soda or starch.
3. Is it safe for kids to make these?
Yes, this project is generally safe for children, but adult supervision is recommended, especially when mixing ingredients.
4. Can leftover bouncy balls be stored?
Yes! Store them in a cool, dry place to maintain their bounciness.
Serving Suggestions or Pairings
For some added fun with your bouncy balls, consider pairing this project with an afternoon of homemade lemonade or refreshing iced tea. Set up a mini-bounce game with friends using various targets or catch games. You could also create a festive atmosphere by playing some upbeat music while crafting.
Final Thoughts
Creating your own DIY bouncy balls is a delightful activity that brings joy, learning, and a sense of achievement. Not only will you enjoy the bouncing fun, but you’ll also have a unique and personalized toy to show off. We’d love to hear how your bouncy balls turned out! Please share your versions or any creative twists you added in the comments below!
Print
DIY Bouncy Balls
- Total Time: 1455 minutes
- Yield: 1-4 bouncy balls (depending on size) 1x
- Diet: N/A
Description
A fun and interactive DIY project that allows you to create your own bouncy balls using simple materials while exploring the world of polymers.
Ingredients
- 1 tablespoon of white school glue
- 1 teaspoon of liquid starch
- 1 teaspoon of baking soda
- Food coloring (optional)
- A mixing bowl
- A spoon for mixing
- Wax paper for drying
Instructions
- Prepare Your Workspace: Set up a clean, flat surface and lay down some wax paper.
- Mix Ingredients: Combine glue, liquid starch, and baking soda in a mixing bowl. Add food coloring if desired.
- Knead the Mixture: Mix until a thick, gel-like substance forms, then knead it with your hands.
- Shape the Balls: Roll the mixture into a ball shape, adjusting the size as needed.
- Let it Dry: Place shaped balls on wax paper and let them dry for at least 24 hours.
Notes
For added sparkle, consider including glitter in the mixture. Experiment with different colors and sizes for unique creations.
- Prep Time: 15 minutes
- Cook Time: 1440 minutes
- Category: Craft
- Method: Crafting
- Cuisine: Educational
Nutrition
- Serving Size: 1 ball
- Calories: 0
- Sugar: 0g
- Sodium: 0mg
- Fat: 0g
- Saturated Fat: 0g
- Unsaturated Fat: 0g
- Trans Fat: 0g
- Carbohydrates: 0g
- Fiber: 0g
- Protein: 0g
- Cholesterol: 0mg

