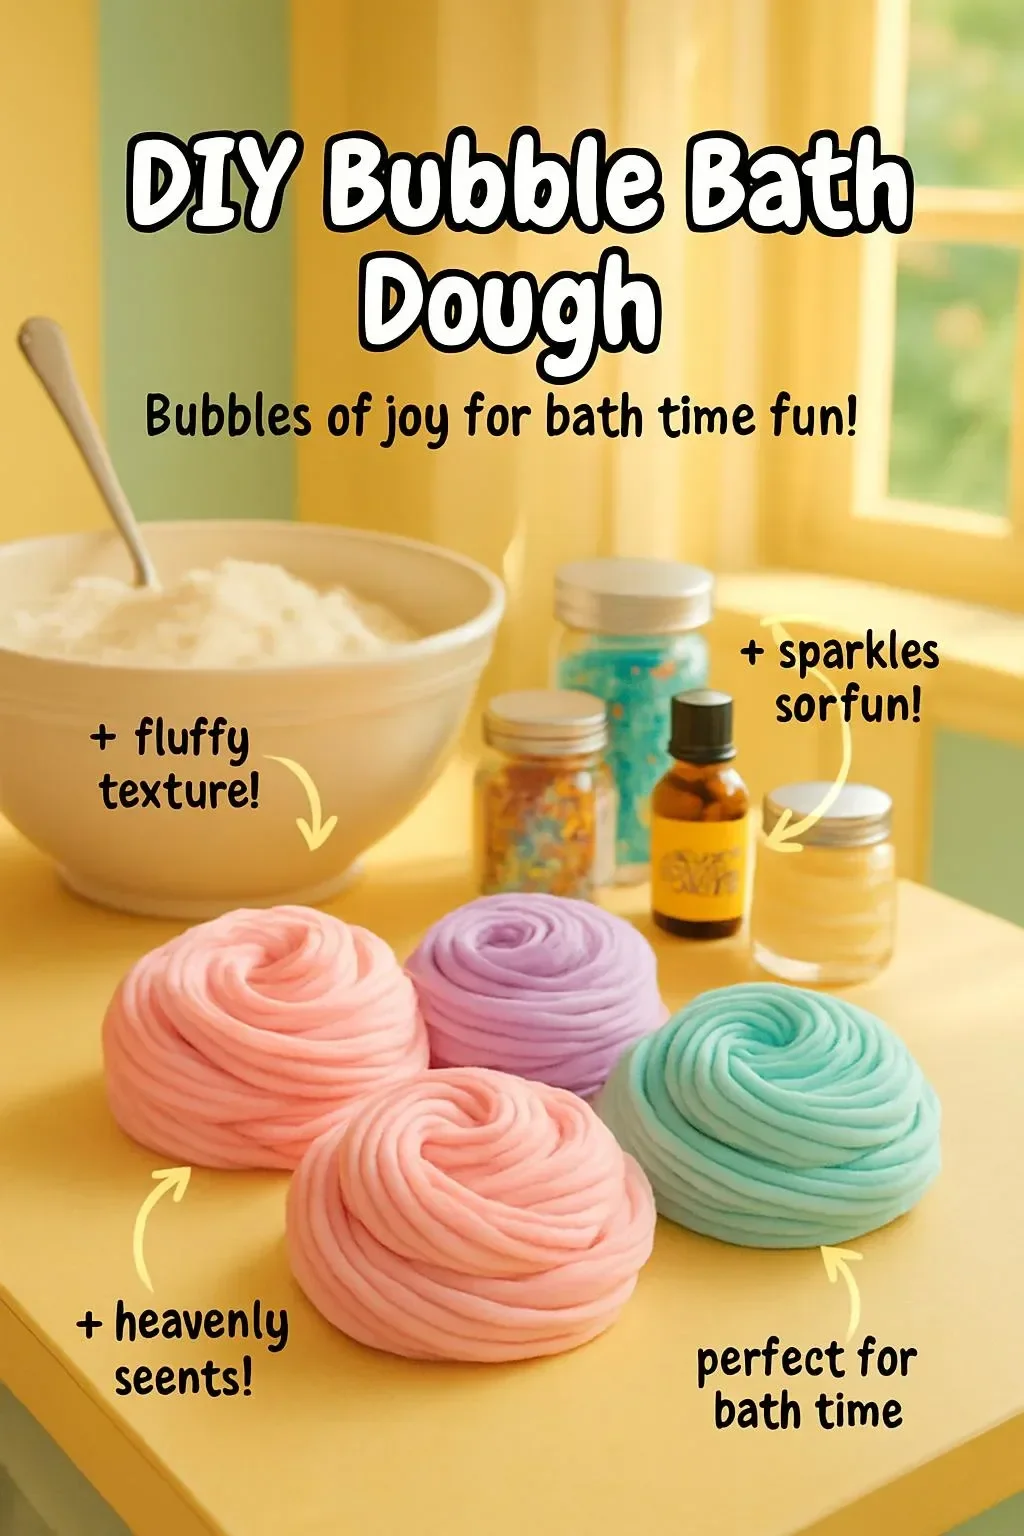
- Introduction
DIY bubble bath dough is a fun and delightful twist on traditional bubble baths, transforming your bathing experience into a playful adventure. This recipe is not only easy to make but also offers the joy of creating your own bath time concoction tailored to your preferences. With a unique texture that allows for both imaginative play and relaxation, this bubble bath dough can be customized with your favorite scents and colors, making it a beloved addition to family bath time or a unique gift for friends. Whether you’re looking to unwind after a long day or entertain the kids, this DIY recipe is sure to provide hours of fun and enjoyment. Let’s dive into the details and learn how to create your very own bubble bath dough!
- Why You’ll Love This DIY Bubble Bath Dough
- Easy to Make: Simple ingredients and quick process.
- Customizable: Choose your favorite colors and scents.
- Creative Play: Perfect for kids to engage in imaginative bath time.
- Skin-Friendly: Uses gentle ingredients suitable for all skin types.
- Eco-Friendly: Reduce packaging waste by making your own product.
- Cost-Effective: Save money compared to store-bought bubble baths.
- Materials
- 1 cup baking soda
- 1 cup cornstarch
- 1/2 cup liquid dish soap (unscented or scented)
- 1 tablespoon water
- Food coloring (optional)
- Essential oils (optional, for fragrance)
- Mixing bowl
- Spoon or spatula
- Airtight container for storage
- Step-by-Step Instructions
Step 1: Combine Dry Ingredients
In a mixing bowl, combine 1 cup of baking soda and 1 cup of cornstarch. Stir until evenly mixed.
Step 2: Add Wet Ingredients
Slowly add 1/2 cup of liquid dish soap to the dry mixture. Use a spoon or spatula to combine. If desired, add 1 tablespoon of water to help with the consistency.
Step 3: Mix and Knead
Using your hands (make sure they are clean), knead the mixture until it forms a dough-like consistency. If it’s too crumbly, add a little more water.
Step 4: Add Color and Scent
Divide the dough into portions if you want to create multiple colors. Add a few drops of food coloring and essential oils (if using) to each portion. Knead until the color is evenly distributed.
Step 5: Store
Transfer your bubble bath dough into an airtight container. It can be stored for several weeks.
- Tips & Variations
- Scent Options: Experiment with different essential oils, such as lavender for relaxation or citrus for a refreshing scent.
- Color Mixing: Combine different food colors to create unique shades.
- Texture Variation: Add a bit of coconut oil for a creamier and more moisturizing dough.
- Fun Shapes: Use cookie cutters to shape your dough into fun shapes for kids.
- Frequently Asked Questions
Q: Can I use this bubble bath dough in the shower?
A: Yes, you can! Just apply it directly to the running water for a bubbly experience.
Q: What if I don’t have essential oils?
A: You can skip the essential oils or use scented dish soap for fragrance.
Q: How long does the bubble bath dough last?
A: When stored in an airtight container, it can last for up to 4 weeks.
Q: Can I use this recipe for sensitive skin?
A: Yes! The ingredients are gentle, but always do a patch test before use.
- Serving Suggestions or Pairings
For a complete relaxation experience, enjoy your bubble bath dough with a warm herbal tea or a refreshing cucumber-infused water. Pair it with calming music or your favorite bath bomb for added relaxation.
- Final Thoughts
Creating your own DIY bubble bath dough is an excellent way to enhance your bathing experience. The combination of fun, creativity, and relaxation makes it a must-try for anyone looking to add a little joy to their routine. We’d love to hear how your bubble bath dough turned out! Please share your versions or leave a comment below!
Print
DIY Bubble Bath Dough
- Total Time: 15 minutes
- Yield: 4 servings 1x
- Diet: N/A
Description
A fun and delightful twist on traditional bubble baths, perfect for imaginative play and relaxation.
Ingredients
- 1 cup baking soda
- 1 cup cornstarch
- 1/2 cup liquid dish soap (unscented or scented)
- 1 tablespoon water
- Food coloring (optional)
- Essential oils (optional, for fragrance)
- Mixing bowl
- Spoon or spatula
- Airtight container for storage
Instructions
- In a mixing bowl, combine 1 cup of baking soda and 1 cup of cornstarch. Stir until evenly mixed.
- Slowly add 1/2 cup of liquid dish soap to the dry mixture. Use a spoon or spatula to combine. If desired, add 1 tablespoon of water to help with the consistency.
- Using your hands (make sure they are clean), knead the mixture until it forms a dough-like consistency. If it’s too crumbly, add a little more water.
- Divide the dough into portions if you want to create multiple colors. Add a few drops of food coloring and essential oils (if using) to each portion. Knead until the color is evenly distributed.
- Transfer your bubble bath dough into an airtight container. It can be stored for several weeks.
Notes
Experiment with different essential oils, combine colors, and use cookie cutters for fun shapes!
- Prep Time: 15 minutes
- Cook Time: 0 minutes
- Category: DIY
- Method: Mixing
- Cuisine: N/A
Nutrition
- Serving Size: 1 serving
- Calories: 100
- Sugar: 0g
- Sodium: 30mg
- Fat: 0g
- Saturated Fat: 0g
- Unsaturated Fat: 0g
- Trans Fat: 0g
- Carbohydrates: 25g
- Fiber: 1g
- Protein: 2g
- Cholesterol: 0mg

