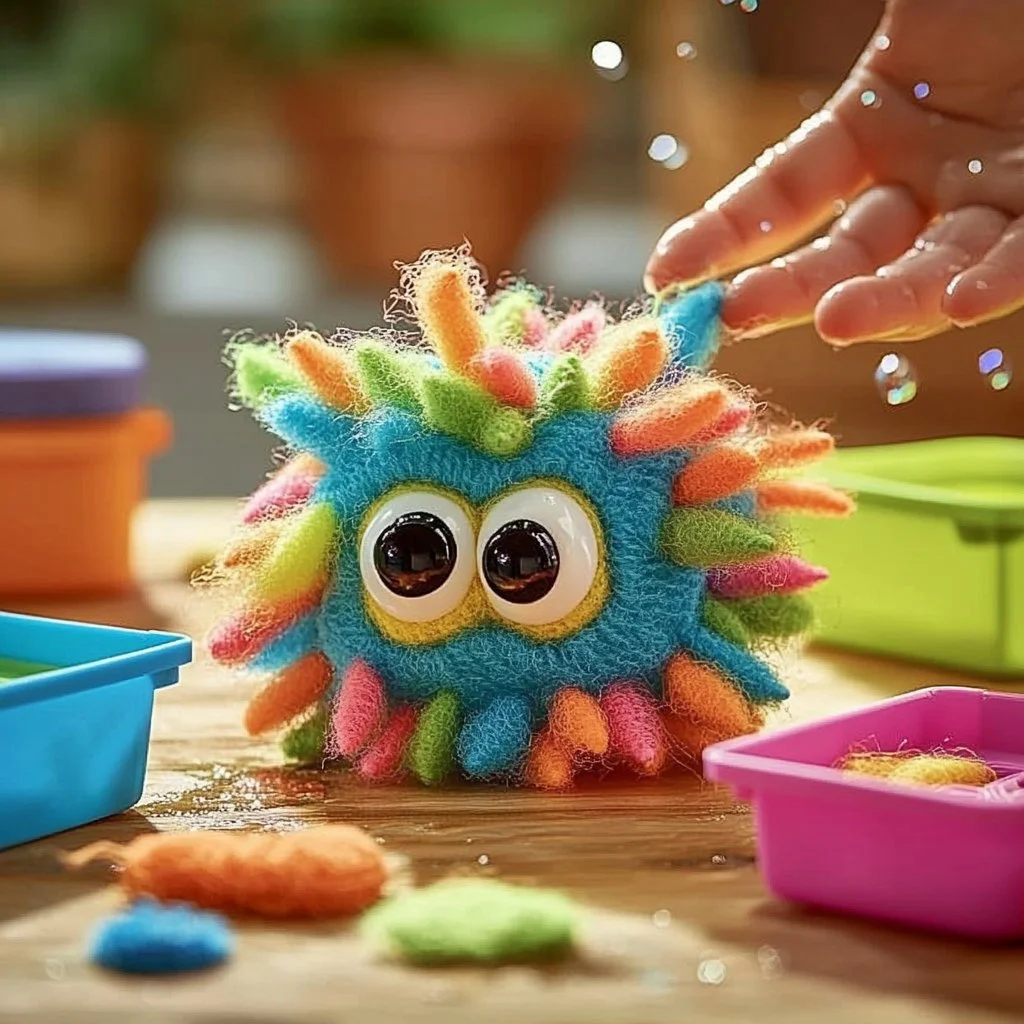
Dive into the delightful world of DIY with this recipe for a squishy sea sponge! Whether you’re looking to enhance your sensory play at home or want to create a unique addition to your bath experience, this charming little creation brings joy and relaxation to your daily routine. Combining simple ingredients and a fun process, you can craft a playful sponge that feels soft and therapeutic. Ideal for kids and adults alike, this squishy sea sponge serves as a perfect companion for bath time or as an art project for the family. Let’s explore the benefits and materials you’ll need to get started on this creative adventure!
Why You’ll Love This Squishy Sea Sponge
- Sensory Delight: The soft, squishy texture is soothing to touch, making it ideal for sensory play.
- Eco-Friendly: Made with natural materials, this sponge is a sustainable option for bath products.
- Customizable Colors: You can add your favorite colors or scents to personalize your sponge.
- Creative Fun: Engage in a rewarding DIY project that encourages creativity in both kids and adults.
- Budget-Friendly: Save money by creating your own bath accessories at home.
Materials
- 2 cups of cornstarch
- 1 cup of water
- 1 tablespoon of baking soda
- 1 tablespoon of white vinegar
- 2-3 drops of food coloring (optional)
- Mixing bowl
- Cooking pot
- Whisk or spoon
- Silicone molds (sponge-shaped)
- Cooking spray (for mold preparation)
Step-by-Step Instructions
Prepare Your Workspace
- Gather all materials: Ensure you have everything ready and a clean workspace.
- Spray molds: Lightly coat your silicone molds with cooking spray to prevent sticking.
Mix Ingredients
- Combine dry ingredients: In a mixing bowl, combine cornstarch and baking soda.
- Add liquid: In a separate container, mix water and vinegar, then slowly add to the dry mixture.
- Stir well: Use a whisk or spoon to combine until smooth. The texture should be similar to pancake batter.
Color Your Sponge
- Add food coloring: If desired, incorporate drops of food coloring into the mixture and stir until evenly distributed. Experiment with different colors!
Cook the Mixture
- Heat on stovetop: Pour the mixture into a cooking pot and heat over medium-low heat. Stir continuously as it begins to thicken.
- Cook until gooey: Continue stirring until the mixture transforms into a thick, gooey mass. It may take 5-10 minutes.
Mold the Sponges
- Transfer to molds: Once thickened, remove from heat and quickly scoop the mixture into the prepared silicone molds.
- Cool and set: Allow the sponges to cool at room temperature for a few hours, or until fully set.
Tips & Variations
- Scent it up: Add essential oils to the mixture for a fragrant touch.
- Shape it differently: Use different molds to create unique shapes and designs.
- Mix textures: Combine with coarse sea salt or different powders for added texture.
- Color fusion: Swirl multiple colors together for a marbled effect.
Frequently Asked Questions
1. Can I use this sponge in the bath?
Yes, the sponge is safe to use in the bath for a fun, soft experience!
2. How long will my squishy sea sponge last?
With proper care, your sponge can last several weeks. Just let it dry out completely between uses.
3. Can I store my sponge for later use?
Absolutely! Store the sponge in a dry place to maintain its texture. Avoid moisture to prevent mold.
4. What if I don’t have food coloring?
You can skip the coloring or substitute it with natural dyes such as beet juice or cooked spinach for a hint of color.
Serving Suggestions or Pairings
Pair your squishy sea sponge with a refreshing herbal tea or a soothing glass of lemon-infused water for a relaxing experience. It can also complement a bubble bath or a calming foot soak, elevating your self-care routine.
Final Thoughts
This squishy sea sponge is not just an enjoyable craft; it’s also a versatile tool for relaxation and sensory exploration. We hope you enjoy creating and using your sponge as much as we do! Feel free to share your versions, modifications, or leave a comment below. Happy crafting!
Print
Squishy Sea Sponge
- Total Time: 120 minutes
- Yield: 4 sponges 1x
- Diet: N/A
Description
Craft your own soft and therapeutic squishy sea sponge for fun sensory play or relaxing bath experiences.
Ingredients
- 2 cups of cornstarch
- 1 cup of water
- 1 tablespoon of baking soda
- 1 tablespoon of white vinegar
- 2–3 drops of food coloring (optional)
- Cooking spray (for mold preparation)
Instructions
- Gather all materials and ensure a clean workspace.
- Lightly coat your silicone molds with cooking spray.
- In a mixing bowl, combine cornstarch and baking soda.
- In a separate container, mix water and vinegar, then slowly add to the dry mixture, stirring until smooth.
- If desired, incorporate food coloring into the mixture and stir well.
- Pour the mixture into a cooking pot and heat over medium-low, stirring continuously until thickened (5-10 minutes).
- Once thickened, scoop the mixture into prepared molds and allow to cool at room temperature for a few hours.
Notes
Add essential oils for scent or mix textures by combining with coarse sea salt. Experiment with different molds for unique shapes!
- Prep Time: 10 minutes
- Cook Time: 10 minutes
- Category: Crafts
- Method: Crafting
- Cuisine: DIY
Nutrition
- Serving Size: 1 sponge
- Calories: 100
- Sugar: 0g
- Sodium: 5mg
- Fat: 0g
- Saturated Fat: 0g
- Unsaturated Fat: 0g
- Trans Fat: 0g
- Carbohydrates: 25g
- Fiber: 0g
- Protein: 0g
- Cholesterol: 0mg

