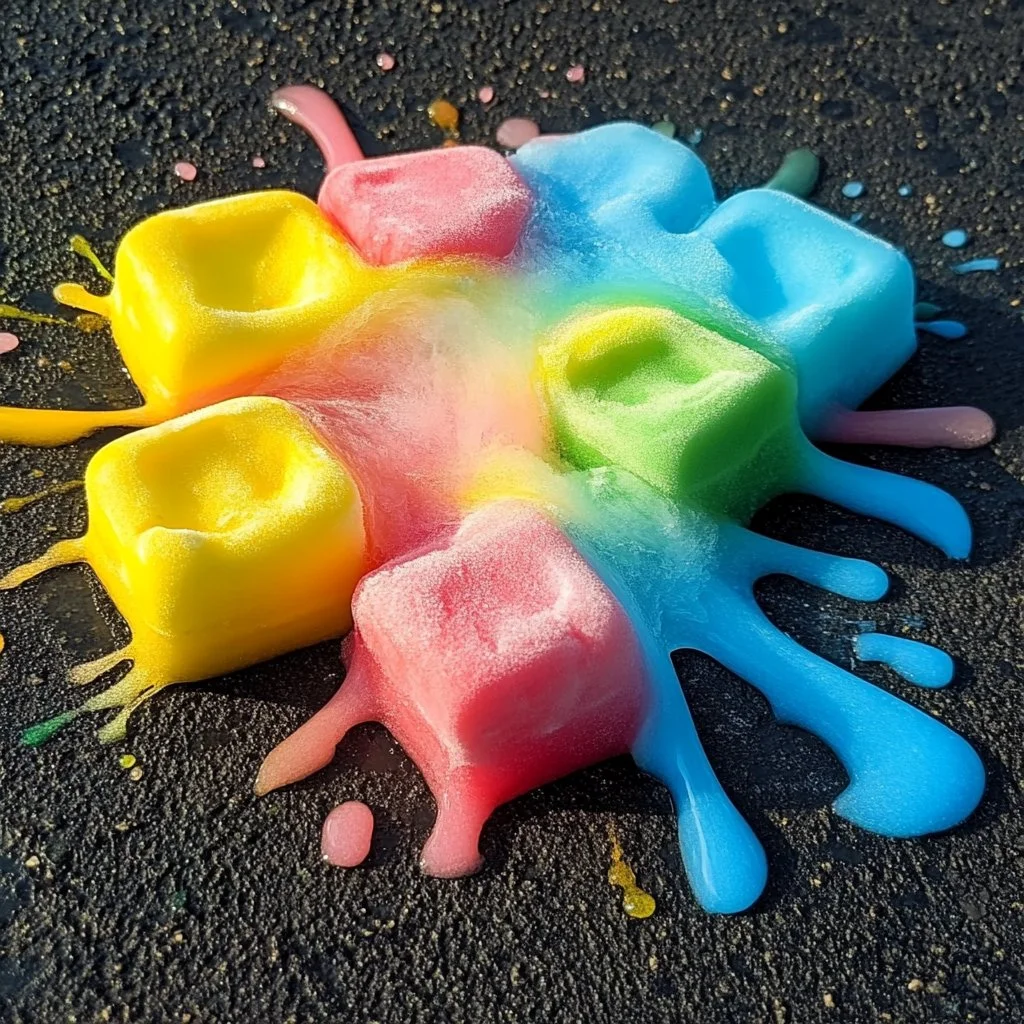
Homemade ice chalk is a delightful way to get creative while staying cool during those hot summer days. This simple DIY project allows you to unleash your artistic flair on sidewalks or driveways, offering a fun activity for kids and adults alike. Made with non-toxic ingredients, this recipe ensures that everyone can enjoy drawing beautiful designs without any safety concerns. What’s more, the especially vibrant colors this ice chalk produces can add a unique touch to any outdoor space. Whether you’re organizing a neighborhood art day, a summer party, or simply wish to decorate your yard, this ice chalk is a perfect solution. So grab your favorite colors and let’s dive into this fun and easy recipe!
Why You’ll Love This Homemade Ice Chalk
- Non-toxic and Safe: Made from natural ingredients, safe for kids and pets.
- Vibrant Colors: Bright pigments bring your artwork to life.
- Fun for All Ages: Engages everyone, from toddlers to adults, in creative play.
- Easy to Make: Simple steps with minimal materials required.
- Versatile Use: Perfect for outdoor playdates, backyard games, or artistic expressions.
- Easily Washable: Can be washed away with water, leaving no mess behind.
- Creative Customization: You can modify colors and scents easily.
Materials
- 1 cup water
- 1 cup corn starch
- 1 cup non-toxic food coloring
- Ice cube trays or silicone molds
- Plastic mixing bowl
- Spoon or whisk
Step-by-Step Instructions
Prepare the Mixture
- Mix Dry Ingredients: In a plastic mixing bowl, combine 1 cup of corn starch with 1 cup of water.
- Blend Thoroughly: Use a spoon or whisk to mix until smooth, ensuring there are no lumps.
Add Color
- Choose Your Colors: Decide on the food coloring shades you want to use.
- Incorporate Coloring: Stir in the non-toxic food coloring until you reach your desired hue.
Freeze the Mixture
- Pour into Molds: Carefully pour your colorful mixture into ice cube trays or silicone molds.
- Secure and Freeze: Place the trays in the freezer, allowing them to set for at least 5-6 hours, or until solid.
Create Art
- Pop-Out Your Chalk: Once frozen, gently remove the ice chalk from the trays.
- Get Creative: Use your colorful ice chalk to draw on sidewalks or driveways. Enjoy the sensory experience as the colors melt and blend.
Tips & Variations
- Color Swaps: Experiment with different food coloring combinations for unique shades.
- Scent Additions: Add a few drops of essential oils to infuse pleasing scents into your chalk.
- Glow in the Dark: Try adding glow-in-the-dark paint for a nighttime art session.
- Larger Chalk Shapes: Use larger molds for a thicker chalk piece to draw bigger designs.
Frequently Asked Questions
Can I use regular food coloring?
Yes, while non-toxic food coloring is recommended for safety, regular food coloring can also work. Just be cautious and do not ingest it.
How long will it last outside?
The ice chalk will last as long as the temperature allows it to stay frozen. On warm days, it may melt quickly, so plan your creative time accordingly.
What surfaces can I use this on?
This homemade ice chalk is best for concrete or paved surfaces. Avoid porous surfaces as they may absorb the color.
Can I store the ice chalk?
If you have leftover ice chalk, you can keep it in the freezer in an airtight container to use later.
Serving Suggestions or Pairings
Pair your ice chalk sessions with refreshing drinks like lemonade or iced tea. For a snack, consider light finger foods such as fruit skewers or veggie platters that are easy to grab between artistic endeavors.
Final Thoughts
Homemade ice chalk is more than just a creative outlet; it’s an opportunity to bond with loved ones and brighten your outdoor space. This easy DIY project is sure to spark joy and inspire imagination. We hope you enjoy making and using this colorful chalk. Don’t forget to share your unique creations in the comments below or tag us with your colorful masterpieces! Happy crafting!
Print
Homemade Ice Chalk
- Total Time: 370 minutes
- Yield: Varies based on mold size
- Diet: Non-toxic
Description
A fun DIY project to make colorful, non-toxic ice chalk for artistic outdoor play.
Ingredients
- 1 cup water
- 1 cup corn starch
- 1 cup non-toxic food coloring
- Ice cube trays or silicone molds
- Plastic mixing bowl
- Spoon or whisk
Instructions
- In a plastic mixing bowl, combine 1 cup of corn starch with 1 cup of water.
- Use a spoon or whisk to mix until smooth, ensuring there are no lumps.
- Decide on the food coloring shades you want to use.
- Stir in the non-toxic food coloring until you reach your desired hue.
- Carefully pour your colorful mixture into ice cube trays or silicone molds.
- Place the trays in the freezer, allowing them to set for at least 5-6 hours, or until solid.
- Once frozen, gently remove the ice chalk from the trays.
- Use your colorful ice chalk to draw on sidewalks or driveways.
Notes
Try adding essential oils for fragrance or glow-in-the-dark paint for a fun twist.
- Prep Time: 10 minutes
- Cook Time: 360 minutes
- Category: DIY
- Method: Freezing
- Cuisine: N/A
Nutrition
- Serving Size: N/A
- Calories: 50
- Sugar: 0g
- Sodium: 0mg
- Fat: 0g
- Saturated Fat: 0g
- Unsaturated Fat: 0g
- Trans Fat: 0g
- Carbohydrates: 13g
- Fiber: 0g
- Protein: 0g
- Cholesterol: 0mg

