Introduction
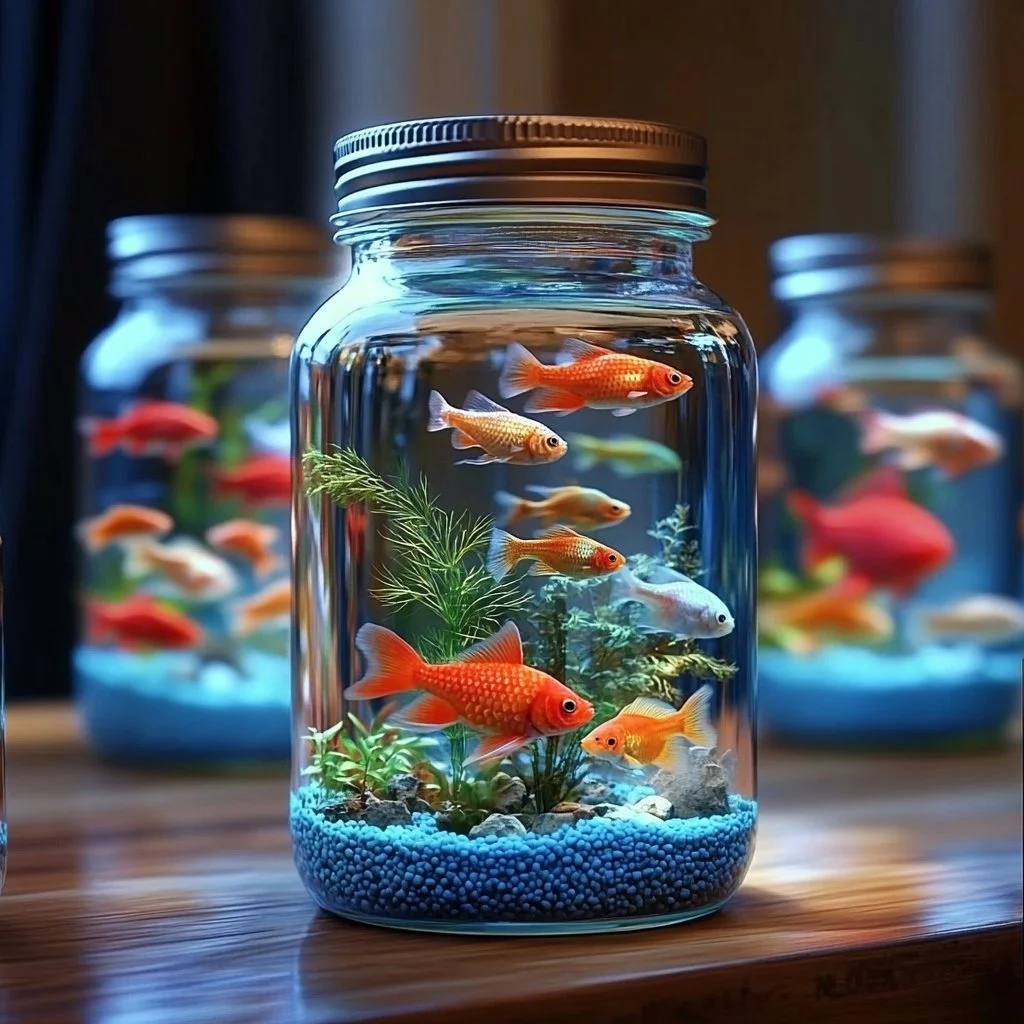
Creating a mini mason jar aquarium is a delightful and inventive craft that brings a slice of aquatic life right to your home. Perfect for children and adults alike, this DIY project allows you to explore your creativity while learning about ecosystems and the art of aquascaping. The mini aquarium can serve as a charming decoration or a thoughtful gift, captivating anyone who sees it. Moreover, it’s an engaging way to bond with loved ones as you design and personalize your tiny underwater world. Whether you’re looking for a fun family activity or simply want to add a unique touch to your home decor, this craft is sure to inspire and excite.
Why You’ll Love This Mini Mason Jar Aquarium Craft
- Easy and Accessible: Perfect for beginners, using minimal materials.
- Educational: Learn about aquatic life and ecosystems.
- Customizable: Endless options to personalize your aquarium.
- Stress-Relieving: The process of crafting is therapeutic and mesmerizing.
- Unique Decoration: Adds a whimsical touch to any space.
- Great Gift Idea: A thoughtful, handmade present for any occasion.
Materials
- 1 Mini mason jar with lid
- Clean gravel or sand
- Small aquatic plants (e.g., Java moss, ferns)
- Decorative stones or sea glass
- Water (preferably dechlorinated)
- Small aquatic figurines (optional)
- Tweezers or long tweezers for arrangement
Step-by-Step Instructions
Prepare Your Jar
- Rinse the mason jar thoroughly with warm water and let it dry completely.
- Ensure the lid is also clean for a neat finish.
Layer the Base
- Pour a layer of gravel or sand (about 1-2 inches) into the bottom of the jar.
- Spread it evenly, creating a base for your plants.
Add Plants
- Using tweezers, gently insert small aquatic plants into the gravel or sand.
- Arrange them to create a pleasing design, leaving space for movement.
Decorate with Rocks
- Place decorative stones or sea glass around the plants to enhance aesthetics.
- Mix different colors and shapes for a more vibrant look.
Fill with Water
- Carefully pour dechlorinated water into the jar, taking care not to disturb the plants.
- Fill until the jar is almost full, leaving a small gap for air.
Finishing Touches
- If desired, add small aquatic figurines for a whimsical touch.
- Screw the lid on securely or leave it off for an open aquarium look.
Tips & Variations
- Customize Plants: Use different types of small plants to create a diverse environment.
- Add Color: Incorporate colored rocks or seashells to make your aquarium more visually appealing.
- Swap Containers: Use different sizes of mason jars or glass containers for varied effects.
- Air Plants: Instead of water, try using air plants for less maintenance.
Frequently Asked Questions
Q1: Can I use regular tap water?
A: It’s best to use dechlorinated water to ensure the health of your plants. Let tap water sit for 24 hours to dechlorinate.
Q2: How do I maintain my mini aquarium?
A: Keep it away from direct sunlight to prevent algae growth. Water should be changed every 2-3 weeks.
Q3: What if I don’t have small aquatic plants?
A: Consider using fake plants or even dried flowers for a different aesthetic.
Q4: Are there any restrictions on what I can place inside?
A: Avoid using any items not safe for water, such as plastic with sharp edges or toxic materials.
Serving Suggestions or Pairings
Consider pairing your mini aquarium with other decorative crafts, like a handmade candle or a rustic wooden base. For a themed party, serve refreshing drinks like lemonade or iced tea alongside traditional snacks to create a cohesive atmosphere.
Final Thoughts
Creating your mini mason jar aquarium is a fulfilling activity that combines artistry with a touch of nature. It’s a fantastic way to express your creativity, and the end result can spark joy for years to come. We would love to see your unique creations! Please share your versions or leave a comment below about your experience with this project. Happy crafting!
Print
Mini Mason Jar Aquarium
- Total Time: 15 minutes
- Yield: 1 mini aquarium 1x
- Diet: N/A
Description
Create a charming mini aquarium in a mason jar, perfect for home décor or a thoughtful gift.
Ingredients
- 1 Mini mason jar with lid
- Clean gravel or sand
- Small aquatic plants (e.g., Java moss, ferns)
- Decorative stones or sea glass
- Water (preferably dechlorinated)
- Small aquatic figurines (optional)
- Tweezers or long tweezers for arrangement
Instructions
- Rinse the mason jar thoroughly with warm water and let it dry completely.
- Pour a layer of gravel or sand (about 1-2 inches) into the bottom of the jar.
- Using tweezers, gently insert small aquatic plants into the gravel or sand.
- Place decorative stones or sea glass around the plants to enhance aesthetics.
- Carefully pour dechlorinated water into the jar, taking care not to disturb the plants.
- If desired, add small aquatic figurines for a whimsical touch.
- Screw the lid on securely or leave it off for an open aquarium look.
Notes
Customize your aquarium with different plants and decorative elements to match your style.
- Prep Time: 15 minutes
- Cook Time: 0 minutes
- Category: Craft
- Method: DIY
- Cuisine: N/A
Nutrition
- Serving Size: 1 aquarium
- Calories: 0
- Sugar: 0g
- Sodium: 0mg
- Fat: 0g
- Saturated Fat: 0g
- Unsaturated Fat: 0g
- Trans Fat: 0g
- Carbohydrates: 0g
- Fiber: 0g
- Protein: 0g
- Cholesterol: 0mg

