

This post contains Amazon affiliate links. As an Amazon Associate I earn from qualifying purchases.
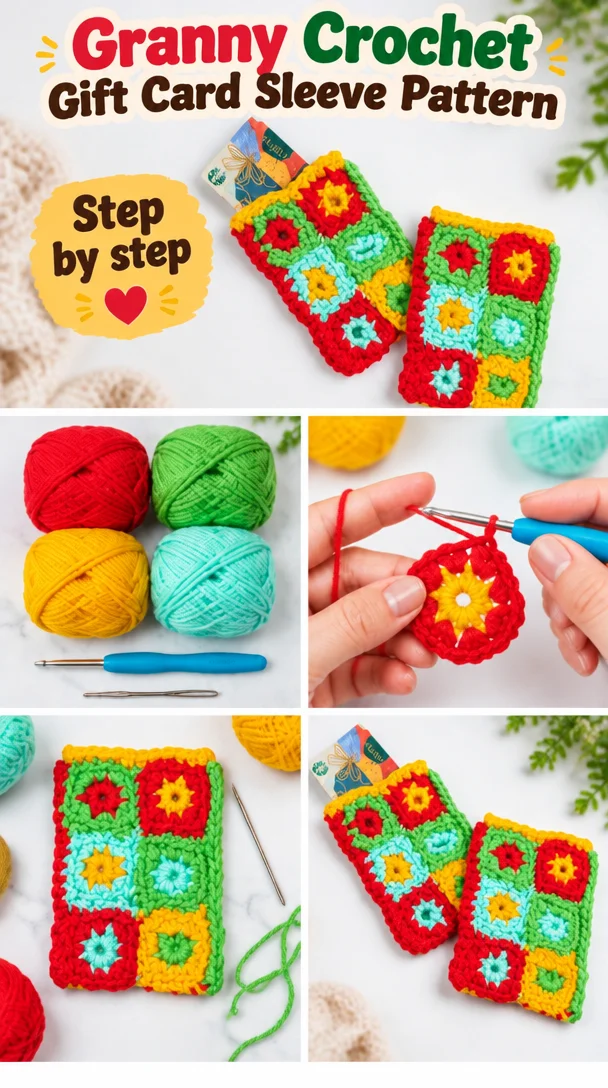
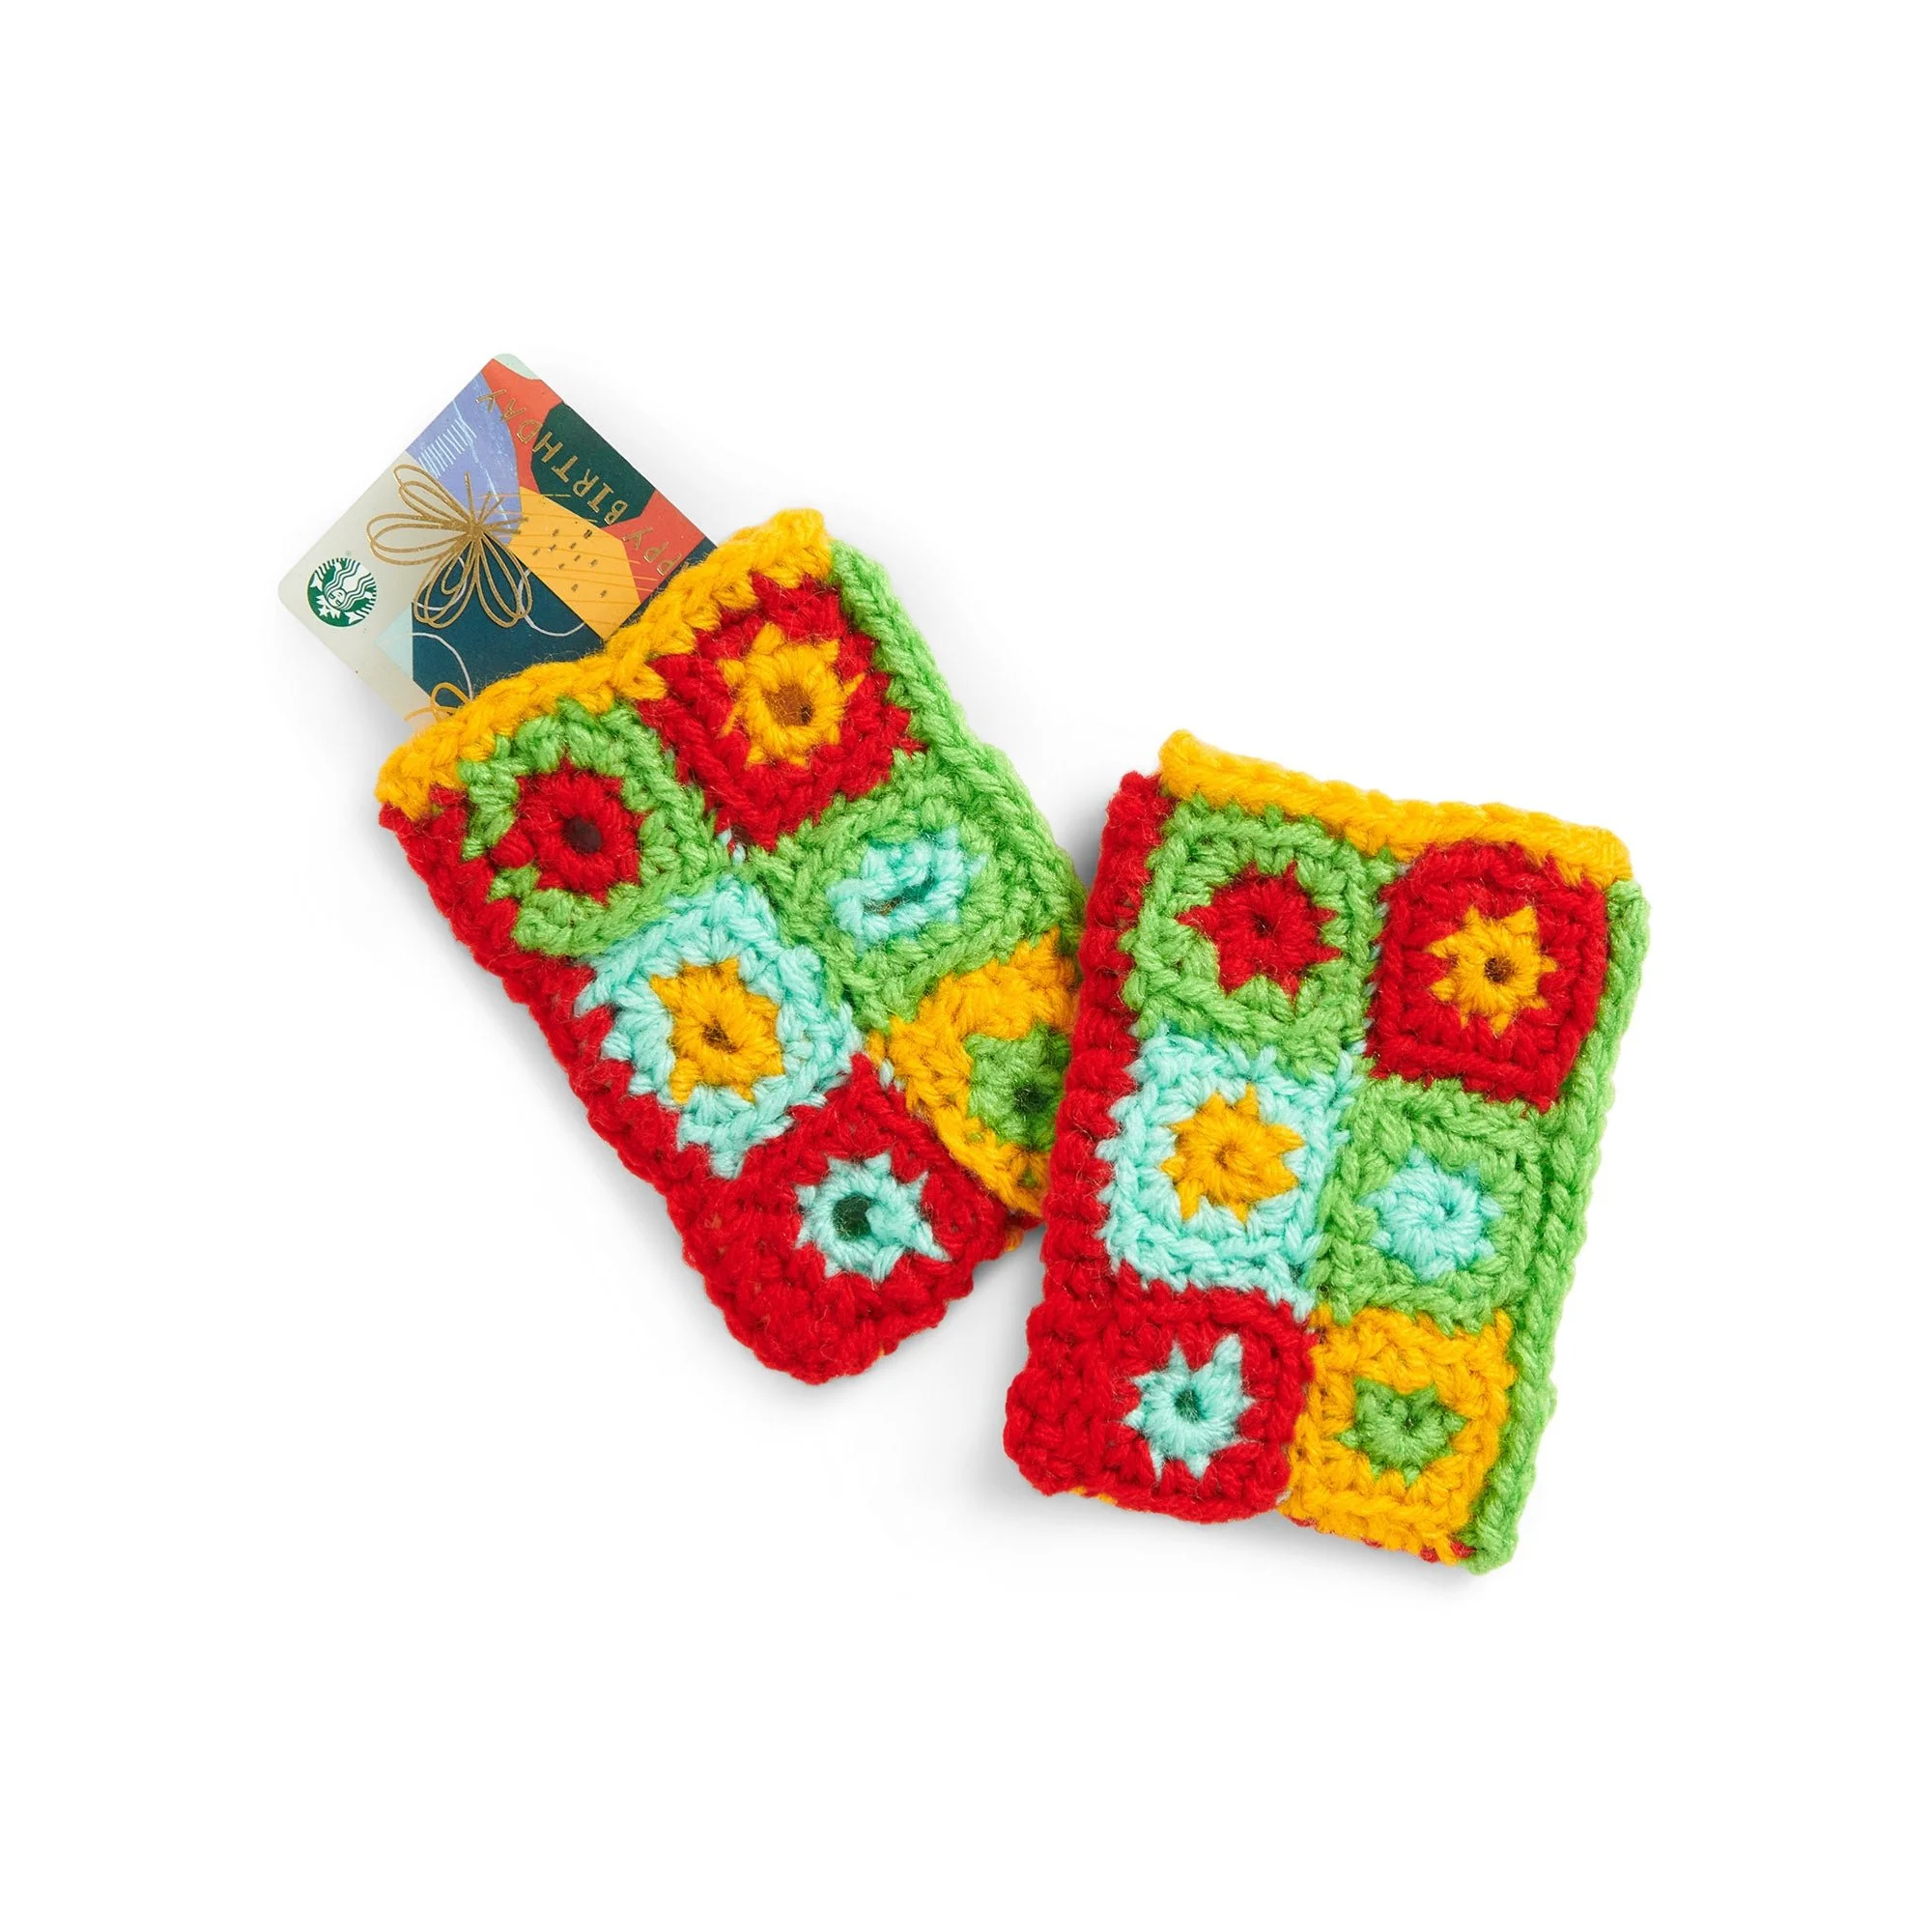
This crochet granny gift card sleeve turns a few small motifs into a reusable, handmade holder for a gift card. It’s a compact project with colorful details, making it a nice choice for crocheters who want to practice working in rounds, joining motifs, and crocheting into back loops. Make one for a birthday, holiday, or thank-you gift—or keep a few ready for the next time you give a card.
Why you’ll love this pattern
The sleeve is a thoughtful alternative to a paper envelope, and the small-scale construction makes it easy to take along between errands or while travelling. Its contrasting colors give each piece plenty of personality without requiring a large amount of yarn. You’ll also get practice with basic stitches, color changes, whipstitch assembly, and single crochet in the back loop.
“The little motifs were a fun way to use bright colors, and sewing them together gave the sleeve a satisfying finish. It’s a sweet handmade touch for a gift card.”
Before you begin
You’ll make small crochet motifs, join them with whipstitch, then fold the assembled work to form the sleeve. Single crochet worked in the back loop (scbl) finishes the sides and top edge.
The pattern uses common stitches, but assembly and keeping the edges even take a little care. It should suit a confident beginner who knows how to make a chain, single crochet, and slip stitch. The source pattern does not give a finished size or a completion time. Check the fit against your gift card as you work, since yarn, tension, and assembly can affect the final dimensions.
Materials you’ll need
- Red Heart® Super Saver® yarn in various colors:
- Contrast A: Cherry Red
- Contrast B: Spring Green
- Contrast C: Saffron
- Contrast D: Minty
- Size U.S. H/8 (5 mm) crochet hook
- Yarn needle for assembly
Red Heart® Super Saver® is an acrylic yarn. Keep the yarn weight consistent if you substitute, as a different weight can change the sleeve’s size and thickness. The instructions refer to Color 1 and Color 2 for the motifs, then identify A, B, and C for the finishing edges. Confirm how your chosen colors correspond to those labels before starting.
Step-by-step instructions
Abbreviations: ch = chain; sc = single crochet; sl st = slip stitch; scbl = single crochet in the back loop only. The back loop is the loop farther from you when you look at the top of a stitch.
- Make the first round with Color 1. Chain 2. Work 8 single crochet stitches into the second chain from the hook. Join with a slip stitch.
- Work the second round with Color 2. Join Color 2 with a slip stitch. Chain 1, then make 1 single crochet in the same space.
- In the next single crochet, work 1 sc, ch 2, 1 sc. Make 1 sc in the next single crochet. Repeat the bracketed sequence—(1 sc, ch 2, 1 sc) in the next sc, 1 sc in the next sc—twice, then work it once more. Join with a slip stitch.
- Assemble the motifs. Whipstitch them together as shown in the assembly diagram. The diagram is not included here, so refer to the original pattern’s diagram for the exact placement.
- Fold the work in half with the wrong sides together.
- With the right side facing, join Contrast A with a slip stitch. Work 18 single crochet stitches in the back loop only up the right side. Fasten off Contrast A.
- Join Contrast B with a slip stitch on the left side. Work 18 single crochet stitches in the back loop only. Fasten off Contrast B.
- Join Contrast C with a slip stitch at the top right edge. Work 24 single crochet stitches in the back loop only, then join with a slip stitch. Fasten off.
The instructions do not specify how the color names map to Color 1 and Color 2, or provide the assembly diagram. Check the original pattern references for those details before stitching the motifs together.
Ways to use your finished project
Slip a gift card into the sleeve for a handmade finish on a birthday, holiday, graduation, or thank-you present. You can also use it to present a small note or a folded cash gift. Make several in different color combinations so you have a cheerful stash of gift-card holders ready to give.
How to care for your crochet project
Follow the care instructions on the yarn label. Acrylic yarn can often be machine-washed, but gentle handling helps the sleeve keep its shape. If washing by machine is suitable for your yarn, use cool water and a gentle cycle; avoid washing it with items that could snag the stitches or transfer color.
Reshape the sleeve while damp and dry it flat. Avoid pulling or stretching the opening, and store the piece clean and dry. If you combine colors that may bleed, test them before washing the finished sleeve.
Helpful crochet tips
- Count as you go. Check the stitch count after each round and edge so you can spot an extra or missed stitch early.
- Use a marker at the start of a round. This makes it easier to identify where to join and helps prevent accidental increases.
- Keep the chain-2 spaces clear. These spaces shape the second round, so avoid working into them unless the instructions indicate that you should.
- Watch your back loops. For the finishing edges, insert the hook under only the back loop of each stitch. Working through both loops will change the look of the edge.
- Join colors neatly. Leave a tail long enough to weave in securely, and avoid pulling the joining slip stitch too tight.
- Check the fold before edging. Make sure the wrong sides are together and the right side is facing you as instructed. A quick fit check with a gift card can also help you catch an assembly issue before finishing.
- Use the assembly diagram. The written instructions refer to a diagram for motif placement; don’t guess at the arrangement if you want to match the original construction.
Customize your project
Choose a seasonal palette, use a different contrast for each edge, or coordinate the sleeve with the recipient’s favorite colors. You can also add a small embroidered initial or a simple motif, taking care not to make the fabric too thick where the gift card needs to slide in.
If you change yarn weight or hook size, the finished sleeve may be larger, smaller, or thicker than intended. A decorative edging can also reduce the opening if worked too tightly, so check that the gift card still fits comfortably before weaving in all your ends.
Frequently asked questions
Is this crochet gift card sleeve beginner-friendly?
It can suit a confident beginner familiar with chains, single crochet, and slip stitches. Whipstitching the motifs together and placing the side edging neatly may take extra patience if you are new to crochet assembly.
What yarn works best for this pattern?
The listed yarn is Red Heart® Super Saver® acrylic. A similar-weight yarn should help maintain a comparable fabric and size. A much lighter or heavier yarn can change the fit and thickness.
Can I use a different hook size?
You can, but changing the hook may alter the motif size and finished sleeve. If you use a different hook, check the fit with a gift card before completing the edging.
How much yarn do I need?
The source instructions do not provide yardage. Because the project is small, it may use modest amounts, but the exact quantity depends on your tension and color placement. Have enough yarn in each chosen color to complete the motifs and edges.
How do I make sure the sleeve fits a gift card?
The pattern does not state finished measurements. Check the assembled, folded work against your gift card before completing the border. Remember that tight tension or a thick yarn can make the opening smaller.
Why is my edge uneven?
Uneven edges often come from missed stitches, extra stitches, or inconsistent tension. Count the specified 18 scbl along each side and 24 scbl across the top, and make sure you are working into the correct edge stitches.
Can I sell finished sleeves made from this pattern?
The pattern information provided does not state whether finished items may be sold. Check the original designer’s usage terms before selling finished pieces.
Print
Crochet Granny Gift Card Sleeve
Description
A reusable, handmade holder for a gift card made from small crochet motifs, perfect for practicing crochet techniques.
Materials
- Red Heart® Super Saver® yarn in various colors: Contrast A: Cherry Red, Contrast B: Spring Green, Contrast C: Saffron, Contrast D: Minty
- Size U.S. H/8 (5 mm) crochet hook
- Yarn needle for assembly
Instructions
- Make the first round with Color 1. Chain 2. Work 8 single crochet stitches into the second chain from the hook. Join with a slip stitch.
- Work the second round with Color 2. Join Color 2 with a slip stitch. Chain 1, then make 1 single crochet in the same space.
- In the next single crochet, work 1 sc, ch 2, 1 sc. Make 1 sc in the next single crochet. Repeat the bracketed sequence—(1 sc, ch 2, 1 sc) in the next sc, 1 sc in the next sc—twice, then work it once more. Join with a slip stitch.
- Assemble the motifs. Whipstitch them together as shown in the assembly diagram.
- Fold the work in half with the wrong sides together.
- With the right side facing, join Contrast A with a slip stitch. Work 18 single crochet stitches in the back loop only up the right side. Fasten off Contrast A.
- Join Contrast B with a slip stitch on the left side. Work 18 single crochet stitches in the back loop only. Fasten off Contrast B.
- Join Contrast C with a slip stitch at the top right edge. Work 24 single crochet stitches in the back loop only, then join with a slip stitch. Fasten off.
Notes
Check the fit against your gift card as you work, since yarn, tension, and assembly can affect the final dimensions. The instructions do not specify how the color names map to Color 1 and Color 2, or provide the assembly diagram.