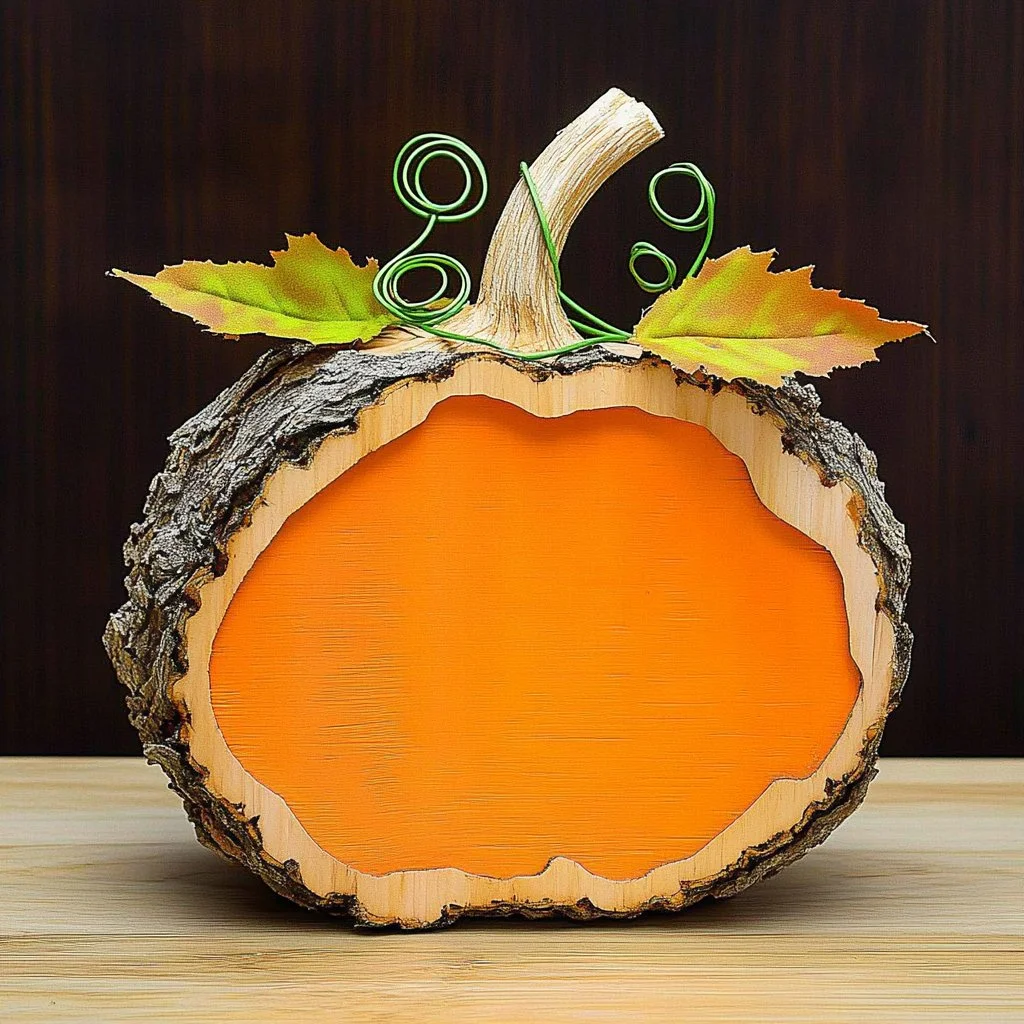
Crafting DIY wood slice pumpkins is a delightful way to embrace the spirit of the fall season while adding a unique touch to your autumn décor. These charming little pumpkins are not only aesthetically pleasing but also simple to make, allowing you to unleash your creativity. Whether you’re looking for a fun project to share with friends or a solo venture to spark your imagination, these wood slice pumpkins are the perfect crafty outlet. With just a few materials and steps, you can create beautiful, rustic decorations that will enhance your home or make perfect gifts for family and friends.
Why You’ll Love This DIY Wood Slice Pumpkins
- Easy to Make: Simple instructions make this project accessible for all skill levels.
- Customizable: Personalize your pumpkins with various colors, patterns, and decorations.
- Eco-Friendly: Utilizing natural wood slices reduces waste and adds a rustic charm.
- Seasonal Decor: Perfect for Thanksgiving, Halloween, or general fall décor.
- Great for Kids: A fun, hands-on activity that encourages creativity in children.
- Unique Gifts: Handmade items always have a special touch, making these perfect for gifting.
Materials
- Wood slices (varying sizes)
- Acrylic paint (orange, green, white, or other desired colors)
- Paintbrushes
- Black permanent marker or paint
- Twine or ribbon (for accents)
- Hot glue gun and glue sticks
- Optional: Leaf embellishments (real or faux)
- Optional: Clear sealant spray (to protect the paint)
Step-by-Step Instructions
1. Prepare Your Workspace
- Lay down newspaper or a drop cloth to protect your surfaces.
- Gather all materials for easy access.
2. Paint the Base
- Choose Your Colors: Use orange for traditional pumpkins, or get creative with colors like white or teal.
- Apply a generous coat of acrylic paint on one side of the wood slice. Allow it to dry completely before adding additional coats if necessary.
3. Add Faces and Details
- Use a black permanent marker or contrasting paint to draw faces, patterns, or designs on the painted surface.
- Let your imagination run wild; the options are endless!
4. Enhance with Embellishments
- Once the paint is dry, glue twine or ribbon around the top for a rustic look.
- Consider adding faux leaves or other decorative elements for extra flair.
5. Seal and Display
- (Optional) Spray a clear sealant to protect your design from wear and tear.
- Display your wood slice pumpkins on tabletops, shelves, or as part of a centerpiece.
Tips & Variations
- Different Sizes: Use larger or smaller wood slices to create a variety of pumpkin sizes.
- Layering Colors: Experiment with blending colors for a unique gradient effect.
- Seasonal Themes: Swap out colors and embellishments to transition from Halloween to Thanksgiving easily.
- Themed Decorations: Consider a rustic theme by incorporating burlap or jute into your designs.
Frequently Asked Questions
1. Can I use real pumpkins instead of wood slices?
While real pumpkins can work for decorative purposes, they won’t last as long as wood slices.
2. How do I store my wood slice pumpkins after the season?
Store them in a cool, dry place, preferably in a box to avoid scratches or damage.
3. What if I don’t have a hot glue gun?
You can use craft glue or any strong adhesive as an alternative.
4. Can I paint the wood slices with spray paint?
Yes, spray paint can be used for a smoother finish, but ensure to work in a well-ventilated area.
Serving Suggestions or Pairings
These wood slice pumpkins pair beautifully with fall-themed drinks such as spiced cider or pumpkin lattes. Consider using them as coasters or table decor when serving seasonal treats like apple pie or caramel popcorn.
Final Thoughts
Creating DIY wood slice pumpkins is a fun and rewarding project that brings the warmth and cheer of fall into your home. The process allows for creativity and customization, making each piece a unique expression of your style. We would love to see how your wood slice pumpkins turn out! Share your versions or leave a comment below with your thoughts and experiences! Happy crafting!
Print
DIY Wood Slice Pumpkins
- Total Time: 15 minutes
- Yield: 4 pumpkins
- Diet: N/A
Description
Craft charming wood slice pumpkins for unique fall décor. A fun and easy project perfect for all skill levels.
Ingredients
- Wood slices (varying sizes)
- Acrylic paint (orange, green, white, or other desired colors)
- Paintbrushes
- Black permanent marker or paint
- Twine or ribbon (for accents)
- Hot glue gun and glue sticks
- Optional: Leaf embellishments (real or faux)
- Optional: Clear sealant spray (to protect the paint)
Instructions
- Prepare your workspace: Lay down newspaper or a drop cloth and gather all materials.
- Paint the base: Choose your colors and apply a generous coat of acrylic paint on one side of the wood slice. Allow it to dry completely.
- Add faces and details: Use a black permanent marker to draw faces, patterns, or designs.
- Enhance with embellishments: Glue twine or ribbon around the top and add decorative elements.
- Seal and display: Optionally spray with clear sealant to protect your design and display your pumpkins.
Notes
Experiment with different sizes and layering colors for unique effects.
- Prep Time: 15 minutes
- Cook Time: 0 minutes
- Category: Craft
- Method: Crafting
- Cuisine: N/A
Nutrition
- Serving Size: 1 pumpkin
- Calories: 0
- Sugar: 0g
- Sodium: 0mg
- Fat: 0g
- Saturated Fat: 0g
- Unsaturated Fat: 0g
- Trans Fat: 0g
- Carbohydrates: 0g
- Fiber: 0g
- Protein: 0g
- Cholesterol: 0mg

