Introduction
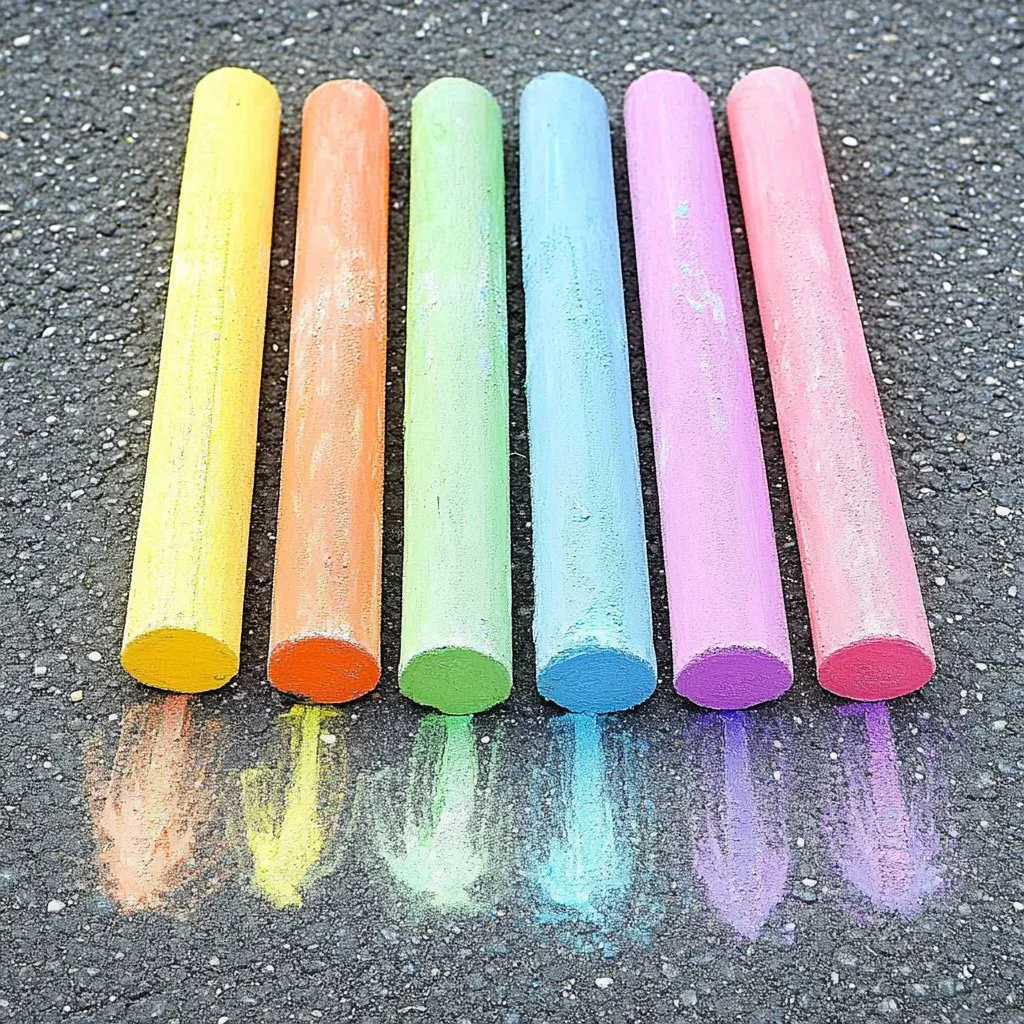
Creating your own sidewalk chalk is not only a fun and engaging activity, but it also offers a wonderful way for kids and adults alike to unleash their creativity. This DIY sidewalk chalk recipe is simple and requires only a few ingredients, making it the perfect weekend project. The vibrant colors and endless design possibilities ensure that your outdoor spaces will come alive with art. Imagine transforming your driveway or sidewalk into a canvas for doodles, drawings, and messages—it’s a fun activity that can promote imaginative play as well as provide a unique way to express yourself. Plus, there’s a certain sense of accomplishment that comes from making something with your own hands. Whether you’re planning a playdate, a neighborhood friendly competition, or simply want to add some color to your outdoor area, this sidewalk chalk recipe is great for all ages.
Why You’ll Love This Sidewalk Chalk Recipe
- Easy to Make: With common household ingredients, you can whip this up in no time.
- Customizable Colors: Use food coloring or washable paint to create any color of chalk you desire.
- Non-Toxic: Safe for children, as it uses natural ingredients.
- A Creative Outlet: Encourages imaginative play and artistic expression.
- Budget-Friendly: Making your own sidewalk chalk is cost-effective compared to store-bought options.
- Great for Parties: Perfect for outdoor gatherings, adding a splash of creativity and fun.
Materials
- 1 cup plaster of Paris
- 1/2 cup water
- 1 tablespoon colorant (food coloring or washable paint)
- Mixing bowl
- Spoon for mixing
- Ice cube tray or plastic molds
- Disposable gloves (optional)
Step-by-Step Instructions
Step 1: Prepare the Mixture
- Begin by measuring 1 cup of plaster of Paris and add it to your mixing bowl.
- Gradually stir in 1/2 cup of water. This mixture will start to thicken, resembling pancake batter.
Step 2: Add Color
- After thoroughly mixing, add 1 tablespoon of your chosen colorant.
- Stir the mixture until the color is evenly distributed. Adjust the color intensity by adding more colorant if desired.
Step 3: Mold the Chalk
- Pour the mixture into the ice cube tray or plastic molds.
- Tap the tray gently on the counter to remove air bubbles and ensure even filling.
Step 4: Let it Set
- Allow the chalk to dry for at least 24 hours. The drying time may vary based on humidity and thickness.
Step 5: Remove and Enjoy
- Carefully remove the chalk from the molds once fully hardened.
- Now you’re ready to create colorful masterpieces on the sidewalk!
Tips & Variations
- Customize Colors: Mix different colors together for unique shades or create tie-dye effects.
- Shape Variations: Use cookie cutters or themed molds for exciting shapes.
- Add Texture: Incorporate sand into the plaster for a gritty feel and added texture.
- Storage: Keep your chalk in a cool, dry place, away from moisture to preserve its quality.
Frequently Asked Questions
Q1: Can I use alternative colorants?
Yes, you can use powdered tempera paint or even natural options like beet juice for coloring.
Q2: What if my chalk doesn’t harden?
Ensure that you’ve mixed the plaster of Paris and water thoroughly. If it’s too humid, give it more drying time.
Q3: Is the chalk washable?
Yes, if you use washable paint as your colorant, the chalk will typically wash off easily with water.
Q4: How long will the chalk last?
Homemade chalk can last for several months if stored in a dry environment.
Serving Suggestions or Pairings
- Pair your chalk art session with refreshing lemonade or iced tea.
- Consider having some finger foods like fruit skewers or popcorn for a fun outdoor party.
- For an art-themed gathering, set up a craft station with additional art supplies like markers and sketch pads.
Final Thoughts
This homemade sidewalk chalk recipe not only brings a burst of color to your outdoor spaces but also offers a joyful and creative activity for everyone involved. Turn your driveway into a colorful canvas for hours of fun and artistic expression. We encourage you to share your own sidewalk chalk creations or any variations you try. Don’t forget to leave a comment below to let us know how your chalk-making experience went! Happy crafting!
Print
Homemade Sidewalk Chalk
- Total Time: 1450 minutes
- Yield: Approximately 10 pieces of chalk 1x
- Diet: Non-Toxic
Description
This DIY sidewalk chalk recipe is perfect for unleashing creativity with vibrant colors and endless design possibilities.
Ingredients
- 1 cup plaster of Paris
- 1/2 cup water
- 1 tablespoon colorant (food coloring or washable paint)
- Mixing bowl
- Spoon for mixing
- Ice cube tray or plastic molds
- Disposable gloves (optional)
Instructions
- In a mixing bowl, measure 1 cup of plaster of Paris and gradually stir in 1/2 cup of water until the mixture resembles pancake batter.
- Add 1 tablespoon of your chosen colorant and stir until evenly distributed.
- Pour the mixture into the ice cube tray or molds and tap gently on the counter to remove air bubbles.
- Let the chalk dry for at least 24 hours, considering humidity and thickness.
- Once fully hardened, carefully remove the chalk from the molds and enjoy creating chalk art!
Notes
Customize colors and shapes using different colorants and molds. Keep chalk in a cool, dry place to preserve quality.
- Prep Time: 10 minutes
- Cook Time: 1440 minutes
- Category: Craft
- Method: DIY
- Cuisine: American
Nutrition
- Serving Size: 1 piece
- Calories: 50
- Sugar: 0g
- Sodium: 0mg
- Fat: 1g
- Saturated Fat: 0g
- Unsaturated Fat: 0g
- Trans Fat: 0g
- Carbohydrates: 12g
- Fiber: 0g
- Protein: 2g
- Cholesterol: 0mg

