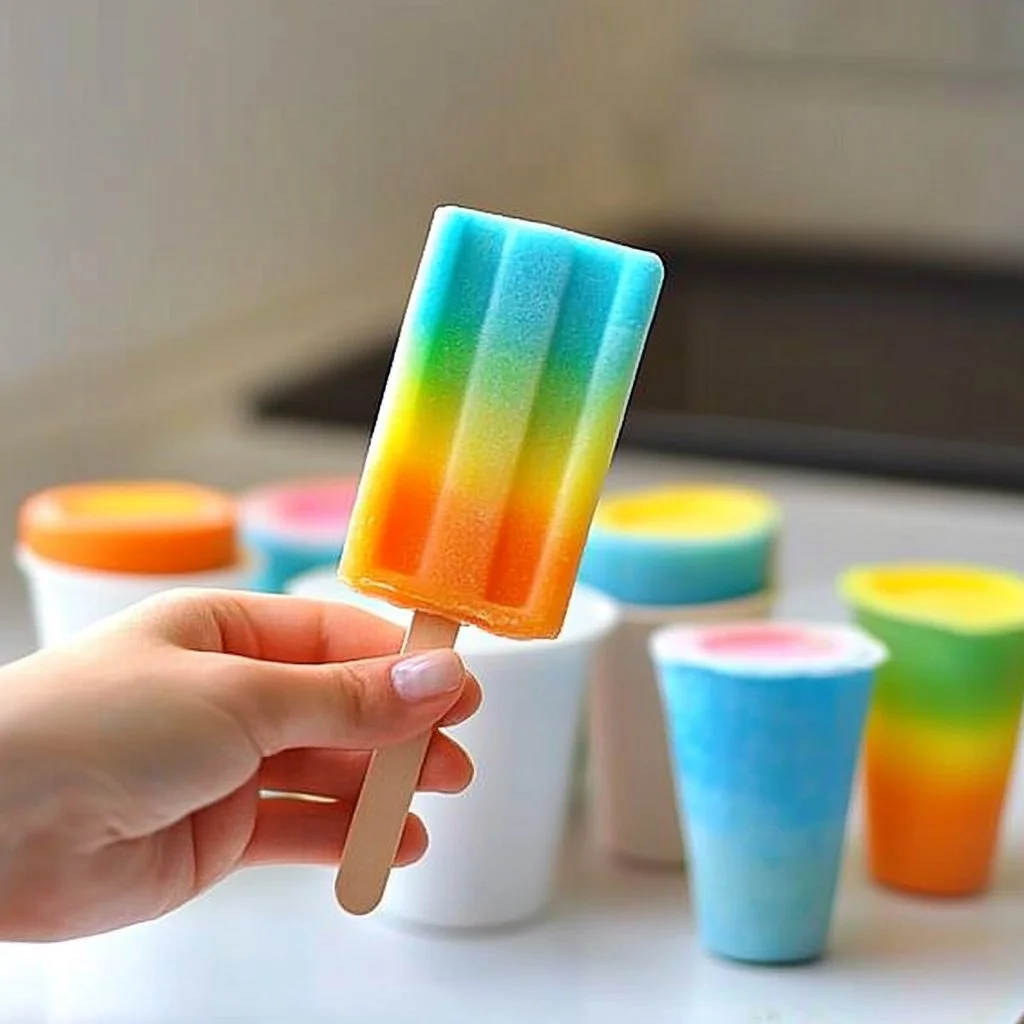
Growing up in a small Southern town, summer was synonymous with those long, lazy days spent outside, splashing in sprinklers and riding bikes. But what I looked forward to most was when my grandmother would bring out her vibrant homemade Rainbow Popsicles. The sheer joy of sinking my teeth into these icy, colorful treats after a hot afternoon was unmatched. Each layer told a story—sweet berry, tart citrus, creamy coconut—that spoke to the seasons and the importance of family gatherings.
This recipe is not just a throwback; it’s a celebration of creativity and nostalgia, perfect for brightening up warm days. These Rainbow Popsicles are as visually appealing as they are delicious, making them a hit for both kids and adults alike. Dive into this refreshing treat that invites everyone to gather and enjoy the simple pleasures of life.
Why You’ll Love This Rainbow Popsicles
- Vibrant and Fun: The colorful layers make it a joy to create and eat.
- Healthy Alternative: Naturally sweetened with real fruit, free from added sugars.
- Customizable: Tailor the flavors to your taste or seasonal fruits.
- Kid-Friendly: Get the children involved in creating their own popsicle masterpieces.
- Perfect for Hot Days: A refreshing way to cool off during summer.
Ingredients
-
For the Strawberry Layer:
- 2 cups fresh strawberries, hulled
- 1 tablespoon honey (or maple syrup)
-
For the Orange Layer:
- 2 cups fresh orange juice
- 1 tablespoon honey (or maple syrup)
-
For the Kiwi Layer:
- 2 cups fresh kiwi, peeled and chopped
- 1 tablespoon honey (or maple syrup)
-
For the Coconut Layer:
- 1 cup coconut milk
- 1 tablespoon honey (or maple syrup)
Step-by-Step Instructions
Step 1: Prepare the Strawberry Layer
- In a blender, combine the hulled strawberries and honey. Blend until smooth.
- Pour the mixture into popsicle molds, filling them one-third of the way. Freeze for about 30 minutes, or until slightly firm.
Step 2: Make the Orange Layer
- Blend the fresh orange juice and honey until well combined.
- Carefully pour over the previously frozen strawberry layer, filling two-thirds of the mold. Return to freezer for another 30 minutes.
Step 3: Create the Kiwi Layer
- Blend the chopped kiwi and honey until smooth.
- Pour over the orange layer, filling until almost at the top. Freeze for an additional 30 minutes.
Step 4: Pour the Coconut Layer
- Mix the coconut milk and honey together.
- Pour over the kiwi layer and insert popsicle sticks. Freeze for at least 4 hours, or until fully set.
Step 5: Enjoy!
- To release, run warm water over the outside of the molds for a few seconds and gently pull out your popsicles.
Tips & Variations
- Fruit Swaps: Try using other fruits like blueberries, mangoes, or raspberries.
- Sweetener Alternatives: Use agave syrup or stevia for a sugar-free option.
- Creamy Layer: Weave in yogurt for a protein boost in the coconut layer.
- Add-ins: Toss in chia seeds or finely shredded coconut for texture.
Storage Instructions
Store any leftover popsicles in a sealed container in the freezer. They can be kept for up to a month and are best enjoyed within two weeks for optimal freshness.
Nutritional Information
- Prep Time: 20 minutes
- Freeze Time: 5 hours
- Total Time: 5 hours 20 minutes
- Calories per Serving: Approximately 50 calories
- Servings: 8 popsicles
Frequently Asked Questions
1. Can I use frozen fruit?
Yes! Just ensure you thaw it first and drain excess water before blending.
2. How do I make these dairy-free?
Use coconut milk as the base instead of yogurt or traditional milk.
3. What if I don’t have popsicle molds?
You can use small paper cups and plastic spoons as sticks!
4. How do I easily remove the popsicles from the molds?
Running warm water over the outside of the mold for a few seconds will help loosen them.
Serving Suggestions or Pairings
Pair these popsicles with a light, fruity beverage like lemonade or iced tea. They also make a colorful addition to any summer barbecue, providing a playful treat alongside grilled meats and fresh salads.
Final Thoughts
These Rainbow Popsicles not only nourish the body but also bring back fond memories of summer fun with loved ones. I encourage you to try this recipe, customize it with your favorite fruits, and share your colorful creations with friends and family. Don’t forget to leave a comment below with your versions or any tips you’ve discovered along the way. Happy cooking!
Print
Rainbow Popsicles
- Total Time: 320 minutes
- Yield: 8 popsicles
- Diet: Vegetarian
Description
A vibrant and refreshing treat, these Rainbow Popsicles are made with real fruit and are perfect for cooling off on hot summer days.
Ingredients
- For the Strawberry Layer: 2 cups fresh strawberries, hulled, 1 tablespoon honey (or maple syrup)
- For the Orange Layer: 2 cups fresh orange juice, 1 tablespoon honey (or maple syrup)
- For the Kiwi Layer: 2 cups fresh kiwi, peeled and chopped, 1 tablespoon honey (or maple syrup)
- For the Coconut Layer: 1 cup coconut milk, 1 tablespoon honey (or maple syrup)
Instructions
- Prepare the Strawberry Layer: In a blender, combine the hulled strawberries and honey. Blend until smooth. Pour the mixture into popsicle molds, filling them one-third of the way. Freeze for about 30 minutes, or until slightly firm.
- Make the Orange Layer: Blend the fresh orange juice and honey until well combined. Carefully pour over the previously frozen strawberry layer, filling two-thirds of the mold. Return to freezer for another 30 minutes.
- Create the Kiwi Layer: Blend the chopped kiwi and honey until smooth. Pour over the orange layer, filling until almost at the top. Freeze for an additional 30 minutes.
- Pour the Coconut Layer: Mix the coconut milk and honey together. Pour over the kiwi layer and insert popsicle sticks. Freeze for at least 4 hours, or until fully set.
- Enjoy: To release, run warm water over the outside of the molds for a few seconds and gently pull out your popsicles.
Notes
Store any leftover popsicles in a sealed container in the freezer. They can be kept for up to a month and are best enjoyed within two weeks for optimal freshness.
- Prep Time: 20 minutes
- Cook Time: 0 minutes
- Category: Dessert
- Method: Freezing
- Cuisine: American
Nutrition
- Serving Size: 1 popsicle
- Calories: 50
- Sugar: 10g
- Sodium: 5mg
- Fat: 2g
- Saturated Fat: 1g
- Unsaturated Fat: 1g
- Trans Fat: 0g
- Carbohydrates: 12g
- Fiber: 1g
- Protein: 0g
- Cholesterol: 0mg

