

A soft spring breeze whispers through your window, carrying the gentle scent of blooming flowers. The light dances across surfaces, casting playful shadows that seem to invite creativity. You pick up a plastic fork and a few colors of paint, sensing the simple potential in this humble tool. With each dip, you feel the anticipation of transforming mundane materials into a garden scene filled with bright tulips. This process embodies a serene kind of joy, drawing you deeper into the present moment. In your mind’s eye, rows of cheerful flowers unfurl, their vivid colors ablaze against a soothing backdrop of painted greens.
The Heart Behind This DIY
Creating art with your hands brings a special tranquility, reminding us of simpler times. When using a plastic fork to stamp rows of tulips, you engage not just your vision but also your sense of touch, smell, and sound. The coolness of the paint mingles with the warmth of your fingers. As you press the fork into the surface, you enjoy the satisfying rhythm of movement—a punctuated dance of creation.
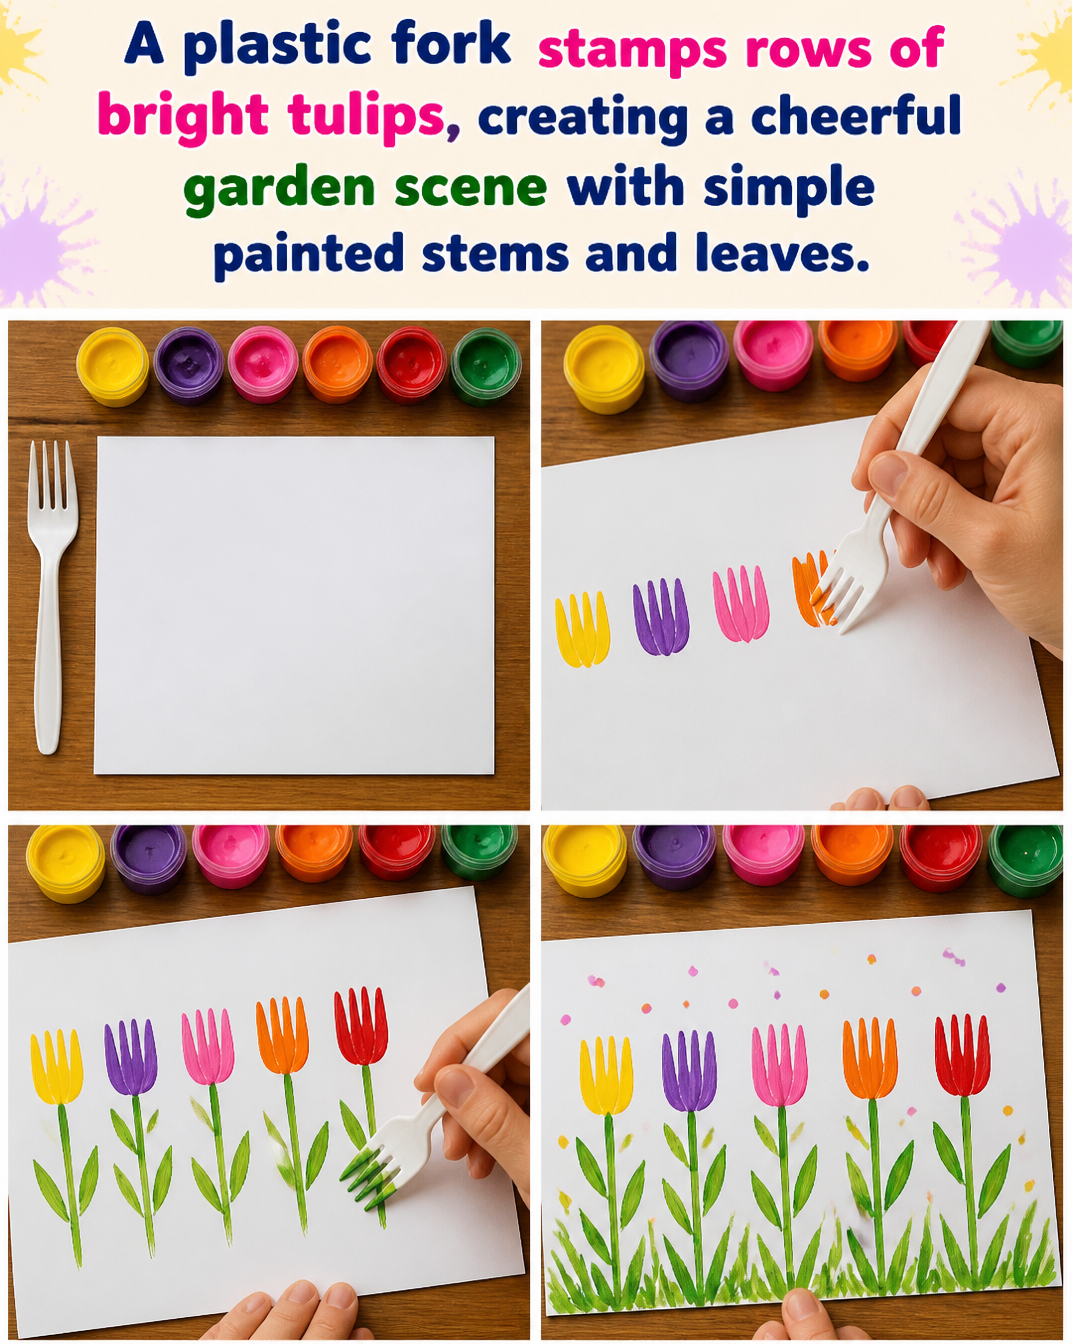
This project encourages you to slow down and tune into what you’re making. Each stamp quietly asserts its presence, while the familiar textures of paint and paper warm your senses. By letting go of expectations, you allow solace to replace stress. The bright tulips emerge, row by row, each one a testament to your focus and presence. This moment of making offers a refuge from life’s chaotic pace, inviting you to breathe deeply and embrace the joy of tactile creativity.
A Gentle Look at the Process
The journey of creating your cheerful garden scene unfolds gently, step by step. As you gather your materials, envision the vibrant colors waiting to burst forth on your canvas. Feel the anticipation build as you prepare for this calming experience.
You will dip your fork into paint, savouring the cool, silky texture, and then make the rhythmic motion of pressing it onto your surface. There’s a certain satisfaction in the sound of the fork meeting the paper, the soft squish of paint against the texture, transforming an ordinary moment into something special. Each stroke unfolds a new layer of creativity, wrapping you in a cocoon of focus and mindfulness.
Materials You’ll Need
Gather your supplies, inviting textures and colors into your space:
- Plastic fork (a sturdy, flexible type works best)
- Acrylic paint (choose bright tulip colors: pinks, yellows, oranges, and greens)
- A piece of thick paper or canvas
- A small palette or plate for mixing paint
- Water for rinsing the fork
- Paper towels for quick cleanup
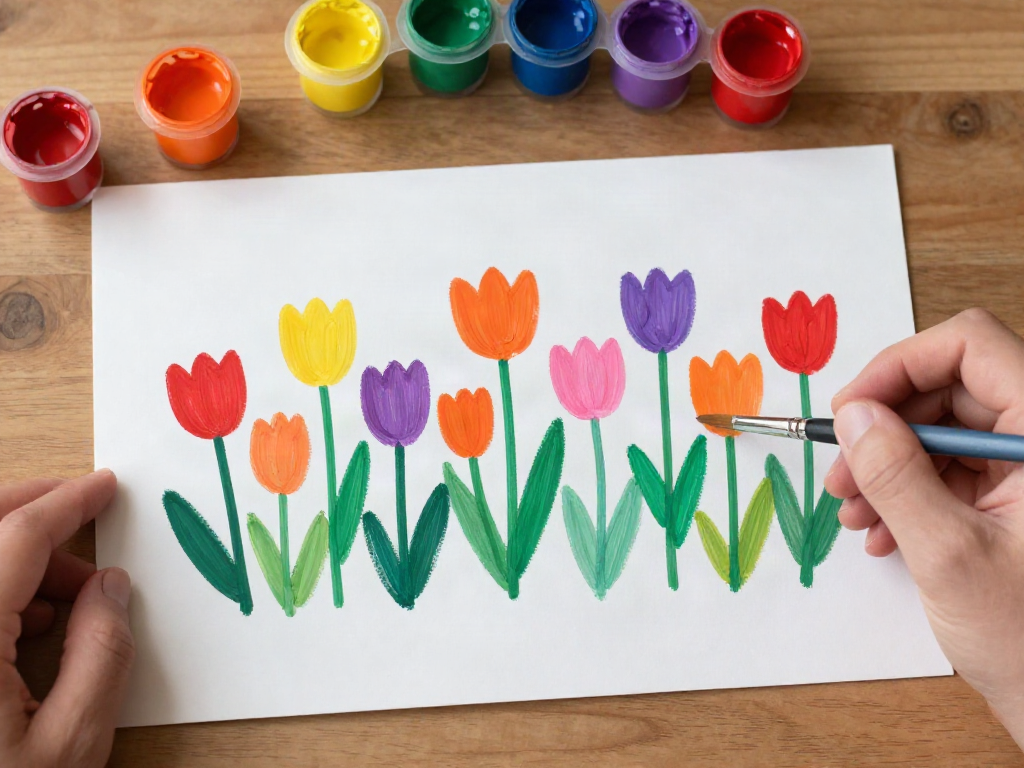
- Optional: a brush for adding details to your leaves or stems
You can find most of these materials easily at home or in a nearby craft store. All these supplies are simple yet allow for so much creativity to blossom.
Step-by-Step Directions
-
Start with your workspace uncluttered and calm. Lay down your thick paper or canvas, letting it invite your designs.

-
Squeeze out small amounts of the acrylic paint onto your palette. Choose a few colors that inspire you.
-
Dip the plastic fork into the first color, allowing the tines to soak up the paint. Feel the weight shift as you prepare for the first stamp.
-
Press the fork onto the canvas, creating a tulip shape. Repeat the motion— lift, dip, press— and enjoy the rhythm.
-
Continue stamping with different colors, creating a joyful row of tulips. Place them close together or give them space, allowing the garden scene to develop naturally.
-
For stems, dip the fork into green paint. Use the tines to create long, thin lines below each tulip. Feel the texture change under your fingers as you press the fork down gently.
-
If you’d like to add leaves, use the side of the fork to make soft triangular shapes parallel to the stem. The texture naturally guides your hand.
-
Allow your artwork to dry in a peaceful, warm place while you admire your work.
-
Once dry, step back and take a moment to appreciate the cheerful garden you’ve created.
Enjoying the Finished Piece
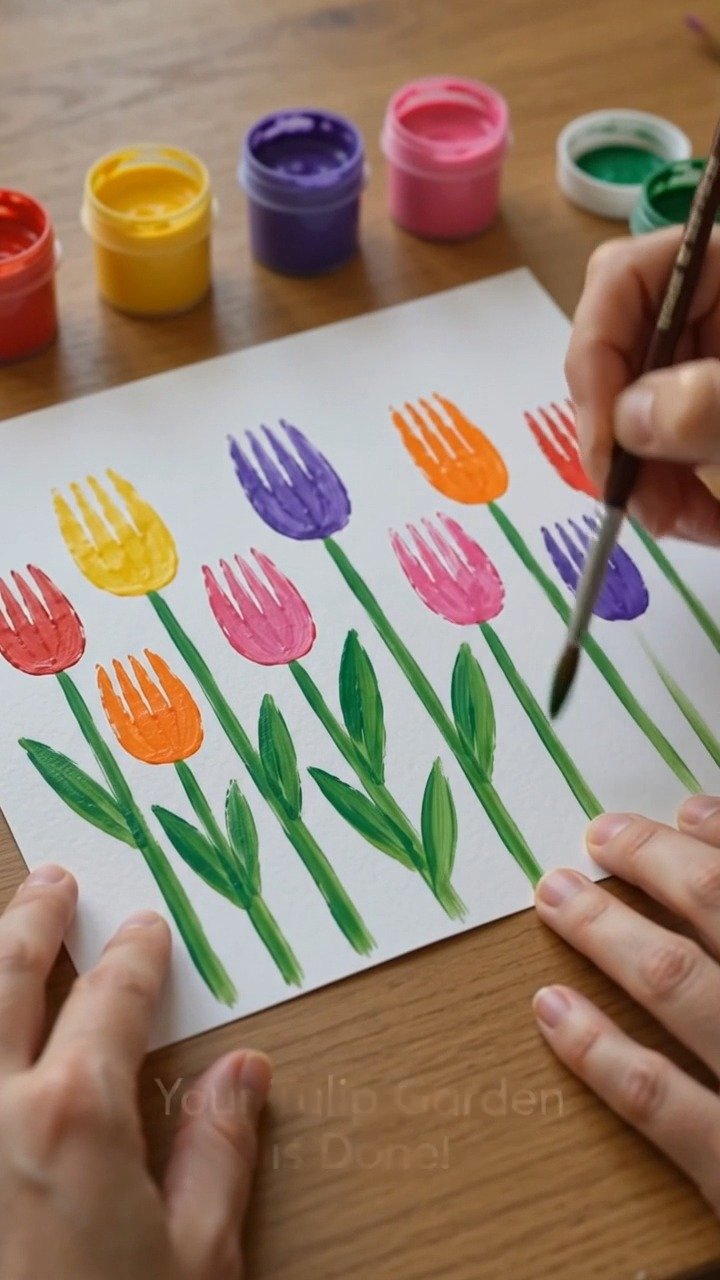
Your cheerful garden scene is now complete, vibrant and alive with color. Each tulip, a testament to your mindful making, holds the joy of creation within its petals.
To incorporate this piece into your space, consider displaying it prominently where you can see it daily. Perhaps a soft beam of sunlight hits the garden in the morning, illuminating its colors and lifting your spirits. You might place it on a coffee table, create a gallery wall, or give it to a friend as a gift, radiating warmth and cheer.
This piece serves as a reminder of that peaceful crafting moment. When you glance at it, it can draw you back into the calmness of creation— a gentle pause in your day.
How to Store or Reuse A Plastic Fork Stamps Rows of Bright Tulips
Once your artwork is dry, you may want to keep it safe for years to come. If you’d like to store it, place it in a flat box or an album, keeping it protected from bending or creasing. Ensure the piece is fully dry before stacking or placing it between other items.
Should you wish to reuse the plastic fork for other projects, a quick rinse under warm water removes paint remnants. You can let it dry, ready for the next adventure in creativity. This versatility allows you to explore various patterns and colors, making the fork a reliable crafting companion.
Gentle Tips & Variations
-
Experiment with different shapes. Try using the back of the fork for larger flower shapes, or even cut the fork (safely) to create custom stamps.
-
Change your color palette with the seasons. Light pastels for spring, warm earthy tones for autumn, or vibrant hues for summer can refresh the look of your garden.
-
Use a soft brush to add whimsical details like dots or lines to enhance your flowers further. This additional layer of texture can add richness to your piece.
-
If you have children or friends nearby, invite them to join! Crafting together can deepen connections and create shared memories.
FAQs About A Plastic Fork Stamps Rows of Bright Tulips
Q: What type of paint is best for this project?
A: Acrylic paint works best as it gives vibrant colors and dries quickly. You can also mix colors to create unique shades for your flowers.
Q: Can I use a different tool instead of a fork?
A: Yes, you can use any stamp-like tool. Consider sponges, vegetables, or even your own carved stamps to create different textures and designs.
Q: What if I make a mistake?
A: Every artist experiences mistakes. If a stamp doesn’t work as you intended, embrace it as part of the creative flow. You can layer paint over it, turning accidents into charming elements.
Q: How long does it take for the artwork to dry?
A: Depending on how thickly the paint is applied, drying can take anywhere from 15 minutes to a couple of hours. Placing the artwork in a warm, dry area helps speed up this process.
Q: Can I hang my artwork outside?
A: It’s best to keep art made with acrylic paint indoors, as sunlight and moisture can fade or damage it over time. Instead, display it where you can appreciate it without worry.
A Gentle Note Before You Go
As you step back from your creation, take a moment to soak in the satisfaction of what you’ve made. Crafting this cheerful garden scene is more than just a project; it’s a journey into mindfulness and presence.
Let each bright tulip you’ve stamped be a reminder of the beauty in everyday moments and the joy found in creating. Embrace the calm, letting it settle in your heart as you move through your day. The process of making has allowed you to express your creativity, becoming part of a tapestry filled with stories, memories, and gentle joys. Carry this spirit with you, and may your hands always be warmed by the love of creating.
Print
Plastic Fork Stamped Tulips
- Total Time: 15 minutes
- Yield: 1 artwork
- Diet: N/A
Description
Create a vibrant garden scene using a plastic fork and acrylic paint, bringing joy and mindfulness to your crafting experience.
Ingredients
- Plastic fork (a sturdy, flexible type works best)
- Acrylic paint (choose bright tulip colors: pinks, yellows, oranges, and greens)
- A piece of thick paper or canvas
- A small palette or plate for mixing paint
- Water for rinsing the fork
- Paper towels for quick cleanup
- Optional: a brush for adding details to your leaves or stems
Instructions
- Start with your workspace uncluttered and calm. Lay down your thick paper or canvas, letting it invite your designs.
- Squeeze out small amounts of the acrylic paint onto your palette. Choose a few colors that inspire you.
- Dip the plastic fork into the first color, allowing the tines to soak up the paint. Feel the weight shift as you prepare for the first stamp.
- Press the fork onto the canvas, creating a tulip shape. Repeat the motion—lift, dip, press—and enjoy the rhythm.
- Continue stamping with different colors, creating a joyful row of tulips. Place them close together or give them space, allowing the garden scene to develop naturally.
- For stems, dip the fork into green paint. Use the tines to create long, thin lines below each tulip. Feel the texture change under your fingers as you press the fork down gently.
- If you’d like to add leaves, use the side of the fork to make soft triangular shapes parallel to the stem. The texture naturally guides your hand.
- Allow your artwork to dry in a peaceful, warm place while you admire your work.
- Once dry, step back and take a moment to appreciate the cheerful garden you’ve created.
Notes
To store your artwork, place it in a flat box or album to protect it from bending or creasing. Rinse the fork under warm water for reuse.
- Prep Time: 15 minutes
- Cook Time: 0 minutes
- Category: Craft
- Method: Stamping
- Cuisine: N/A