This post contains Amazon affiliate links. As an Amazon Associate I earn from qualifying purchases.
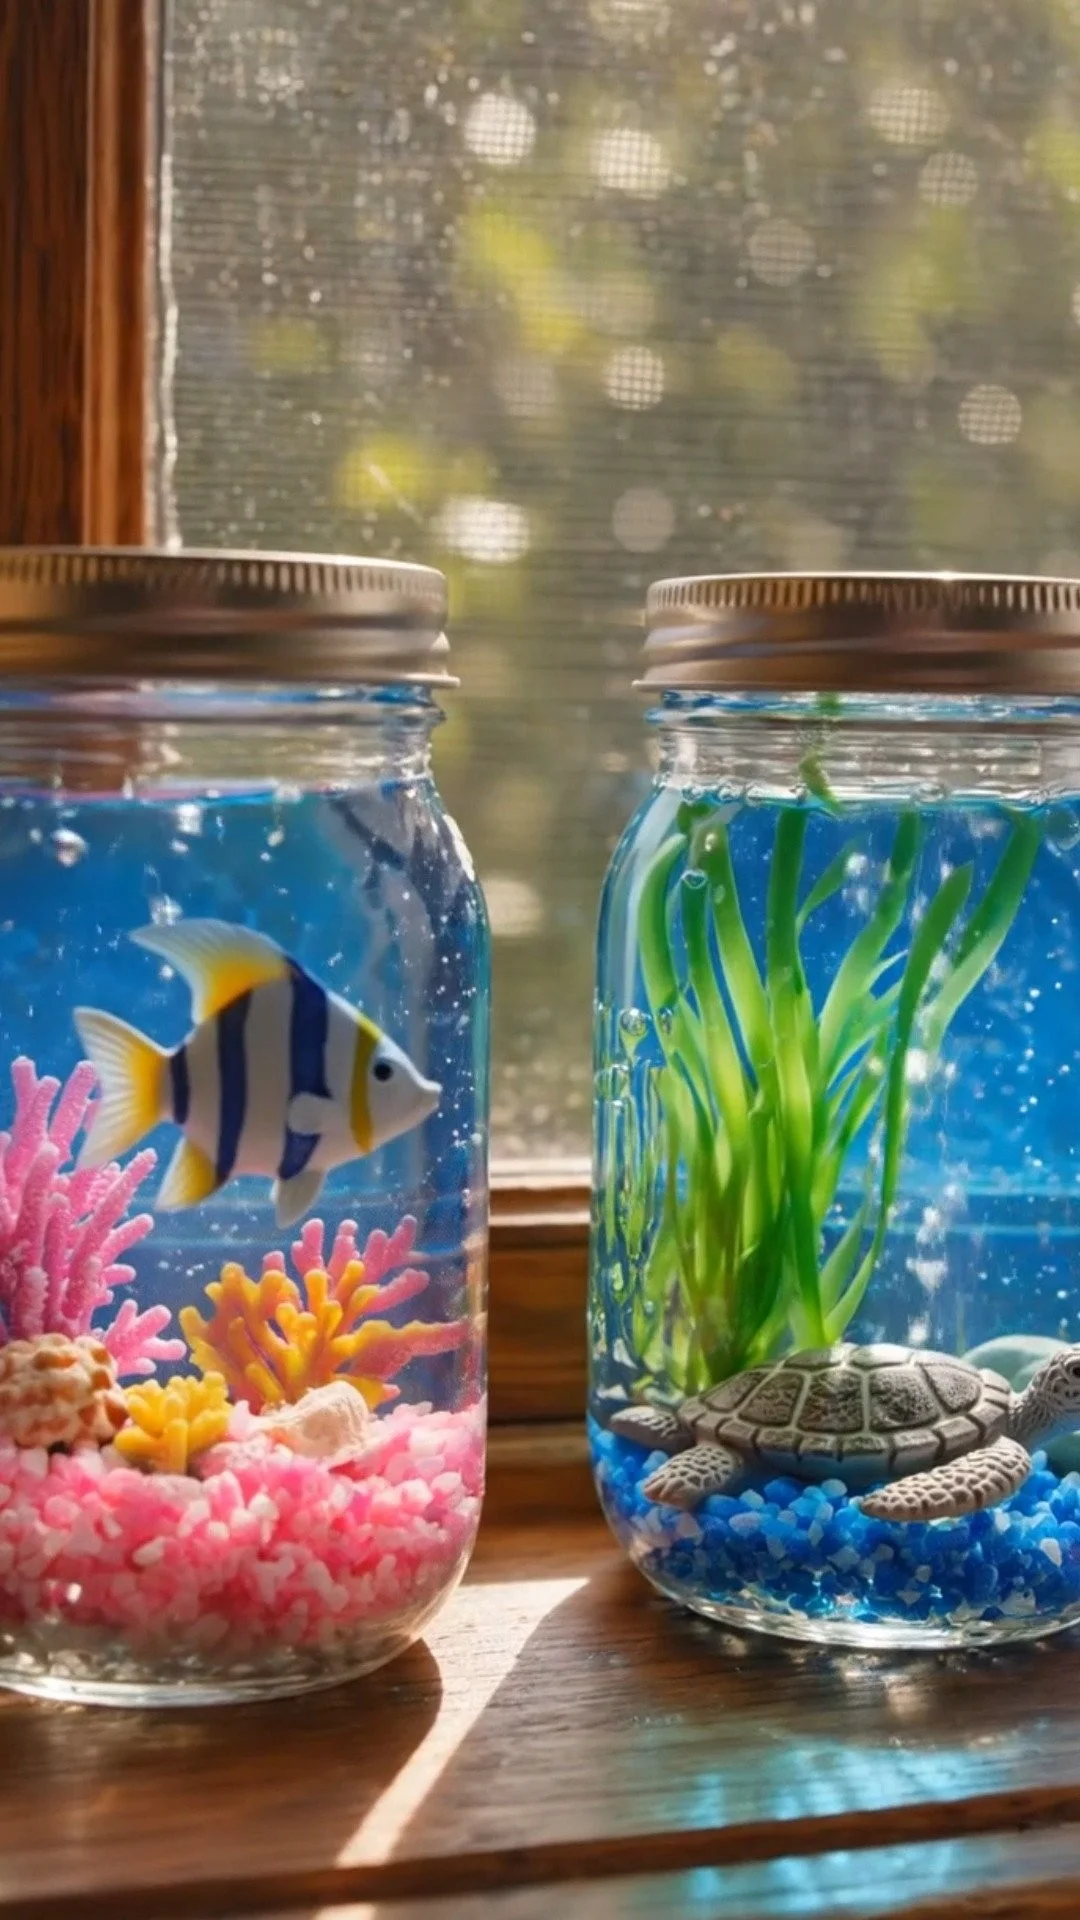
As you sit by a sunny window, the gentle sound of waves crashing fills your mind. You can almost feel the warmth of the sun on your skin as you imagine being by the ocean, pieces of sunlight dancing over the water’s surface. This serene setting inspires you to craft your own little piece of this tranquility: a Mini Ocean Jar. The act of gathering tiny shells, smooth pebbles, and shimmering blue-green beads becomes a meditative journey, one that transforms your space into a joyful reminder of nature’s beauty.
The Quiet Joy of Making Mini Ocean Jars
Creating Mini Ocean Jars offers a delightful escape into a world where time slows down. Each element—the soft texture of sand, the cool touch of glass, and the vibrant colors—invites you to engage your senses fully. Allowing yourself this moment of creativity helps foster mindfulness, bringing peace as you focus on the soothing art of assembly.
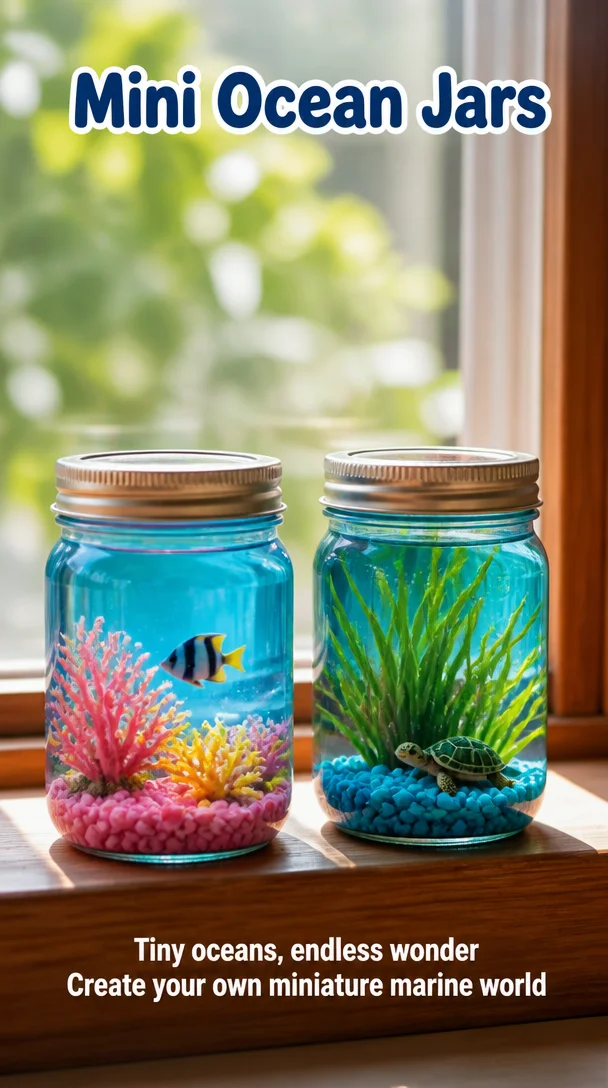
As you fill your jar with carefully chosen materials, you embrace a calming ritual that feels like a warm hug for your spirit. The quiet process allows room for reflection and intention, reminding you of the beauty of simplicity. Each jar serves not only as a pretty decoration but as a vessel of joy and serenity, a gentle nudge to savor the moment you’re in.
A Gentle Look at the Process
Mini Ocean Jars come together in a simple, flowing manner. You begin with a clear glass jar, perhaps a mason jar or an old jar you’ve saved. As you arrange the layers—soft sand, colorful beads, and delicate shells—you dance through textures and colors. The sound of grains of sand sifting through your fingers brings a whisper of the beach.
You can almost hear the gentle ocean waves lapping against the shore as you pour. Each layer you create becomes an invitation for the eyes to explore, while your own mind finds clarity in the creation. With each careful movement, you feel a sense of calm enveloping you, grounding you deeply into the moment.
Gathering Your Materials
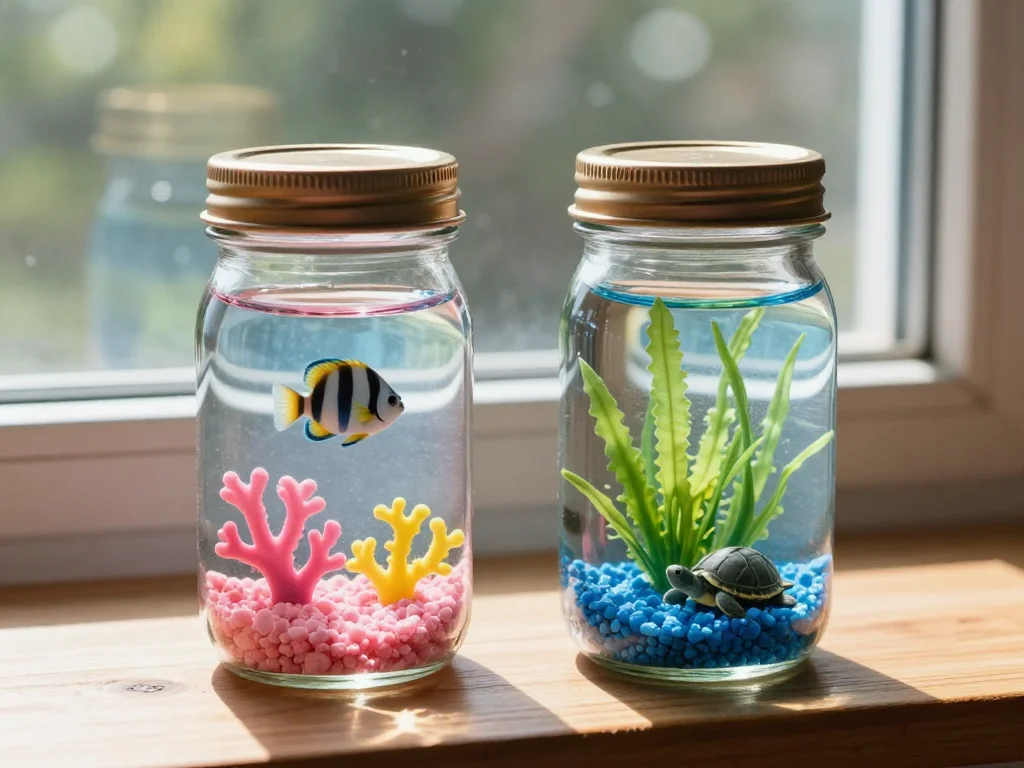
- A clear glass jar with a lid (mason jars work well)
- Sand (beach sand or craft sand)
- Small pebbles or tiny shells (easy to find at craft stores or beaches)
- Colored beads (translucent blues and greens evoke the ocean)
- Water (optional for a more dynamic look)
- A small scoop or spoon (for adding sand and pebbles)
- A piece of twine or ribbon (if you wish to decorate the jar)
Feel free to get creative with your materials. You might use dried flowers or even miniature figures to personalize your jar. The possibilities are as wide as the ocean itself.
Step-by-Step Directions
-
Prepare Your Workspace: Find a calm and comfortable space to work. Lay out your materials, allowing them to breathe and inviting your senses to explore each one.
-
Fill the Bottom: Start by adding a layer of sand to the bottom of your jar. Notice the soft feel as it slips gently from your fingers into the jar.

-
Add Pebbles or Shells: Next, carefully place small pebbles or shells on top of the sand. Enjoy the visual rhythm as you arrange them in a pleasing way.
-
Layer in Color: Sprinkle colored beads over the pebbles. Their vibrant hues will mimic the sunlight sparkling on ocean waves. Allow yourself to admire the colors and textures.
-
Repeat Layers: Continue layering sand, pebbles, and beads until your jar is filled to your liking. Each layer invites reflection, so take your time.
-
Seal with Water (Optional): If you wish, you can add a small amount of water to give your Mini Ocean Jar a dynamic look. It can create a calming ripple effect over the materials.
-
Decorate the Jar: Once you finish layering, consider wrapping twine or ribbon around the neck of the jar for an extra touch. This can bring a rustic feel, connecting the jar further to nature.
-
Finish and Enjoy: Take a moment to admire your creation. Feel the smooth glass in your hands, and recognize the beauty of your effort.
Enjoying the Finished Piece
Once your Mini Ocean Jar comes to life, it becomes a focal point in your space. Place it on a sunny window sill, allowing the light to catch the colors within and create a shimmering display. With each gaze upon this little piece of the ocean, you find a moment of respite from the busy world.
These jars can spark memories of coastal trips or simply evoke the tranquil energy of the sea. You might find joy in gifting them, sharing a little piece of ocean magic with friends or family, spreading warmth and creativity.
Making This DIY Last
Caring for your Mini Ocean Jar is simple. Keep it in a dry location, out of direct sunlight for long periods. If you wish to reuse the jar later, simply remove the contents and clean it gently with warm soapy water. The beauty of these jars is their lasting nature; they can adapt to new themes, seasons, or memories, continuously bringing a sense of calm.
What I’ve Learned While Making This
As you explore different ways to create your Mini Ocean Jars, you might discover your unique joy. Perhaps trying different layers of materials can bring new life to your jar. You may want to focus more on colors, perhaps making themed jars for different seasons or occasions.
You can also invite loved ones to join you in this creative process. Making together adds another layer of warmth to the experience, and sharing this calm moment brings people closer together.
Consider adding a personal note within each jar. A little reminder of a cherished moment or a wish for the future can make your creation even more meaningful.
FAQs About Mini Ocean Jars
Can I use alternative materials for my Ocean Jar?
Yes, absolutely! Feel free to substitute materials based on what you have. Small decorative stones, colored glass pieces, or even bits of fabric can add interesting textures.
How do I clean the jar if I want to use it for something else later?
Remove the contents carefully, wash it with warm soapy water, and dry it completely. It’s simple to transition your jar for other uses while keeping its beauty intact.
What if my beads sink when I add water?
If you notice some beads sinking, it’s okay. This can create a layered look, mimicking how objects settle in the ocean. Enjoy the unexpected beauty of your creation.
How do I display my Mini Ocean Jar?
You can place it anywhere that brings you joy—on a desk, in a living room, or even as a centerpiece at a gathering. The jar should be in a spot where it catches the light, allowing the colors to dance.
Can I create a whole series of Ocean Jars?
Yes! Making a collection can be a lovely practice. Each jar can represent a different beach memory, season, or color scheme, creating a beautiful display of your journey.
A Gentle Note Before You Go
As you close the chapter on crafting your Mini Ocean Jar, take a moment to reflect on the calmness you’ve nurtured throughout the process. Each layer you’ve added is more than a building block; it is a reminder of your creativity, tranquility, and connection to nature.
Let this jar be more than just a decor piece. Allow it to inspire you to pause, breathe, and appreciate the soothing beauty that exists in simplicity. Enjoy each gentle moment, and continue to explore the cozy creativity that adds color to your world.
Print
Mini Ocean Jar
- Total Time: 15 minutes
- Yield: 1 jar
- Diet: N/A
Description
Create a beautiful Mini Ocean Jar using sand, shells, and beads, bringing a piece of the ocean into your home.
Ingredients
- 1 clear glass jar with a lid
- Beach sand or craft sand
- Small pebbles or tiny shells
- Colored beads (translucent blues and greens)
- Water (optional)
- A small scoop or spoon
- A piece of twine or ribbon (optional)
Instructions
- Prepare your workspace by finding a calm and comfortable area.
- Fill the bottom of the jar with a layer of sand.
- Add small pebbles or shells on top of the sand.
- Layer in colored beads over the pebbles.
- Repeat layering sand, pebbles, and beads until the jar is filled.
- Seal the jar with a small amount of water for a dynamic look (optional).
- Decorate the neck of the jar with twine or ribbon, if desired.
- Finish by admiring your creation and placing it in a sunny spot.
Notes
Get creative with alternative materials like dried flowers or miniature figures for personalization.
- Prep Time: 15 minutes
- Cook Time: 0 minutes
- Category: Craft
- Method: DIY
- Cuisine: N/A