
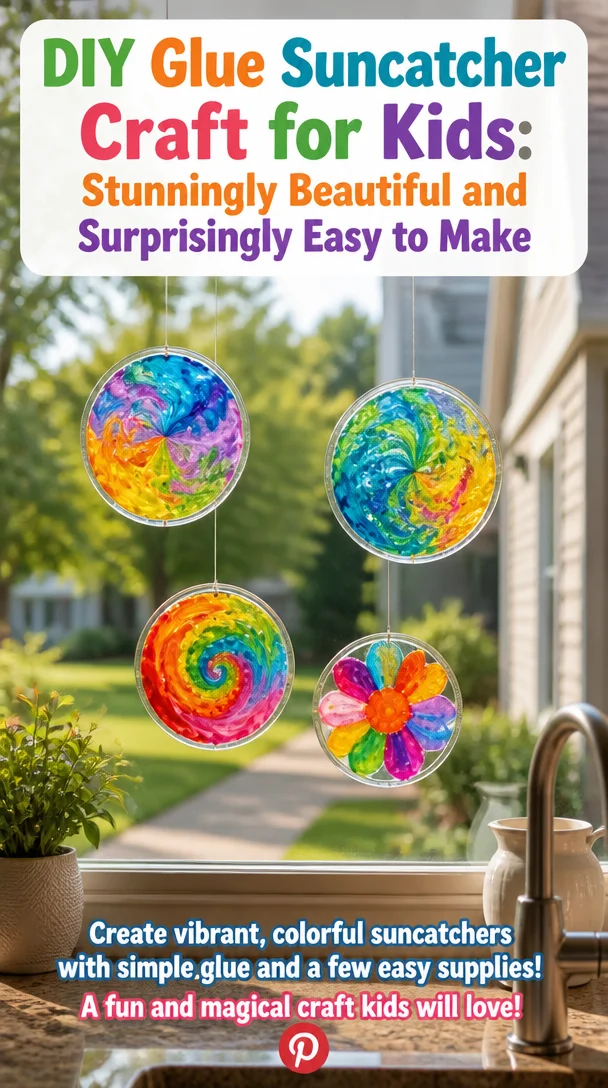
It is a quiet moment when sunlight breaks through the clouds, casting soft patches of warmth across the room. The air feels different, perhaps inviting. The world outside buzzes with life, yet inside, a gentle stillness reveals itself. Reaching for a simple jar of glue, a handful of vibrant colors, and a few ordinary materials, an opportunity arises. It calls to create something beautiful—something that dances with light and color. This is the magic of making DIY glue suncatcher crafts. It is stunningly beautiful and surprisingly easy to make, offering a calming ritual as joyful as the bright pieces your hands will bring to life.
Why Make This DIY Glue Suncatcher Craft for Kids: Stunningly Beautiful and Surprisingly Easy to Make
Creating a DIY glue suncatcher speaks to the soul in its simplicity. The act of blending colors, watching them swirl and blend with the glue, feels meditative. As the colorful shapes emerge from the mess, this project invites moments of focus, centering the mind on each delightful step. You can fully immerse yourself in the experience of crafting. This attention to detail creates a gentle rhythm, grounding you in the moment.
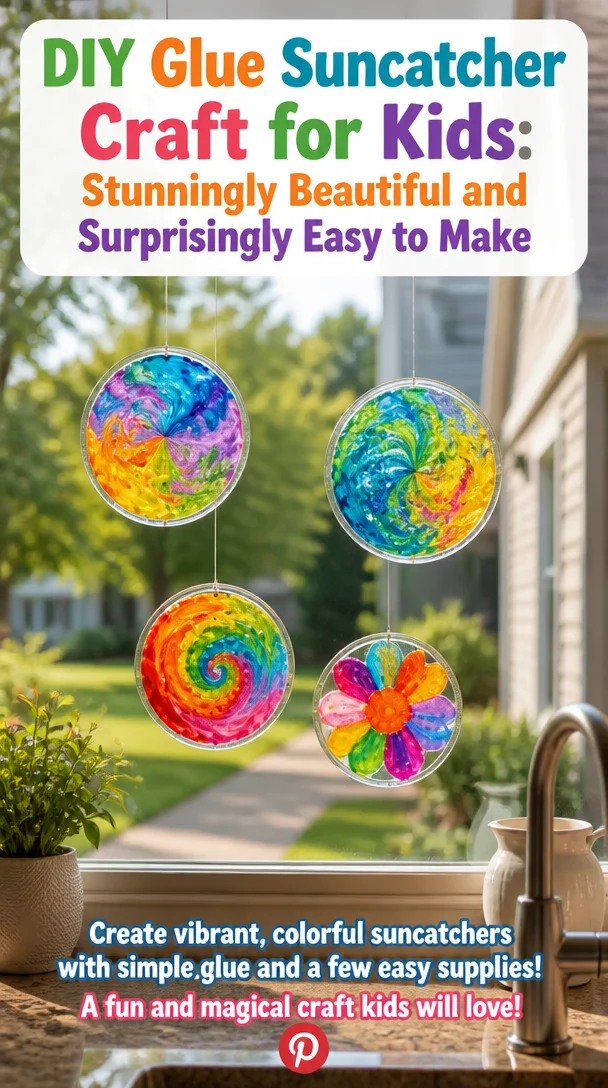
There’s something peaceful about working with your hands. The tactile quality of the glue—as it glides, drips, or pools—can soothe restless thoughts. Kids, too, find joy in the colors and textures. The satisfaction in seeing their work transform into something radiant can spark creativity and foster a love for making. When finished, these suncatchers light up a window, throwing cheerful colors around the room and reminding you of the calm joy found in creation.
A Gentle Look at the Process
As you embark on making your DIY suncatcher, picture the journey: vibrant colors blend like the perfect sunset, each hue begging for attention. You begin by collecting materials, feeling the smooth surface of cups or bowls, and smelling the familiar scent of glue. Every step feels like an exploration of creativity, a small adventure to embark upon.
The process unfolds slowly. You pour, mix, and spread, allowing each movement to unfold at its own pace. As you stir, the sounds of plastic scraping, glass clinking, and perhaps even soft laughter fill the air. Each sound adds to the cozy atmosphere, reminding you of the beauty in the little moments. This gentle flow of making creates space for mindfulness, a welcome refuge from the day’s hurried pace.
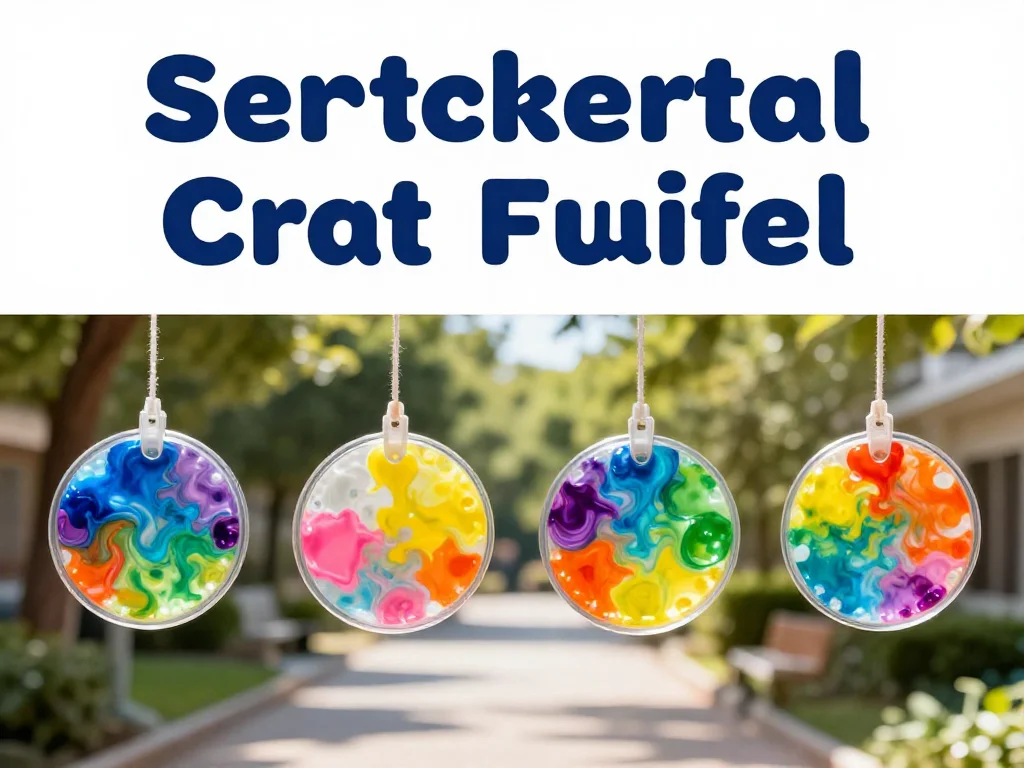
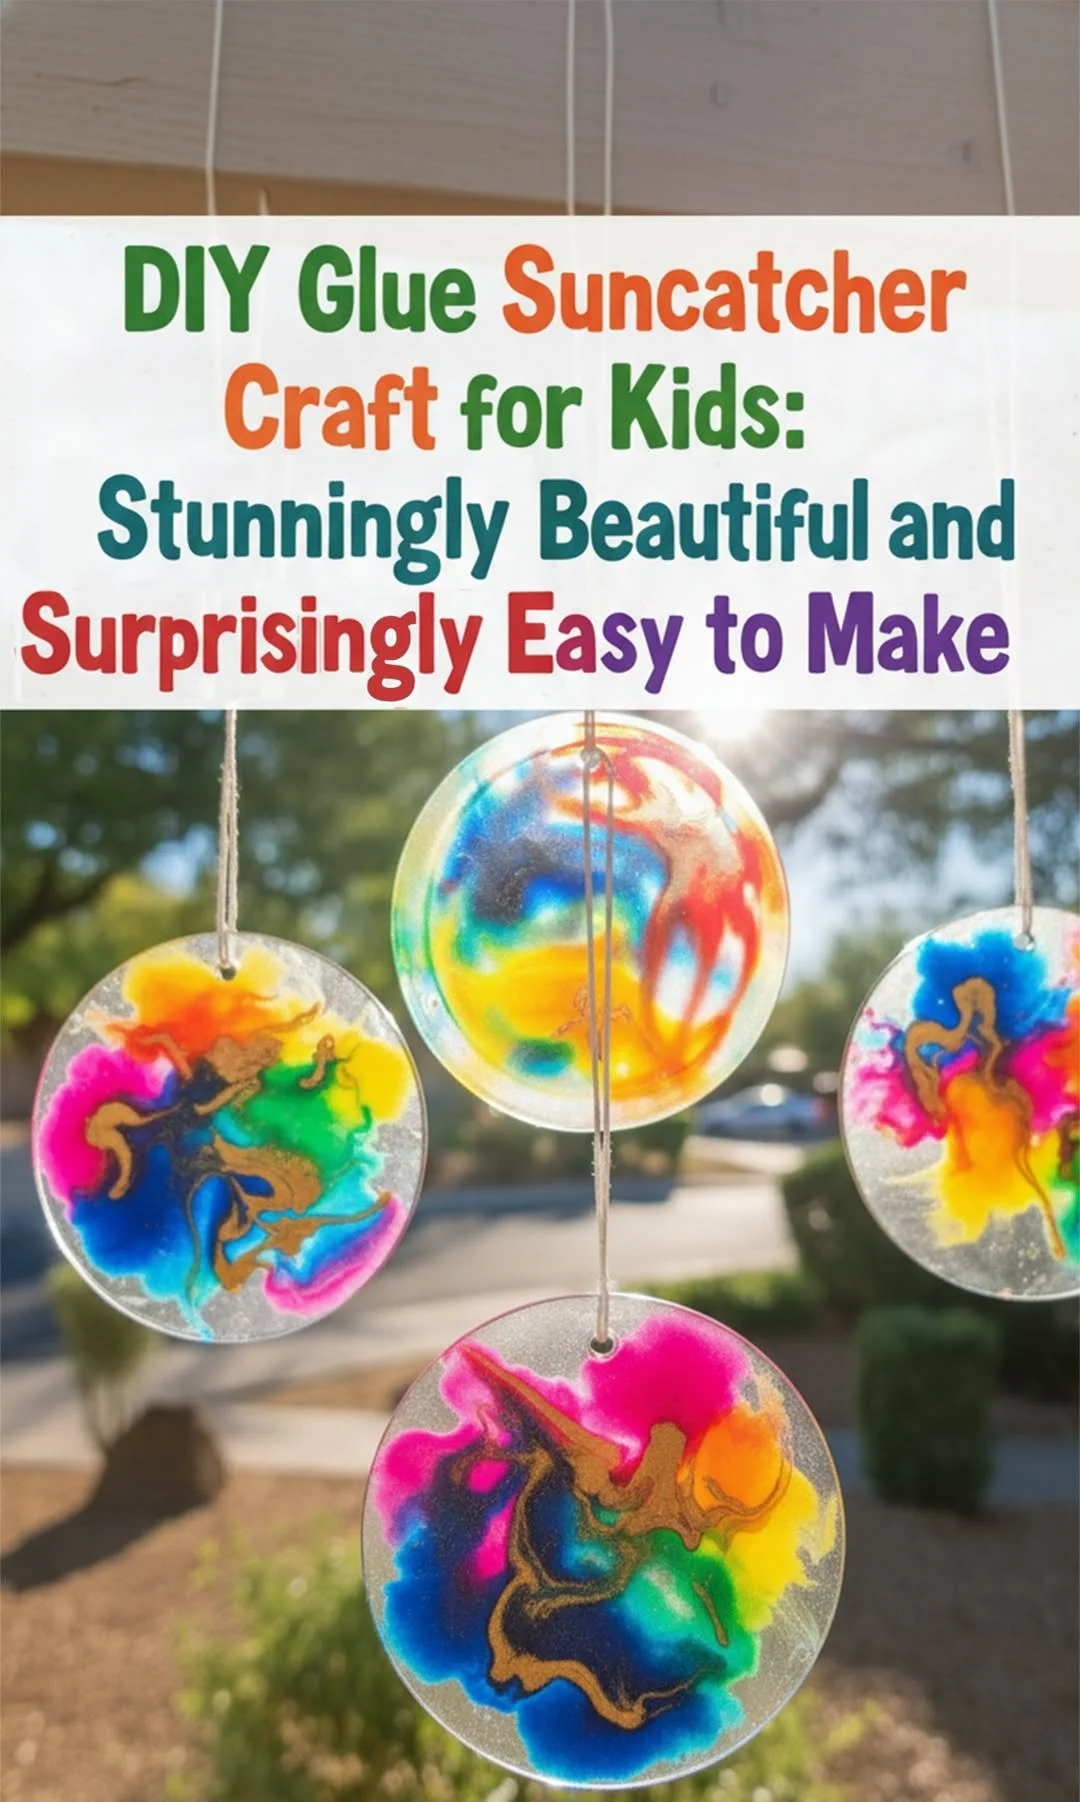
Materials You’ll Need
Gathering materials for your glue suncatcher is a part of the delight. Each item serves its purpose, and many are easy to find in your home or local store. Here’s what you’ll need:
- Clear school glue (or craft glue)
- Liquid watercolors or food coloring (for vibrant colors)
- A shallow mixing container (like a plastic cup or tray)
- Wax paper, parchment paper, or plastic wrap (for a non-stick surface)
- A small spoon or stir stick (for mixing)
- Scissors (for cutting shapes, if desired)
- Optional: glitter or small sequins (for added sparkle)
These materials come together to create a simple yet engaging craft. Feel free to adjust as you like, making this as unique as your vision allows.
Step-by-Step Directions
-
Start by laying down your chosen surface—wax paper or plastic wrap works well to prevent sticking. Smooth it out so that it’s ready for your colorful creation.

-
Pour the clear glue into your mixing container. Feel the cool, viscous texture as it fills the cup. You can start with about a cup of glue; you may adjust based on how many suncatchers you want to make.
-
Add in drops of your chosen colors. If using liquid watercolors or food coloring, this is where the magic begins. Watch how the colors swirl in the glue, creating dynamic patterns.
-
Using your spoon or stir stick, gently stir the mixture. Observe how the colors blend and create beautiful marbled effects. Take your time with this step; the swirling motions feel calming and absorbed in the beauty.
-
Once you’re pleased with the colors, use the spoon to drop spoonfuls of the mixture onto your wax paper. You can decide on shapes like circles or hearts, or simply let the mixture flow freely.
-
If you want, sprinkle a little glitter or sequins on top before the mixture dries. Each addition adds a personal touch, twinkling softly in the light.
-
Allow the suncatcher to dry completely. This may take several hours or overnight, depending on how thick your glue mixture is. As it dries, it may take on a beautiful, transparent quality that enhances its color.
-
When you return to your creation, gently peel the dried suncatcher from the wax paper. It should come off easily, revealing your unique piece of art.
-
Finally, hang your suncatcher in a sunny window or in a place where it can catch light. Enjoy the reflections and colors dancing around your space as you move through your day.
Enjoying the Finished Piece
Displaying your DIY glue suncatcher brings joy and warmth into your home. When sunlight filters through the colored pieces, it bathes the room in a soft embrace, transforming the atmosphere into something magical.
Find a sunny window that welcomes the light, and hang your suncatcher where it can sway gently in the breeze. Each time the sun hits it, you’ll see the colors dance freely. The simple act of hanging this creation brings daily reminders of the calm and creativity you tapped into during the making process.
Let this piece serve as a testament to your mindful making. Each time you pass by, you might feel a little twinge of happiness as you remember the colors and the quiet moments shared with your hands.
How to Store or Reuse DIY Glue Suncatcher Craft for Kids: Stunningly Beautiful and Surprisingly Easy to Make
While your suncatcher is light and cheerful now, it also holds the promise of longevity. After a time, if you feel it has lost some of its charm or perhaps if the sun has faded the colors a bit, consider a gentle cleaning. Use a soft cloth to wipe down the surface, bringing back some of that initial sparkle.
If you ever choose to take it down, store the suncatcher flat in a cool, dry space. Laying it on a clean piece of paper within a shallow box helps protect it from scratches. You can always reuse the glue mixture concept for new creations, allowing your inner artist to flourish. Transition into different colored themes for each season, or explore new shapes as your creativity unfolds.
Gentle Tips & Variations
Here are a few gentle invitations to enhance your suncatcher experience:
- Experiment with layering colors. Try pouring a thin layer of one color, allowing it to set slightly before adding another hue on top. This technique creates depth and intrigue.
- Bring nature into your craft. Consider incorporating small leaves or flowers into the glue before it dries. This adds a beautiful organic touch.
- Use different types of glues. Try colored craft glue for a different texture or overall look.
- Make mini suncatchers as gifts for family or friends. Small gifts of art carry personal touches of care and creativity.
Each variation allows your personal spirit to shine. Creating becomes a continuous journey of discovery.
FAQs About DIY Glue Suncatcher Craft for Kids: Stunningly Beautiful and Surprisingly Easy to Make
What kind of glue works best for suncatchers?
Clear school glue works beautifully since it dries clear and keeps the colors vibrant. Craft glue is another great option. Both tend to provide a nice finished look.
How long does it take for the suncatcher to dry?
Typically, it takes a few hours for thinner layers to dry completely. For thicker areas, it’s best to wait overnight. Be patient; the anticipation is part of the experience.
Can we use other materials instead of glue?
While glue is ideal, you might try using gel mediums or specific craft adhesives designed for transparency. Each material brings something special to the project.
Is this craft safe for young children?
Yes, but it is always wise to supervise younger children, especially during mixing or if sharp objects like scissors are involved.
How can I clean a suncatcher?
Simply wipe it down gently with a soft, damp cloth. Avoid harsh chemicals that may dull the colors or damage the glue.
A Gentle Note Before You Go
As you step away from today’s crafting journey, hold onto the quiet joy found in the making. Each suncatcher reflects not just color, but the calm moments shared as you worked with your hands. The ritual of creating something beautiful does more than brighten a window; it lights up the corners of your heart.
May you find peace in your craft and joy in the colorful pieces of your life. Embrace the creative spirit within, and remember that making—just like life—can be surprising and wonderfully beautiful. Enjoy this blend of process and result, allowing it to guide you gently into a more peaceful space as you carry on with your day.
Print
DIY Glue Suncatcher Craft for Kids
- Total Time: 15 minutes
- Yield: 1 suncatcher
- Diet: N/A
Description
A fun and vibrant DIY glue suncatcher craft for kids that blends colors and creativity, transforming simple materials into beautiful art.
Ingredients
- Clear school glue (or craft glue)
- Liquid watercolors or food coloring
- A shallow mixing container
- Wax paper, parchment paper, or plastic wrap
- A small spoon or stir stick
- Scissors (for cutting shapes, if desired)
- Optional: glitter or small sequins
Instructions
- Start by laying down your chosen surface—wax paper or plastic wrap works well to prevent sticking.
- Pour the clear glue into your mixing container. You can start with about a cup of glue; adjust as needed.
- Add in drops of your chosen colors, enjoying how they swirl in the glue.
- Using your spoon or stir stick, gently stir the mixture until you create beautiful marbled effects.
- Once you’re pleased with the colors, use the spoon to drop spoonfuls of the mixture onto your wax paper.
- If you want, sprinkle a little glitter or sequins on top before it dries.
- Allow the suncatcher to dry completely, which may take several hours or overnight.
- Gently peel the dried suncatcher from the wax paper.
- Finally, hang your suncatcher in a sunny window and enjoy the reflections.
Notes
Store dried suncatchers flat in a cool, dry space to prevent scratches and consider reusing the glue mixture for new creations.
- Prep Time: 15 minutes
- Cook Time: 0 minutes
- Category: Arts and Crafts
- Method: Crafting
- Cuisine: Craft