

The soft glimmer of light dances on a smooth surface as you hold the pink crystal seashell in your hand. Its curves invite gentle touch, and you can almost feel the whisper of the ocean within its formation. The delicate hues, reminiscent of both dawn and dusk, evoke a sense of calm and warmth. Each facet of the seashell seems to tell a story — a story of tranquility, connection, and careful creation.
The Heart Behind This DIY
Creating this pink crystal seashell is more than a simple craft. It allows you to slow down and indulge in a moment of mindfulness. The act of making gives you time to breathe, and focus, and immerse yourself in each texture and movement. As you engage your hands in this process, your mind can drift away from daily worries, fostering a soothing rhythm that brings peace to your spirit.
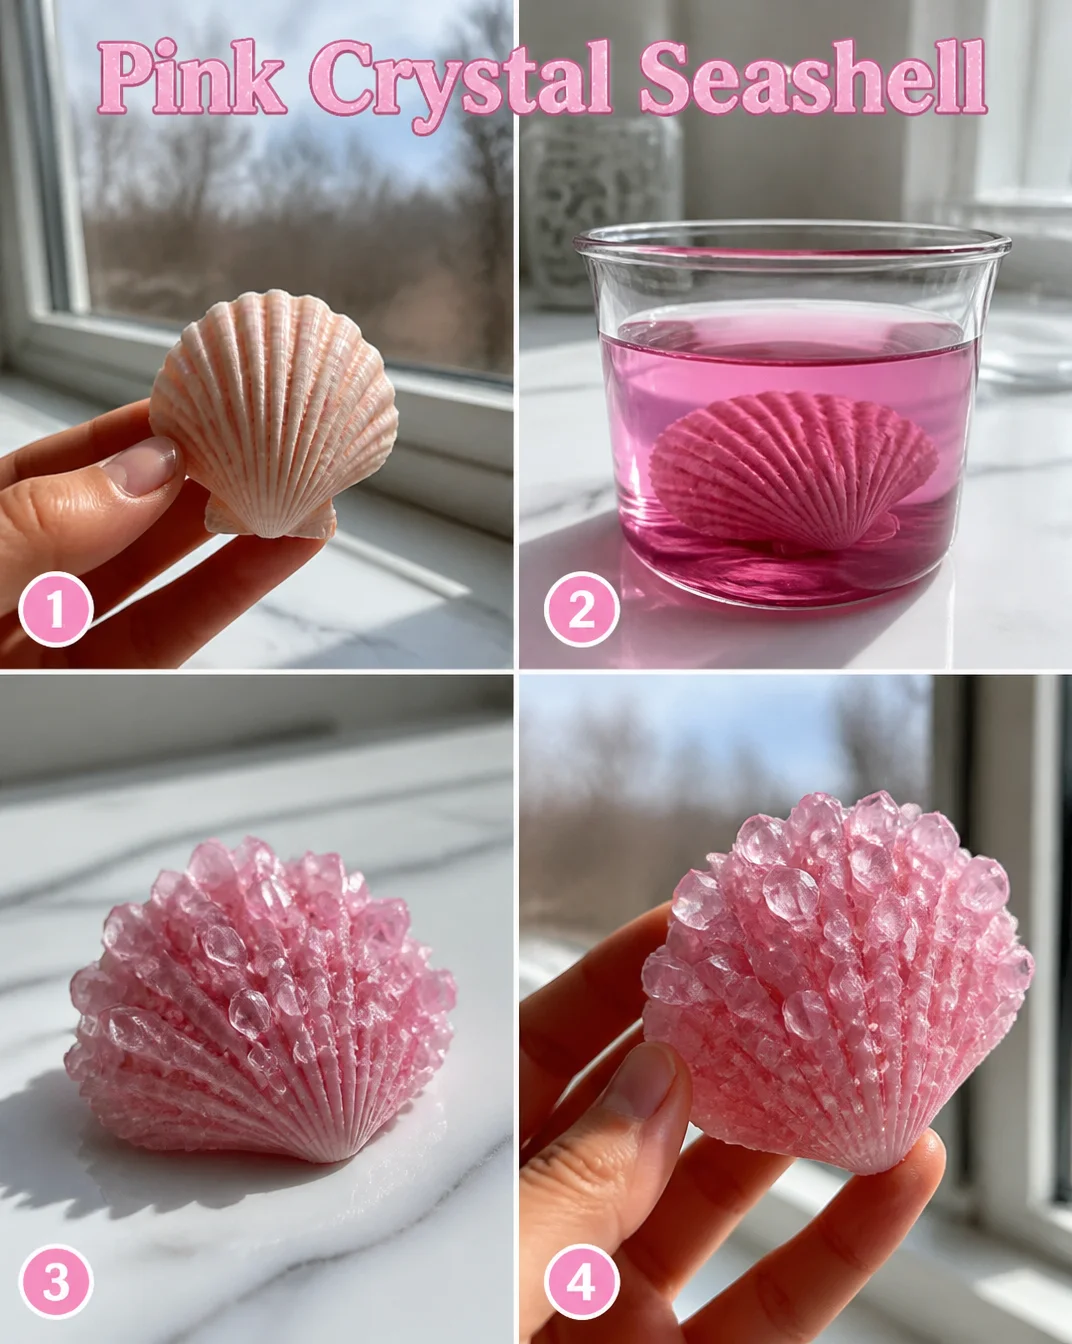
The gentle nature of this DIY reflects a quiet joy. You can mold and shape, paint and detail, all at your own pace. Each step is an opportunity to be present, to feel the materials glide under your fingers, and to experience the subtle satisfaction of bringing something beautiful into existence. In a world that often rushes forward, this simple project encourages you to pause and savor the moments of creation.
A Gentle Look at the Process
The journey of making the pink crystal seashell unfolds like the tide coming in — gentle and reassuring. You begin with a few simple materials and soon find that each touch of the paintbrush or roll of clay brings you deeper into a cozy flow. As you work, the soft sounds of your tools moving across surfaces create a calming backdrop, inviting you to stay in the moment.
You will feel the smoothness of the seashell taking shape, the gradual build-up of color, and the warmth of your hands as they shape and smooth each curve. The entire experience becomes a dance of creativity, where each movement flows naturally into the next. This rhythm allows you to lose yourself in the act, finding comfort in the specifics of the process.
Materials You’ll Need
- Air-dry clay (pink or white, easy to find)
- Acrylic paints (pinks, whites, and any other chosen colors)
- Paintbrushes (various sizes for detailing)
- Warm water (for smoothing)
- Smooth workspace (a clean, flat surface to work)
- Craft knife or sculpting tool (for detailing)
- Sealant spray (optional, for a glossy finish)
Gather your materials before you start. Embrace the textures and colors as you lay them out. This moment of preparation can enhance your connection to the project ahead.
Step-by-Step Directions
- Roll the air-dry clay into a smooth ball. Notice how the cool clay feels as you knead it.
- Gently flatten the ball into a disk shape. The surface should feel soft under your thumbs.
- Mold the edges of the disk into a curved shell form. Take your time; let the shape emerge naturally.
- Use your sculpting tool or knife to add small details around the edge, like ridges. Listen for the soft scrape of the tool against clay.
- Once you’re happy with the form, let it dry completely. The waiting can feel like a gentle pause in your project.
- As the seashell dries, mix your chosen acrylic paints. Take a moment to inhale the scent of the paint, grounding you in the present.
- Paint the outer surface of your seashell in soft waves of pinks and whites, letting the colors blend smoothly. Feel the brush glide, leaving a soft trace of your creativity.
- Allow the paint to dry and then add additional layers for depth and richness.
- Finish your creation with a sealant if you desire a glossy finish. Allow it to dry completely once more.
Through each of these gentle steps, notice how your body feels as you engage with the materials. Embrace the moments of quiet and focus as they unfold.
Enjoying the Finished Piece
The pink crystal seashell, once complete, becomes more than a decorative piece. It can find its place in your home, serving not only as a visual delight but also as a reminder of your mindful making. Perhaps you place it on a window sill, where the sunlight catches its curves, or on a bedside table, where it can bring a touch of serenity to your morning routine.
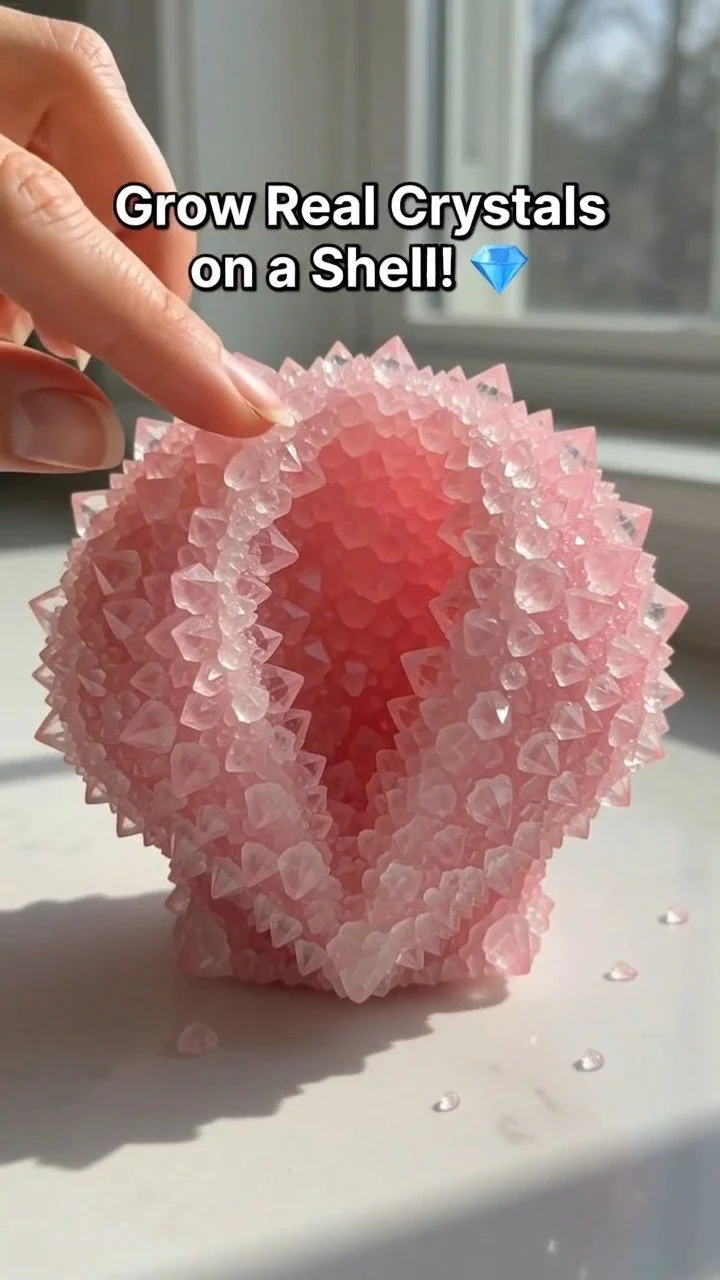
As you admire it, recall the subtle textures you felt while creating. The seashell becomes a vessel for your creativity and calmness, inviting you to stop and reconnect whenever you catch a glimpse. You may even find joy in gifting it to someone dear, sharing the warmth of the creation process and its soothing sentiment.
How to Store or Reuse Pink Crystal Seashell
If you ever wish to put away your creation for a while, treat it gently. Find a safe, dry space to store it — a soft cloth can hug it securely while preventing scratches. Avoid damp areas; the climate can affect the paint and clay.
This seashell could also inspire new projects. If a bold idea arises, you can feel free to repaint or redesign it as the seasons change. This ebb and flow keeps your creativity alive and ever-changing.
Gentle Tips & Variations
- Experiment with Colors: While pink may be your starting point, feel free to explore other colors or even patterns. Invite nature into your palette with sun-kissed yellows or ocean blues.
- Add Textures: Consider using added elements like sand or small shells for embellishment to evoke a sense of beachy authenticity.
- Try Different Sizes: Making smaller or larger seashells could be fun, too. Each size can represent different emotions or intentions in your space.
- Make a Collection: Over time, create a few different seashells, each in varying shades and styles. Displaying them together can create a delightful visual story.
- Share the Joy: Invite a friend to join the process. Creating alongside someone can deepen the experience, making memories that linger long after your hands are done crafting.
FAQs About Pink Crystal Seashell
What type of clay works best for this project?
Air-dry clay is an excellent choice as it is forgiving and easy to work with. It also dries naturally, meaning no need for costly equipment.
Will the paint hold up over time?
With proper care and a sealant, the paint should remain vibrant. Avoid direct moisture and sunlight to keep it looking fresh.
Can I use the seashell outside?
It’s best to keep it indoors. The elements can wear down the delicate paint, but enjoying it by a window where it can catch light is lovely.
Is this a good project for children?
Yes, with supervision, children can definitely enjoy making these seashells. Just ensure they are handling the tools safely.
What if I make a mistake?
Mistakes are part of the journey. Embrace them. You can add new layers or even start over if needed. The process is about the joy of creating, not just the final piece.
A Gentle Note Before You Go
As you step away from this project, take a moment to breathe deeply. Let each exhale carry away any remaining thoughts from your day. Reflect on the time spent creating, the textures you’ve experienced, and the beauty that lies in your work. The pink crystal seashell is not just a craft; it is a piece of yourself, captured in form and color. Allow its presence to infuse your life with calm and gentle creativity. Embrace the slow, mindful journey of making, and know that each project can bring a sense of peace to your heart and home.
Print
DIY Pink Crystal Seashell
- Total Time: 130 minutes
- Yield: 1 seashell
- Diet: N/A
Description
Create a beautiful pink crystal seashell using air-dry clay and acrylic paints, a peaceful project that encourages mindfulness.
Ingredients
- Air-dry clay (pink or white)
- Acrylic paints (pinks, whites, and any other chosen colors)
- Paintbrushes (various sizes)
- Warm water
- Smooth workspace (clean, flat surface)
- Craft knife or sculpting tool
- Sealant spray (optional)
Instructions
- Roll the air-dry clay into a smooth ball.
- Gently flatten the ball into a disk shape.
- Mold the edges into a curved shell form.
- Use your sculpting tool to add details around the edge.
- Once satisfied, let it dry completely.
- As the seashell dries, mix your chosen acrylic paints.
- Paint the outer surface in soft waves of colors.
- Allow the paint to dry, then add layers for depth.
- Finish with a sealant if desired, and let dry completely.
Notes
Embrace creativity and experiment with different colors and sizes. Optional: use embellishments for a beachy feel.
- Prep Time: 10 minutes
- Cook Time: 120 minutes
- Category: Craft
- Method: DIY