This post contains Amazon affiliate links. As an Amazon Associate I earn from qualifying purchases.
The Heart Behind This DIY
In a quiet moment, the world outside falls away, leaving just the soft sound of water swirling and colors dancing. You dip your fingers into liquid magic, marveling at how the hues twirl and blend into one another, creating stunning, vibrant patterns. This is the essence of water marbling, where stars swirl vibrant colors into beautiful star-shaped creations full of magical patterns. It provides a gentle invitation for families to build connections, to slow down, and to savor the tactile experience of crafting together. Each piece you create becomes a reflection of the moment shared, adding warmth and joy to your space, a reminder of time spent in creativity.
A Gentle Look at the Process
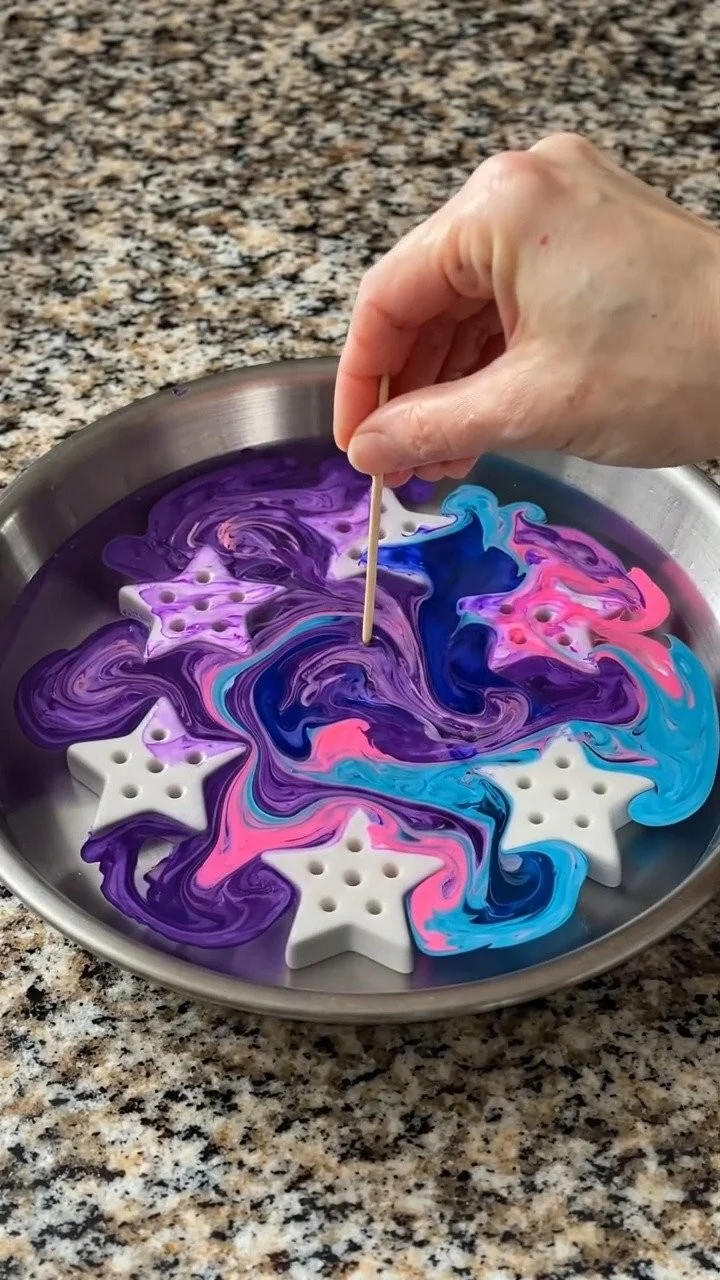
The journey of making these marbled stars unfolds with each gentle swipe of colorful paints against the water’s surface. You will layer colors, feeling the smoothness of the liquid and the anticipation growing when you swirl a skewer to create intricate designs. Each star emerges from a dance of color and texture, inviting you to slow down and engage with the process. The soft sounds of splashes and swirls fill the air, while the colors create a visual rhythm that calms and centers.
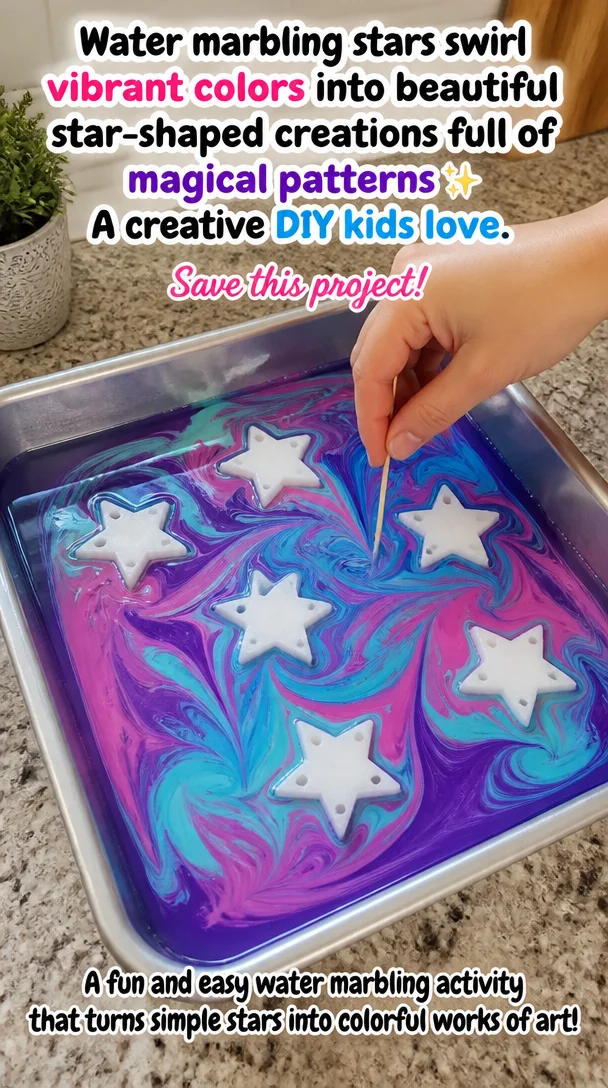
Before you begin, find a cozy space where you can immerse yourself fully in this experience. Gather your materials and take a deep breath, embracing the soothing nature of your upcoming creation.
Materials You’ll Need
- Shallow tray or baking dish (a rectangular shape works best)
- Room-temperature water (distilled is ideal)
- Oil-based paints or marbling inks (choose your favorite colors)
- Wooden sticks or toothpicks for swirling
- Cardstock or thick paper for creating stars
- Plastic gloves (optional for mess-free handling)
- Paper towels for cleaning up
- Sealant or mod podge (optional for a glossy finish)
These materials are often easy to find. Feel free to substitute colors to match your preferences or use whatever you have on hand.
Step-by-Step Directions
-
Prepare your workspace by covering surfaces with newspaper or a drop cloth. This creates a cozy nook and keeps your area tidy.
-
Pour the water into the shallow tray until it’s a few inches deep, allowing the colors to spread freely.
-
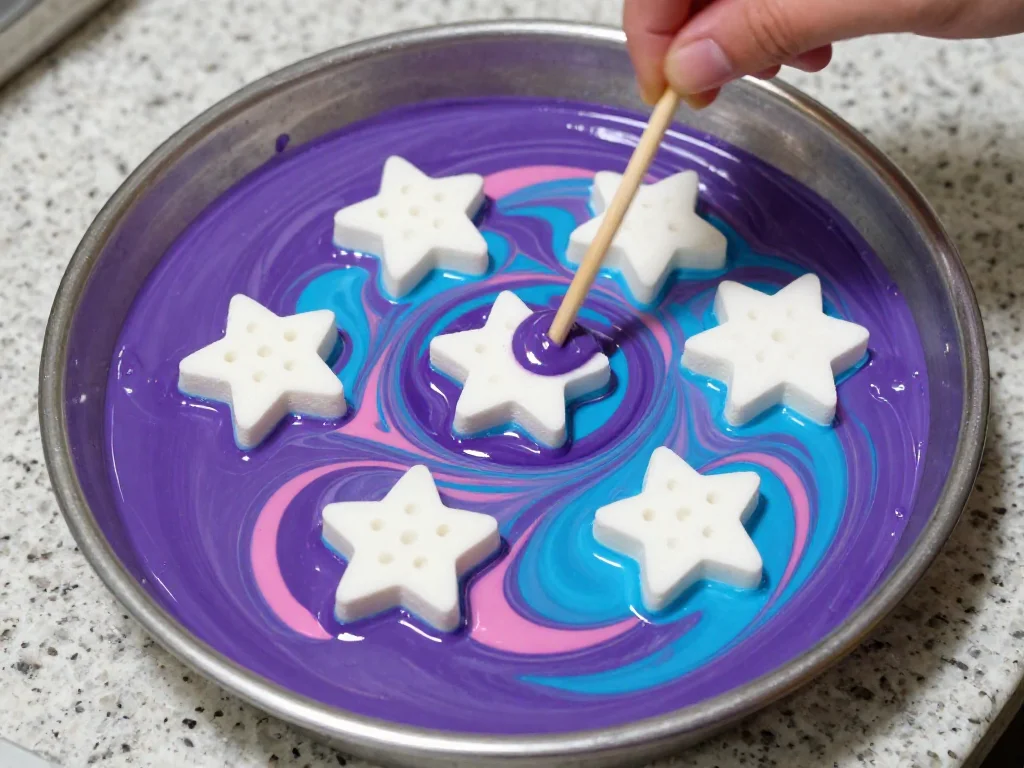
Add drops of oil-based paint onto the water, starting with one color and allowing it to float before adding another. Smile as you watch each droplet create its own rippling pattern.
-
Use a wooden stick or toothpick to gently swirl the colors together. Take your time to see how they blend, forming beautiful shapes and designs that captivate your senses.

-
Carefully slide a piece of cardstock or thick paper onto the surface of the water, allowing the paint to adhere to it. Lift it straight up to reveal the stunning starry design.
-
Set the paper aside to dry in a flat area. Feel the texture of the paper as it absorbs the swirling colors.
-
Once the star-shaped creations are dry, you may apply a sealant or mod podge for a shiny finish if you wish. This adds a lovely touch and preserves the beauty you’ve crafted.
-
Enjoy the vibrant stars, letting them inspire you in their colorful uniqueness.
Enjoying the Finished Piece
Now that you’ve created these beautiful star-shaped marbled wonders, consider the many ways to enjoy them. Place them around your home as a celebration of creativity. Hang them from the ceiling or in a window, letting them catch the light in their luminous patterns. They can become delightful embellishments for greeting cards or gifts, brightening someone else’s day with a handmade touch.
Each star holds the essence of the moment you created it, reminding you of your journey in making. Display them on your shelf, or tuck them into your favorite book as delightful bookmarks. Each time you see them, feel the warmth of the cozy experience you shared.
How to Store or Reuse Water Marbling Stars
When it comes to caring for your marbled stars, a little thought goes a long way. Ensure they are fully dry before storing them. You can stack them between sheets of parchment or wax paper to protect their intricate designs, keeping them safe from scratches or smudges.
Should you wish to recreate this magic later, consider reusing the materials. You can save leftover paint and water in containers to mix new colors for future sessions. The process can always be revisited, providing a continuous source of creativity.
Gentle Tips & Variations
-
Experiment with different color combinations. Let your inner artist play and create unexpected harmonies that evoke different feelings.
-
Try layering colors in different ways. See how they blend or resist each other for a unique outcome.
-
Consider using biodegradable paints to create more eco-friendly stars.
-
If you have young children helping, focus on letting them explore the colors. Their joy can be infectious and the process can become a shared adventure.
-
Make a new tradition of crafting the marbled stars with the changing seasons. Each set can reflect the colors and feelings of the time of year.
FAQs About Water Marbling Stars Swirl Vibrant Colors
How do I clean up after this project?
Cleaning up is simple—filled with sensory moments. Use warm, soapy water to wash your tray and brushes. Soaking them for a little while can help break down any paint residue easily.
Can I use regular acrylic paints for this?
While it is possible, oil-based paints work best for floating on water. If you want to use acrylic paints, try mixing them with a flow medium to help achieve a similar effect.
Are these stars water-resistant?
Unless sealed with a protective finish, your stars may not hold up well in water. It is best to keep them dry and away from moisture for longevity.
Can I create designs with multiple layers?
Yes! You can layer colors, but be gentle with your swirling to avoid muddiness. Allow each layer to settle before adding another, creating depth and uniqueness.
What if I don’t have a tray?
No worries! A shallow baking dish or even a large, flat container can serve as a suitable alternative. Just make sure the sides are tall enough to keep the water contained.
A Gentle Note Before You Go
As you embark on your journey of creating these enchanting water marbling stars, carry with you the calmness of each moment spent making. The process is just as valuable as the end result. Embrace the colors, the swirling sensations, and the joys of creativity in its simplest form.
Believe in your ability to weave these delightful creations into your life. Remember that crafting is an act of kindness towards yourself—a gentle embrace for your spirit. Enjoy each step, stay present, and let your imagination guide you to surprising places. Take a slow breath, savor the experience, and let every star you create shimmer with love and intention.
Print
DIY Water Marbling Stars
- Total Time: 45 minutes
- Yield: 4 stars
- Diet: N/A
Description
Create beautiful star-shaped marbled art using oil-based paints and water, perfect for adding a touch of color to your home.
Ingredients
- Shallow tray or baking dish
- Room-temperature water (distilled is ideal)
- Oil-based paints or marbling inks
- Wooden sticks or toothpicks
- Cardstock or thick paper
- Plastic gloves (optional)
- Paper towels
- Sealant or mod podge (optional)
Instructions
- Prepare your workspace by covering surfaces with newspaper or a drop cloth.
- Pour the water into the shallow tray until it’s a few inches deep.
- Add drops of oil-based paint onto the water, starting with one color.
- Use a wooden stick or toothpick to gently swirl the colors together.
- Carefully slide a piece of cardstock onto the surface of the water to adhere the paint.
- Set the paper aside to dry in a flat area.
- Once dry, apply sealant for a glossy finish if desired.
- Enjoy your colorful creations!
Notes
These stars make great ornaments or bookmarks and can be reused with leftover materials for new designs.
- Prep Time: 15 minutes
- Cook Time: 30 minutes
- Category: Crafting
- Method: Marbling
- Cuisine: N/A