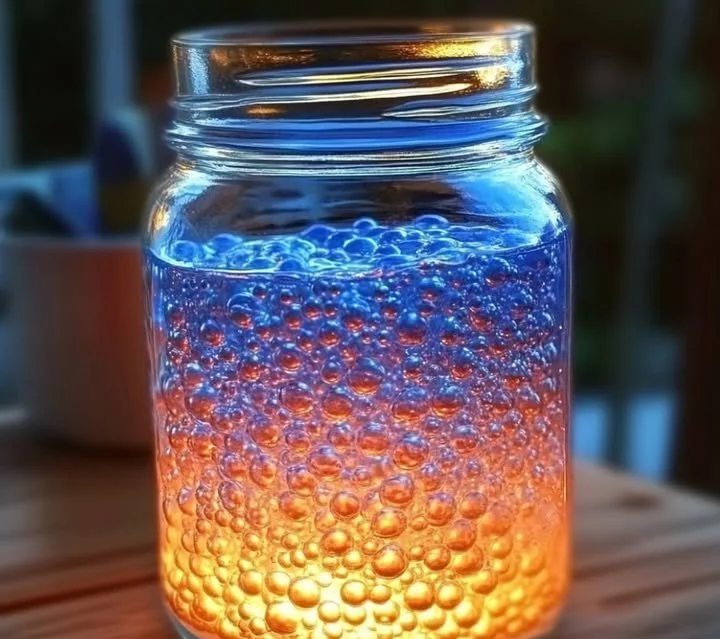
DIY Glitter Jar
Growing up in my grandmother’s house, every holiday season brought with it a flurry of excitement, not just for the treats baked in her warm kitchen, but also for the little crafts we made that filled our home with magic. One of my fondest memories is making glitter jars with her, where a simple glass jar was transformed into a mesmerizing universe of sparkles and light. These delightful creations weren’t just beautiful; they were a way to channel our imagination and share moments of joy. Whether it was Christmas or a birthday, our glitter jars became keepsakes that we cherished long after the season passed.
With their captivating swirl and shimmer, DIY glitter jars are perfect for enlivening any space! This simple craft captures the nostalgia of childhood while providing a beautiful and calming decoration for your home or a thoughtful gift for a loved one. Let’s dive into this crafty adventure and bring a little sparkle into our lives!
Why You’ll Love This DIY Glitter Jar
- Easy to Make: Requires no special skills or tools.
- Customizable: Tailor colors and shapes to reflect your personality.
- Mindfulness Tool: Great for calming moments and stress relief; just shake and watch the magic.
- Kid-Friendly: Perfect fun activity for kids and adults alike.
- Eco-Friendly: Use recycled materials and natural glitter if desired!
Ingredients
- 1 glass jar (any size)
- 1 cup water
- 1 cup clear school glue
- 2-3 tablespoons glitter (your choice of colors)
- Optional: food coloring or liquid craft dye
- Optional: small figurines or decorative elements (like beads or sequins)
Step-by-Step Instructions
1. Prepare Your Jar
- Start with a clean glass jar. Remove any labels and ensure it’s completely dry.
2. Mix the Ingredients
- In a mixing bowl, combine 1 cup of water with 1 cup of clear school glue. Stir thoroughly until mixed.
3. Add the Magic
- Sprinkle in 2-3 tablespoons of glitter. This is where the fun begins! Choose colors that resonate with you.
- If using food coloring or craft dye, add a few drops to achieve your desired hue. Stir well.
4. Fill Your Jar
- Pour the glitter mixture into your jar, leaving some space at the top for the liquid to swirl. If you want to include any decorative elements, this is the time to add them!
5. Seal It Up
- Screw the lid onto your jar tightly. For extra security, you might want to apply a little hot glue around the edges of the lid.
6. Shake and Enjoy!
- Give your jar a gentle shake to see the glitter swirl and settle down. Enjoy the calming effect!
Tips & Variations
- Color Theme: Match colors to holidays or themes (e.g., red and green for Christmas, pastel for Easter).
- Add Scents: Infuse your jar with essential oils for an aromatic experience.
- Use Natural Glitter: For an eco-friendlier option, find biodegradable glitter.
- Different Shapes: Use jars of various shapes for a unique collection.
Storage Instructions
- Keep your glitter jars in a cool, dry place. They do not require refrigeration. If stored properly, they can last for months or even years without losing their charm.
Nutritional Information
- Prep Time: 10 minutes
- Total Time: 10 minutes (plus drying time if using hot glue)
- Calories per serving: N/A (this is a craft!)
- Servings: 1 jar (can be customized to any size)
Frequently Asked Questions
1. Can I use any type of glue?
Yes, but clear school glue works best for that clear, sparkling effect.
2. What if I want to use glitter that is not non-toxic?
It’s best to stick to non-toxic glitter, especially if kids will be involved in the craft, for safety reasons.
3. Can I use plastic jars instead of glass?
Absolutely! Just be mindful that the final look may differ slightly.
4. How do I clean up glitter spills?
Use a damp cloth or tape to gather excess glitter easily.
Serving Suggestions or Pairings
- This craft pairs beautifully with a cozy cup of hot cocoa or tea while you reflect on childhood memories. They also make great centerpieces for family gatherings!
Final Thoughts
There’s something profoundly satisfying about creating a DIY glitter jar that combines imagination with a bit of nostalgia. I encourage you to share your glitter jar creations! What colors did you choose? What memories did they evoke? Drop a comment below or tag me on social media. Let’s keep the spirit of creativity and craftsmanship alive!

