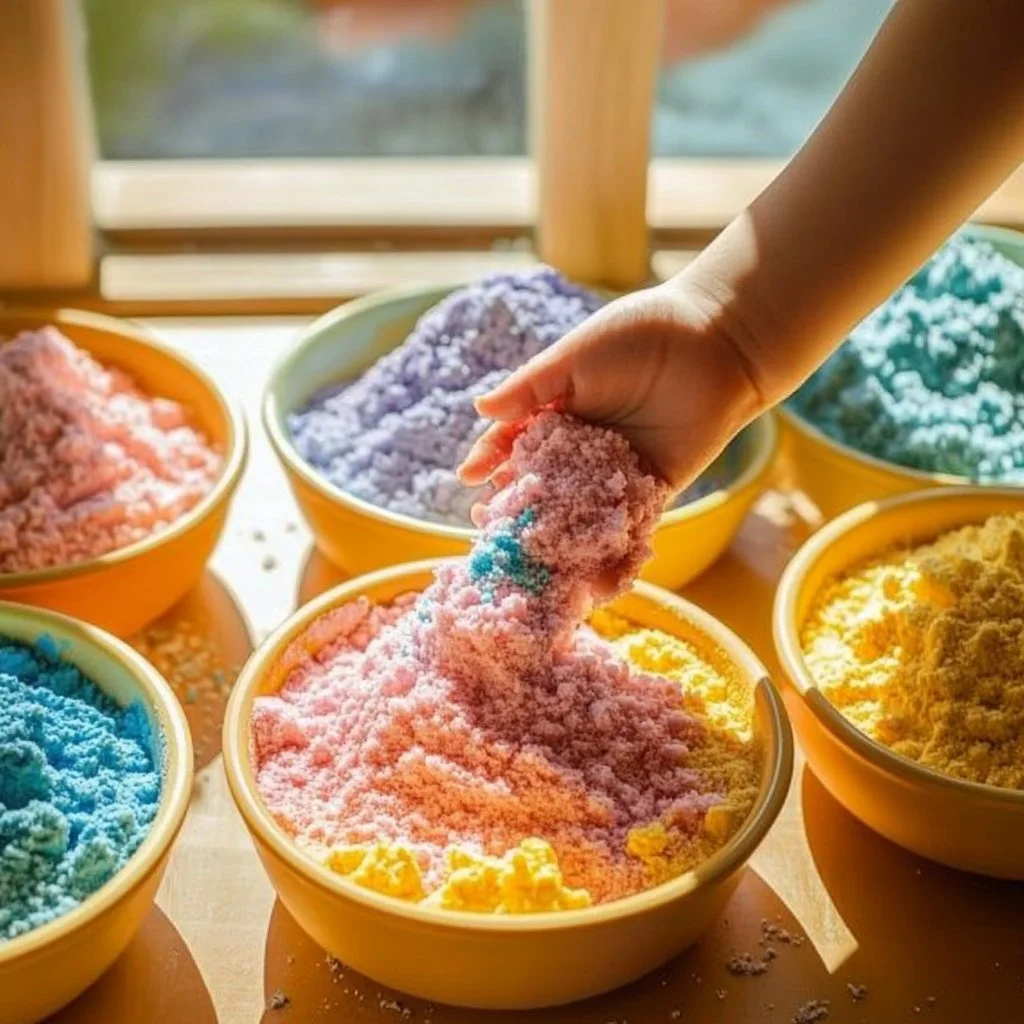
Homemade Kinetic Sand
1. Introduction
As spring approaches, I am often reminded of the vibrant afternoons spent in my grandmother’s backyard, where her blooms painted a riot of colors and laughter filled the air. While we marveled at her gardening skills, we also engaged in countless hours of crafting and playing with colorful, homemade sand. This simple yet satisfying activity always ignited my imagination, providing a sensory escape from the everyday.
Today, I’m excited to share a recipe for Homemade Kinetic Sand, a nostalgic treat that’s perfect for engaging your children or simply indulging your inner child. With its unique texture and incredible moldability, this sand is a delightful mix of fun and creativity. So, let’s dive into this crafty endeavor that’s just as engaging during quiet afternoons or family playdates!
2. Why You’ll Love This Homemade Kinetic Sand
- Non-toxic and Safe: Made with household ingredients, it’s safe for kids of all ages.
- Customized Colors: You can dye it in your favorite shades.
- Sensory Play: Great for tactile stimulation and sensory exploration.
- Easy Clean-Up: Unlike traditional sand, it won’t create a mess!
- Perfect for All Seasons: A great indoor activity for rainy days or cozy winter nights.
3. Ingredients
- 1 cup of all-purpose flour
- 1/2 cup of corn starch
- 1/2 cup of water
- 1/2 cup of vegetable oil
- 1 cup of fine sand (beach sand or colored play sand)
- Food coloring (optional)
4. Step-by-Step Instructions
Step 1: Combine Dry Ingredients
- In a large mixing bowl, whisk together the flour and corn starch.
Step 2: Add Wet Ingredients
- Gradually mix in the water and vegetable oil until fully combined.
Step 3: Incorporate Sand
- Add the sand to the mixture and stir until you achieve a uniform consistency.
Step 4: Color It Up
- If you’d like colored sand, add a few drops of food coloring to the mixture and knead until evenly distributed.
Step 5: Enjoy!
- Your kinetic sand is now ready to mold, squish, and create with!
5. Tips & Variations
- Custom Textures: Experiment with different types of sand (fine vs. coarse) for unique textures.
- Scented Sand: Add a few drops of essential oil to make the playtime even more delightful.
- Color Blending: Create different shades by mixing small batches of colored kinetic sand together.
6. Storage Instructions
Store your homemade kinetic sand in an airtight container at room temperature. It can last up to two weeks if kept dry. To refresh, simply knead it again or add a little water.
7. Nutritional Information
- Prep Time: 10 minutes
- Total Time: 10 minutes
- Calories per serving: Not applicable (non-edible)
- Servings: N/A
8. Frequently Asked Questions
Q1: Can I eat the kinetic sand?
A: While it’s made from safe ingredients, it’s not intended for consumption.
Q2: What if my sand is too dry?
A: Add a teaspoon of water to the mixture and knead it until it reaches the desired consistency.
Q3: Can I use different types of flour?
A: Yes, you can experiment with gluten-free options like rice flour or almond flour!
Q4: How do I clean up after playtime?
A: Simply gather up the kinetic sand and store any left over in a container. Vacuuming or sweeping works well too!
9. Serving Suggestions or Pairings
Pair it with a cozy indoor activity like making homemade hot chocolate or enjoying an animated movie for a perfect family day in!
10. Final Thoughts
Homemade kinetic sand is not only a fantastic way to unleash creativity but also a beautiful homage to the joyful, tactile experiences of childhood. I hope you dive into this playful project, and I’d love to hear your twists or personal stories related to your own kinetic sand adventures. Please share in the comments below, and let’s stir up some creativity together!

