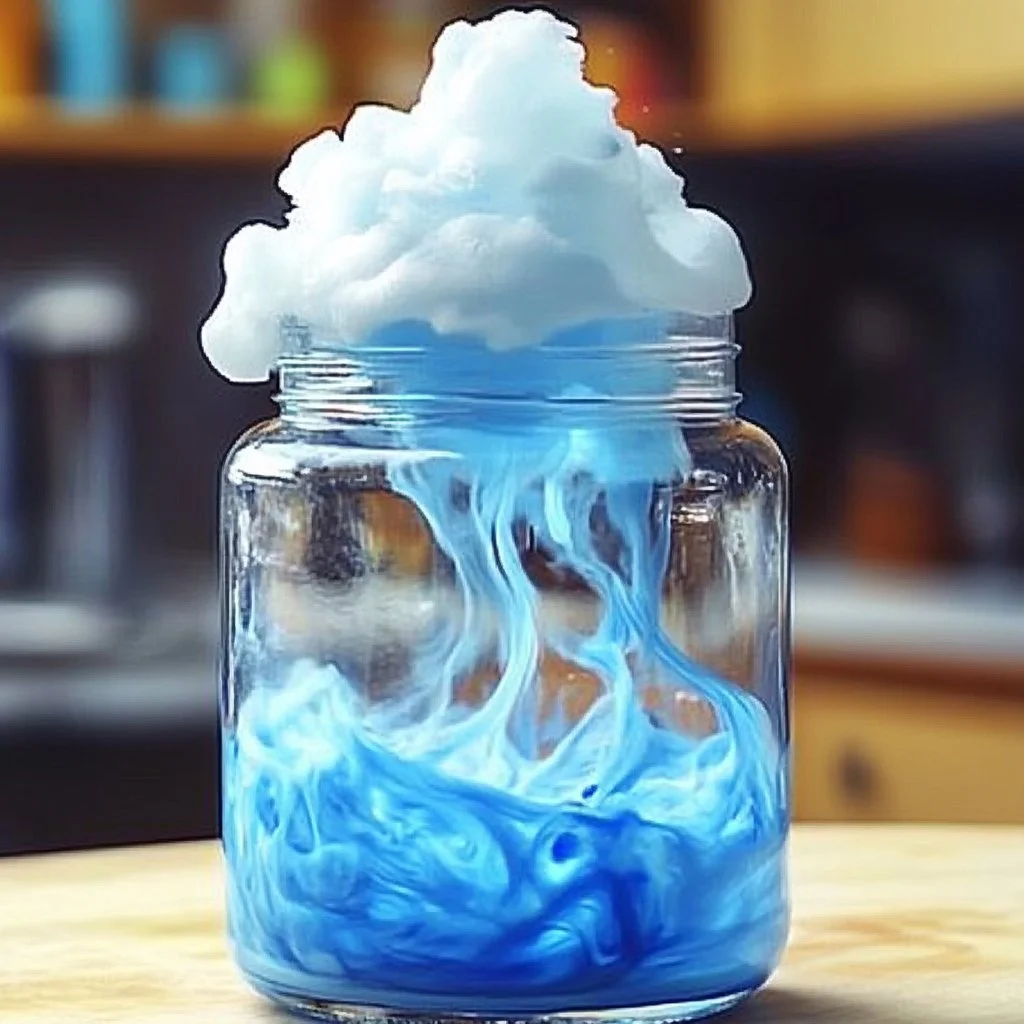
Rain Cloud in a Jar
When I think of comfort food that reminds me of my childhood, I’m immediately transported to my grandmother’s sunny kitchen filled with laughter and the aroma of freshly baked treats. Among the many delights she whipped up, one quirky favorite stands out: the Rain Cloud in a Jar. This playful dessert not only brings joy to the eyes but also spells nostalgia for the simpler days of our youth, when the biggest worry was whether we’d get an extra scoop of whipped cream on top.
As the seasons change and the warmth of summer gives way to the gentle chill of autumn, this delightful treat feels just right. Layering fluffy whipped cream with rich chocolate pudding and a sprinkle of cookie crumbs, the Rain Cloud in a Jar is a sweet reminder that the best moments are often made at home, with love and creativity. Trust me, you’ll soon discover that this playful dessert is the perfect way to brighten any gloomy day!
Why You’ll Love This Rain Cloud in a Jar
- Easy to Make: A simple no-bake recipe that comes together quickly.
- Kid-approved: Kids adore assembling their own jars!
- Customizable: Swap ingredients to fit your dietary needs or preferences.
- Beautiful Presentation: Layers of flavors create a stunning visual appeal.
- Perfect for Any Season: This treat works as well in summer as it does in winter.
Ingredients
- 1 (3.9 oz) box of chocolate instant pudding mix
- 2 cups milk
- 2 cups whipped cream (store-bought or homemade)
- 1 cup crushed chocolate sandwich cookies (like Oreos)
- Chocolate shavings or sprinkles for garnish
Step-by-Step Instructions
Prepare the Pudding
- In a mixing bowl, whisk together the chocolate instant pudding mix and milk.
- Beat until the mixture thickens, about 2 minutes. The pudding should be smooth and creamy.
Assemble the Layers
- In small jars or glasses, start by adding a couple of tablespoons of the chocolate pudding.
- Follow with a layer of whipped cream, smoothing it over the pudding.
- Sprinkle a layer of crushed chocolate cookies on top.
- Repeat the process until the jars are filled, usually yielding 2-3 layers, ending with whipped cream on top.
Finish with a Touch
- Garnish the top with chocolate shavings or colorful sprinkles for a cheerful flair.
- Chill in the refrigerator for at least 30 minutes before serving to let the flavors meld.
Tips & Variations
- Dairy-Free Option: Use almond or oat milk and a dairy-free whipped topping.
- Flavor Variations: Experiment with different pudding flavors such as vanilla or butterscotch, and swap the cookie layer for graham crackers or gingersnap cookies.
- Healthier Twist: Use Greek yogurt instead of whipped cream for a protein boost.
Storage Instructions
- Refrigerate: Keep the Rain Cloud in a Jar in the fridge for up to 3 days. The layers will still look great!
- Freeze: If needed, you can freeze the jars, but the whipped cream may alter in texture once thawed.
Nutritional Information
- Prep time: 15 minutes
- Chill time: 30 minutes
- Total time: 45 minutes
- Calories per serving: Approximately 200 calories
- Servings: 4 jars
Frequently Asked Questions
1. Can I use a different flavor of pudding?
Absolutely! Vanilla, butterscotch, or even strawberry work beautifully.
2. How can I make this gluten-free?
Simply use gluten-free cookies or swap for crushed nuts or GF graham crackers.
3. Is there a way to make this less sweet?
You can reduce the amount of sugar in the pudding or use unsweetened whipped cream to adjust the sweetness to your liking.
4. Can I make this a day ahead?
Yes! It actually tastes better when allowed to chill overnight, letting the flavors develop.
Serving Suggestions or Pairings
- Pair your Rain Cloud in a Jar with a refreshing iced tea or a rich coffee for the adults.
- For added fun, serve with fresh fruit on the side, such as strawberries or banana slices.
Final Thoughts
The Rain Cloud in a Jar is more than just a dessert; it’s a celebration of creativity and togetherness. I hope you enjoy making this fun and delicious treat as much as I did with my grandmother. I’d love to hear about your own versions or any unique twists you try. Please leave a comment and share your experiences! Happy cooking!

