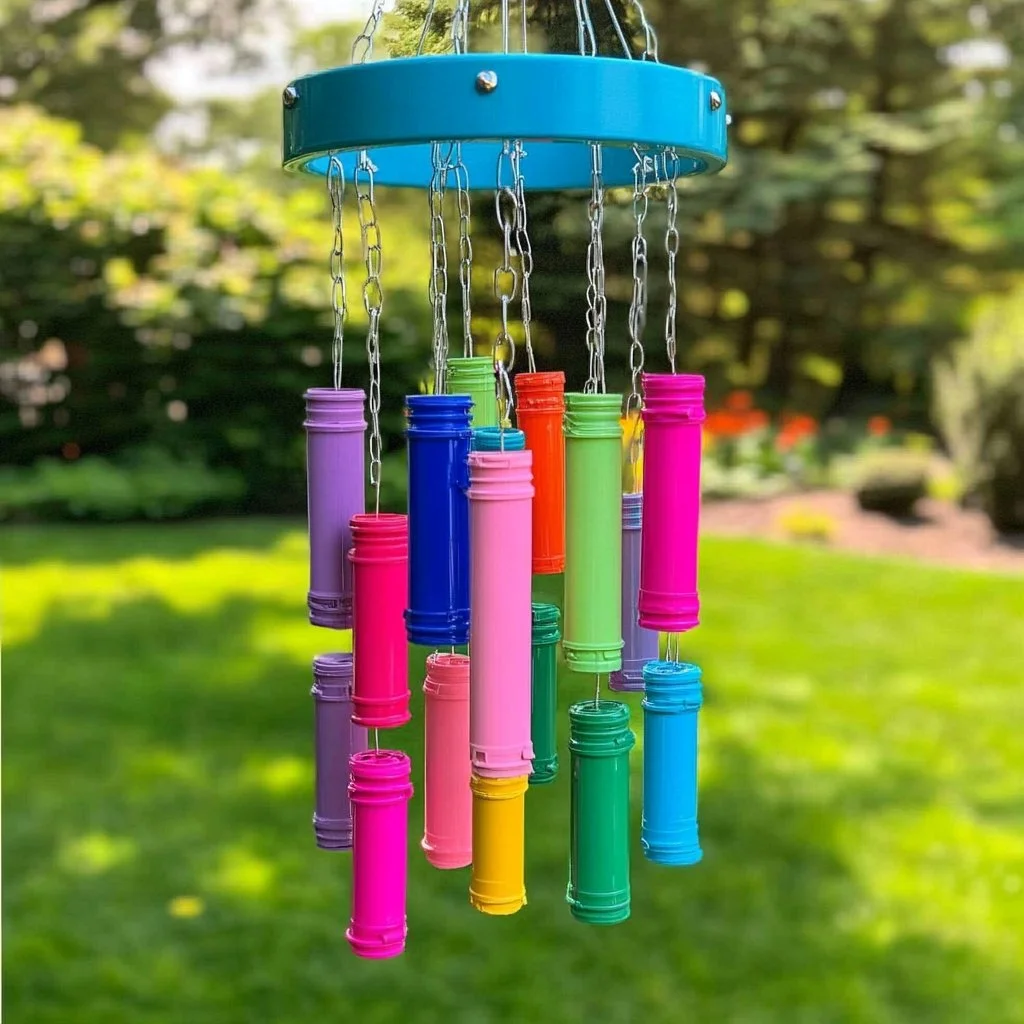
Creating recycled marker cap wind chimes is not just an eco-friendly project; it’s also a fun way to give new life to old materials. These colorful chimes are perfect for your garden, porch, or indoor space, adding charm and a delightful tinkling sound with every breeze. This craft is accessible for both kids and adults, promoting creativity while fostering a sense of stewardship for our environment. Plus, it’s an excellent opportunity to spend quality time with family. Whether you’re looking to enhance your decorating skills or simply want to create a meaningful gift, these wind chimes will not disappoint.
Why You’ll Love This Recycled Marker Cap Wind Chimes:
- Eco-Friendly: Use materials that would otherwise go to waste.
- Colorful Design: Brighten up any space with vibrant colors and unique shapes.
- Easy to Make: Simple steps suitable for all crafting skill levels.
- Customizable: Personalize your wind chimes with different designs and add-ons.
- Soothing Sounds: Enjoy a gentle, melodic sound that enhances relaxation.
- Great Gift Idea: A creative, handmade gift perfect for friends and family.
Materials:
- Empty, cleaned marker caps (various colors)
- Twine or fishing line
- Small bells or washers for added sound
- Scissors
- A sturdy stick or wooden dowel (for the base)
- Drill or sharp object for creating holes in marker caps
- Paint or decorations (optional)
Full Step-by-Step:
1. Prepare the Caps
- Rinse and dry the marker caps thoroughly to ensure they are clean.
- Consider sorting them by color or size for a more organized look.
2. Make Holes in the Caps
- Using the drill or sharp object, carefully poke a small hole in the top of each marker cap.
- Be cautious and ensure the holes are just big enough for the twine.
3. Cut the Twine
- Determine how long you want your chimes to hang and cut multiple lengths of twine, each varying in length for visual interest.
4. Thread the Caps
- Take one piece of twine and thread it through the hole of a marker cap.
- Tie a knot at the end to secure it, allowing the cap to dangle freely.
5. Attach Bells or Washers
- If you’d like to add bells or washers for sound, thread them onto the twine above the marker cap.
6. Assemble the Chimes
- Once all caps are threaded, tie each length of twine to the wooden dowel or stick.
- Ensure they’re spaced evenly for a balanced appearance.
7. Hang Your Wind Chimes
- Attach another piece of twine or rope to the stick, creating a loop for hanging.
- Find a suitable spot outdoors or indoors and hang your beautiful, homemade wind chimes!
Tips & Variations:
- Color Themes: Use marker caps of a single color or shades of the same color for a monochromatic look.
- Add Natural Elements: Incorporate beads, seashells, or small pinecones for extra texture and visual interest.
- Different Bases: Swap the wooden dowel for a metal rod or a branch for a rustic feel.
- Seasonal Chimes: Change designs according to seasons or holidays with themed colors and decorations.
Frequently Asked Questions:
Q: Can I use other plastic items besides marker caps?
A: Yes! Consider using bottle caps, old toys, or even cut pieces of plastic containers for varied shapes and sizes.
Q: What if I don’t have a drill?
A: You can carefully use a heated nail or sharp object to punch holes instead, but be cautious to avoid injury.
Q: How do I hang my wind chimes securely?
A: Make sure to tie strong knots, and consider using a hook for extra support when hanging.
Q: What if it rains? Will the chimes be durable?
A: While marker caps can withstand some moisture, consider bringing them indoors during heavy rain or using a waterproof sealant for added protection.
Suggestions:
- Share your craft experience or photos on social media and inspire others to create their versions.
- Host a crafting day with friends or family; each person can bring different materials and ideas.
- Pair your wind chimes with homemade garden decorations for a cohesive look.
Final Thoughts
Recycled marker cap wind chimes are not only a joyful crafting experience but also a delightful addition to any space. Each wind chime tells a story and represents a commitment to sustainability. We’d love to see your creations! Share your versions in the comments or connect with us on social media. Happy crafting!
Print
Recycled Marker Cap Wind Chimes
- Total Time: 40 minutes
- Yield: 1 set of wind chimes
- Diet: N/A
Description
Create beautiful and eco-friendly wind chimes from recycled marker caps, perfect for your garden or indoor decor.
Ingredients
- Empty, cleaned marker caps (various colors)
- Twine or fishing line
- Small bells or washers for added sound
- Scissors
- A sturdy stick or wooden dowel (for the base)
- Drill or sharp object for creating holes in marker caps
- Paint or decorations (optional)
Instructions
- Prepare the Caps: Rinse and dry the marker caps thoroughly to ensure they are clean, and consider sorting them by color or size.
- Make Holes in the Caps: Carefully poke a small hole in the top of each marker cap using the drill or a sharp object.
- Cut the Twine: Cut multiple lengths of twine, each varying in length for visual interest.
- Thread the Caps: Thread a piece of twine through the hole of a marker cap and tie a knot to secure it.
- Attach Bells or Washers: Thread additional bells or washers onto the twine above the marker cap for added sound.
- Assemble the Chimes: Tie the lengths of twine to the wooden dowel or stick, ensuring they are spaced evenly.
- Hang Your Wind Chimes: Create a loop with another piece of twine or rope and hang your wind chimes in a suitable spot.
Notes
Consider using other materials like bottle caps or seashells for added creativity. Use strong knots for secure hanging.
- Prep Time: 10 minutes
- Cook Time: 30 minutes
- Category: Crafts
- Method: Crafting
- Cuisine: N/A
Nutrition
- Serving Size: 1 set
- Calories: 0
- Sugar: 0g
- Sodium: 0mg
- Fat: 0g
- Saturated Fat: 0g
- Unsaturated Fat: 0g
- Trans Fat: 0g
- Carbohydrates: 0g
- Fiber: 0g
- Protein: 0g
- Cholesterol: 0mg

