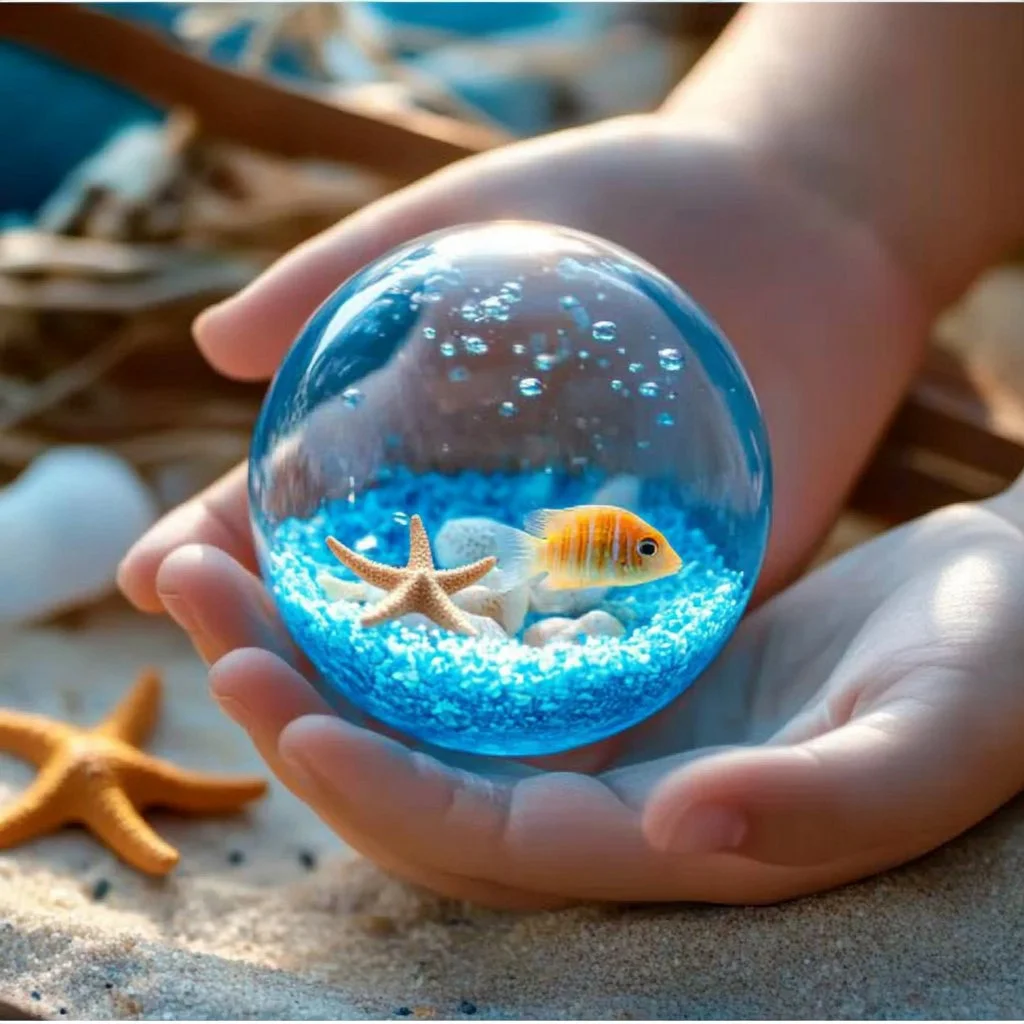
Creating your own aquarium sensory gel balls can be a delightful and educational craft, perfect for both kids and adults alike. These gel balls can be used for sensory play, decorations, or even as a calming fidget item. The process of making them is not only fun but also offers a hands-on way to explore science concepts such as water absorption and polymer chemistry. Plus, the colorful end product is visually appealing and can brighten up any room. Whether you’re looking for a creative afternoon activity, an educational project, or just a unique way to express your artistic side, this DIY craft is an excellent choice!
Why You’ll Love This DIY Aquarium Sensory Gel Balls:
- Customizable: Choose your colors and sizes to reflect your personality or themes.
- Educational: Learn about polymers and water absorption during the crafting process.
- Sensory Play: Provide a unique tactile experience for kids and adults alike.
- Relaxing and Calming: The squishy texture can be soothing, making it a great stress-relief tool.
- Visual Appeal: Bright, vibrant colors can enhance any sensory play setup or decor.
- Great for Gifts: Handmade sensory balls make thoughtful and personal gifts for friends and family.
Materials:
- Clear gel beads (water-absorbing polymer)
- Water
- Food coloring (various colors)
- Bowl or container for soaking beads
- Measuring cup
- Optional: Glitter or small decorations (fish, shells)
Full Step-by-Step:
1. Prepare the Gel Beads
- Measure Beads: Using a measuring cup, take a desired amount of clear gel beads.
- Soak: Place the beads in a bowl and cover them with water. The beads will expand as they absorb water.
2. Choose Your Colors
- Add Food Coloring: Once the beads have fully expanded (usually a few hours), drain the excess water.
- Mix Colors: Add a few drops of food coloring to the beads, mixing until they achieve your desired shade.
3. Decorate Your Aquarium
- Add Decorations: If you’re using glitter or small decorations, mix them in with the gel beads.
- Fill a Container: Transfer the finished gel balls into a clear container or jar for display.
4. Enjoy the Sensory Experience
- Touch and Play: Explore the textures and colors of your new sensory gel balls!
Tips & Variations:
- Color Mixing: Experiment with different food coloring combinations for unique colors.
- Themed Jars: Create seasonal or themed aquariums by adding small items like themed trinkets.
- Scented Sensory Balls: Introduce a few drops of essential oils for a scented experience.
- Different Sizes: Use different-sized beads for varying textures.
Frequently Asked Questions:
Q1: How long do the gel balls last?
A: When kept in water, gel balls can last several weeks. Ensure to keep them moist to maintain their squishy texture.
Q2: Can I substitute gel beads with other materials?
A: Regular marbles can be used for a similar sensory experience, but they will not absorb water.
Q3: Is this a safe project for small children?
A: While making the gel balls is safe, always supervise small children to avoid ingestion of small parts.
Q4: Can I reuse the gel balls?
A: Yes! Simply refill the container with water to rehydrate the gel balls if they dry out.
Suggestions:
- Incorporate Science Lessons: Use this craft as a gateway to teach kids about polymers or the water cycle.
- Host a Sensory Play Date: Gather friends for a group crafting session, creating a variety of sensory gel balls.
- Combine with Other Activities: Pair this project with water play or ocean-themed crafts for an enriched experience.
Final Thoughts
Making your own aquarium sensory gel balls is an enjoyable and educational activity that blends creativity with science. We invite you to give it a try and share your variations or any tips in the comments! Let’s celebrate creativity together!
Print
DIY Aquarium Sensory Gel Balls
- Total Time: 60 minutes
- Yield: Varies
Description
Create colorful aquarium sensory gel balls perfect for sensory play and decoration. An educational craft for both kids and adults that explores water absorption and polymer chemistry.
Ingredients
- Clear gel beads (water-absorbing polymer)
- Water
- Food coloring (various colors)
- Bowl or container for soaking beads
- Measuring cup
- Optional: Glitter or small decorations (fish, shells)
Instructions
- Measure Beads: Using a measuring cup, take a desired amount of clear gel beads.
- Soak: Place the beads in a bowl and cover them with water. The beads will expand as they absorb water.
- Add Food Coloring: Once the beads have fully expanded (usually a few hours), drain the excess water.
- Mix Colors: Add a few drops of food coloring to the beads, mixing until they achieve your desired shade.
- Add Decorations: If you’re using glitter or small decorations, mix them in with the gel beads.
- Fill a Container: Transfer the finished gel balls into a clear container or jar for display.
- Touch and Play: Explore the textures and colors of your new sensory gel balls!
Notes
Experiment with color mixing and theme variations. Always supervise small children during the craft to ensure safety.
- Prep Time: 15 minutes
- Cook Time: 0 minutes
- Category: Craft
- Method: Crafting
Nutrition
- Serving Size: As many as you create
- Calories: N/A
- Sugar: N/A
- Sodium: N/A
- Fat: N/A
- Saturated Fat: N/A
- Unsaturated Fat: N/A
- Trans Fat: N/A
- Carbohydrates: N/A
- Fiber: N/A
- Protein: N/A
- Cholesterol: N/A

