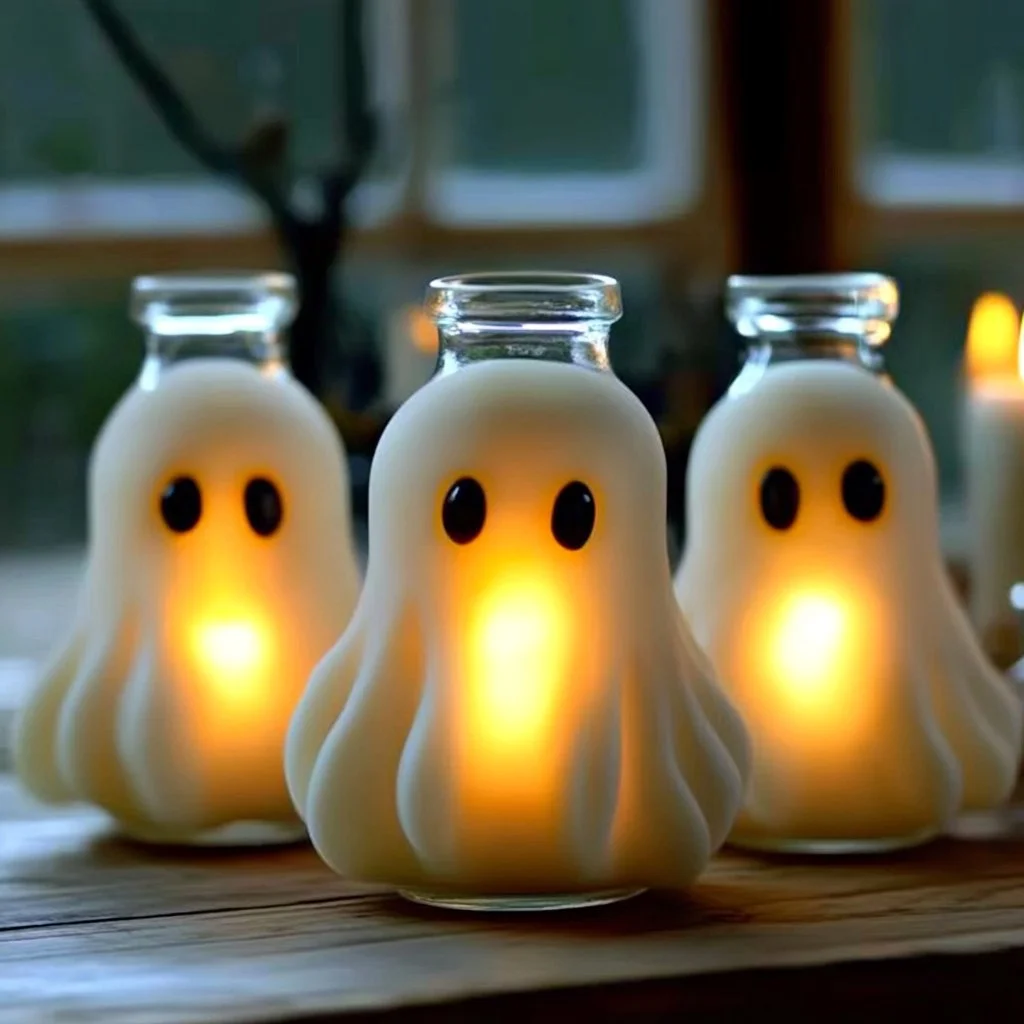
Crafting a glow-in-the-dark ghost jar is a delightful way to bring some spooky charm to your home decor, especially during Halloween. This easy and fun project is perfect for all ages and allows for a touch of creativity and personalization. The enchanting glow of these ghostly jars can evoke a sense of mystery and wonder, making them perfect for parties, festive decorations, or just to enjoy on a quiet evening. Not only do they add an element of fun, but they also provide a fantastic opportunity for family bonding or creative downtime with friends. Let’s dive into why you’ll love creating these ghostly jars and how you can make them shine!
Why You’ll Love This Glow-in-the-Dark Ghost Jars:
- Easy to Make: A simple craft that even children can enjoy!
- Glow-in-the-Dark Effect: Adds magic and whimsy to any space.
- Customizable: Personalize with different colors, sizes, and designs.
- Great for All Ages: Fun for kids, adults, and everyone in between.
- Perfect for Halloween: Spook up your home for the holiday season.
- Reusable: Use them year after year for ongoing decoration.
Materials:
- Glass jars (various sizes)
- Glow-in-the-dark paint (acrylic or spray)
- Paintbrush or sponge applicator
- Black construction paper (optional for ghost shapes)
- Scissors (if using paper)
- LED tea lights or glow sticks
- Water (if adding liquid to jars)
- Optional: glitter, ribbons, adhesive (for further decoration)
Full Step-by-Step:
1. Prepare Your Workspace
- Find a well-ventilated area and lay down newspaper or a plastic sheet to protect surfaces.
- Gather all your materials for easy access.
2. Shape Your Ghosts
- If using black construction paper, cut out ghost shapes (circles, ovals, etc.).
- Alternatively, you can simply paint the ghost shapes freehand on the jars.
3. Paint the Jars
- Using a paintbrush or sponge, apply a thin layer of glow-in-the-dark paint to the inside or outside of the glass jar.
- For a ghostly effect, apply multiple layers; allow each layer to dry before adding the next.
- Ensure an even application to enhance the glowing effect.
4. Create the Faces
- Once the base paint is dry, use additional glow paint to add eyes and mouths to your ghost shapes; this can be done with the paintbrush.
- You can also stick on the ghost shapes cut from paper.
5. Add Lighting
- Place an LED tea light or glow stick inside the jar for illumination.
- If desired, add water to the bottom of the jar before placing lights to enhance the glow!
6. Final Touches
- Sprinkle glitter around the inside for an extra sparkle.
- Tie ribbons around the jar neck for a decorative touch.
Tips & Variations:
- Color Choices: Experiment with different colors of glow-in-the-dark paints for unique effects.
- Jar Types: Use mason jars, candle holders, or any glass container you have on hand.
- Themes: Create a haunted village with different jar sizes and designs.
- Seasonal Swaps: Change the themes throughout the year (pumpkins for fall, snowflakes for winter).
Frequently Asked Questions:
Q1: Can I use regular paint instead of glow-in-the-dark?
A: While regular paint won’t glow, layering it with a glow-in-the-dark topcoat can create a unique effect.
Q2: What if I don’t have glass jars?
A: Plastic containers work as a substitute, though the glow effect may vary.
Q3: How long does the glow-in-the-dark paint last?
A: The longevity of the glow depends on exposure to light; generally, it can last for several hours after being charged.
Q4: Can I make these jars outdoors?
A: Yes, but be mindful of wind or rain. Consider bringing them inside if conditions are unfavorable.
Suggestions:
- Use your ghost jars as centerpieces for Halloween parties.
- Create a spooky pathway by lining up multiple jars.
- Integrate themed decorations, like cobwebs or mini spider figurines, to enhance the ambiance.
Final Thoughts
Crafting glow-in-the-dark ghost jars is not only a fun activity but a way to bring creativity to your holiday decor. We hope you enjoy making and personalizing these spooky jars! Don’t forget to share your unique versions or leave a comment below with your tips and ideas! Happy crafting!
Print
Glow-in-the-Dark Ghost Jars
- Total Time: 75 minutes
- Yield: 1 jar
- Diet: N/A
Description
Create your own enchanting glow-in-the-dark ghost jars, perfect for Halloween decorations or festive gatherings.
Ingredients
- Glass jars (various sizes)
- Glow-in-the-dark paint (acrylic or spray)
- Paintbrush or sponge applicator
- Black construction paper (optional for ghost shapes)
- Scissors (if using paper)
- LED tea lights or glow sticks
- Water (if adding liquid to jars)
- Optional: glitter, ribbons, adhesive (for further decoration)
Instructions
- Prepare Your Workspace: Find a well-ventilated area and lay down newspaper or a plastic sheet to protect surfaces. Gather all your materials for easy access.
- Shape Your Ghosts: If using black construction paper, cut out ghost shapes (circles, ovals, etc.). Alternatively, you can simply paint the ghost shapes freehand on the jars.
- Paint the Jars: Using a paintbrush or sponge, apply a thin layer of glow-in-the-dark paint to the inside or outside of the glass jar. For a ghostly effect, apply multiple layers; allow each layer to dry before adding the next.
- Create the Faces: Once the base paint is dry, use additional glow paint to add eyes and mouths to your ghost shapes; this can be done with the paintbrush. You can also stick on the ghost shapes cut from paper.
- Add Lighting: Place an LED tea light or glow stick inside the jar for illumination. If desired, add water to the bottom of the jar before placing lights to enhance the glow!
- Final Touches: Sprinkle glitter around the inside for an extra sparkle. Tie ribbons around the jar neck for a decorative touch.
Notes
Experiment with different colors and jar types to create unique variations. Use these ghost jars as centerpieces or pathway markers for Halloween festivities.
- Prep Time: 15 minutes
- Cook Time: 60 minutes
- Category: Craft
- Method: Crafting
- Cuisine: N/A
Nutrition
- Serving Size: 1 jar
- Calories: 0
- Sugar: 0g
- Sodium: 0mg
- Fat: 0g
- Saturated Fat: 0g
- Unsaturated Fat: 0g
- Trans Fat: 0g
- Carbohydrates: 0g
- Fiber: 0g
- Protein: 0g
- Cholesterol: 0mg

