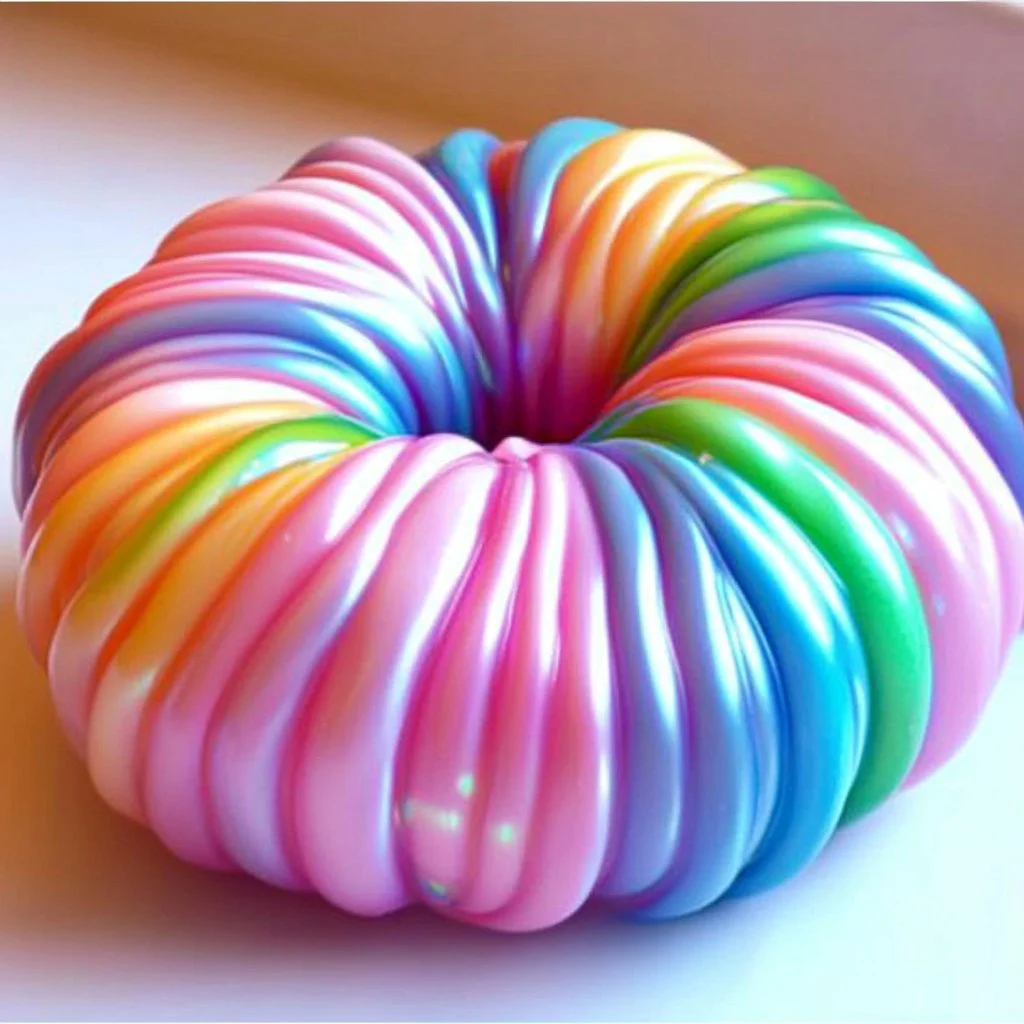
Slime is not just a fun squishy substance; it also provides an excellent opportunity to engage in some hands-on science while fostering creativity. "Slime Science with Doctor Slime – Rainbow Stretch & Learn!" is an exciting project that blends the joy of crafting with educational elements. In this activity, you and your little ones will explore chemistry concepts as you create a colorful and stretchable slime that’s perfect for sensory play. Watching the colors swirl together and experimenting with different textures keeps children intrigued and eager for more. Perfect for rainy days, birthday parties, or as an educational tool, this slime project promises endless fun. Let’s dive into the materials you’ll need, the steps to create your own rainbow slime, and tips for customizations to make it uniquely yours!
Why You’ll Love This Slime Science with Doctor Slime – Rainbow Stretch & Learn!
- Educational Fun: Combines science with play, introducing basic chemistry concepts.
- Sensory Stimulation: Engaging texture and vibrant colors enhance sensory experiences.
- Customizable: Easy to swap materials and colors for endless variations.
- Group Activity: Great for parties or playdates, encouraging teamwork and creativity.
- Stress Relief: Stretching and squishing slime can be a calming activity for kids (and adults!).
Materials
- White school glue (1 cup)
- Baking soda (1 teaspoon)
- Contact lens solution (2-3 tablespoons)
- Food coloring (multiple colors)
- Mixing bowl
- Spoon
- Measuring cups and spoons
- Airtight container for storage
Full Step-by-Step
Step 1: Mix Glue and Baking Soda
- In a mixing bowl, pour 1 cup of white school glue.
- Add 1 teaspoon of baking soda and stir until fully combined.
- Sensory Cue: Notice the thick and gooey texture forming!
Step 2: Add Food Coloring
- Divide the glue mixture into smaller bowls (one for each color you want).
- Add a few drops of food coloring to each bowl and mix well.
- Sensory Cue: Watch the color spread and mix through the thick glue!
Step 3: Activate the Slime
- Slowly add the contact lens solution (2-3 tablespoons) to each bowl.
- Stir vigorously until the slime starts to come together.
- Key Action: If it’s too sticky, add a little more solution until it reaches your desired texture.
Step 4: Knead the Slime
- Remove the slime from the bowl and knead it with your hands.
- Sensory Cue: Feel the smoothness as you stretch and fold the slime.
Step 5: Create a Rainbow Effect
- Take small portions of each color and layer them on top of each other.
- Roll them gently to create a marbled rainbow effect.
- Key Action: Enjoy the visual surprise as colors blend together!
Step 6: Store Your Slime
- Place your slime in an airtight container to keep it fresh.
- Sensory Cue: Smell the glue – and watch it shimmer in the light!
Tips & Variations
- Glitter Slime: Add glitter during the mixing stage for added sparkle.
- Scented Slime: Include a few drops of essential oils to give your slime a delightful scent.
- Glow-in-the-Dark: Use glow-in-the-dark paint or powder for night-time fun.
- Color Mixing: Experiment with primary colors to create secondary hues!
Frequently Asked Questions
Q1: What if my slime is too sticky?
A1: If your slime feels sticky, gradually add more contact lens solution until it reaches the desired consistency.
Q2: Can I use different types of glue?
A2: Yes, craft glue or clear glue can also work, but avoid using glue that is not washable or non-toxic.
Q3: How long does the slime last?
A3: When stored in an airtight container, the slime can last for several weeks. If it starts to dry out, add a bit of water.
Q4: Is this slime safe for kids?
A4: Yes, as long as all materials used are non-toxic and supervised by an adult. Always check ingredient safety if allergies are a concern.
Suggestions
- Integrate Learning: Use this craft as a springboard for discussions about colors, textures, and the science of materials.
- Experiment with Sizes: Encourage your kids to make giant slime blobs or smaller, pocket-sized versions.
- Themed Slime Days: Create slime to match holidays, seasons, or favorite characters.
Final Thoughts
Creating rainbow slime with Doctor Slime is not just a fun and messy activity – it’s an artistic way to learn about science and develop fine motor skills. We encourage you to share your slime-making journey. Try out different colors or textures and leave a comment on what unique versions you create. Let’s keep the fun and science alive!
Print
Rainbow Slime Science with Doctor Slime
- Total Time: 10 minutes
- Yield: Varies based on size of slime made
- Diet: Non-dietary
Description
An engaging and educational project that combines crafting with basic chemistry concepts while creating colorful, stretchable slime.
Ingredients
- 1 cup white school glue
- 1 teaspoon baking soda
- 2–3 tablespoons contact lens solution
- Food coloring (multiple colors)
- Mixing bowl
- Spoon
- Measuring cups and spoons
- Airtight container for storage
Instructions
- In a mixing bowl, pour 1 cup of white school glue. Add 1 teaspoon of baking soda and stir until fully combined.
- Divide the glue mixture into smaller bowls for each color. Add a few drops of food coloring and mix well.
- Slowly add 2-3 tablespoons of contact lens solution to each bowl and stir vigorously until the slime starts to come together.
- Remove the slime from the bowl and knead it with your hands until smooth.
- Take small portions of each color and layer them. Roll gently to create a marbled rainbow effect.
- Store the slime in an airtight container to keep it fresh.
Notes
Ensure all materials used are non-toxic and supervised by an adult. Experiment with different add-ins like glitter or essential oils.
- Prep Time: 10 minutes
- Cook Time: 0 minutes
- Category: Craft
- Method: Mixing and kneading
- Cuisine: Educational
Nutrition
- Serving Size: Unlimited fun
- Calories: N/A
- Sugar: N/A
- Sodium: N/A
- Fat: N/A
- Saturated Fat: N/A
- Unsaturated Fat: N/A
- Trans Fat: N/A
- Carbohydrates: N/A
- Fiber: N/A
- Protein: N/A
- Cholesterol: N/A

