Introduction
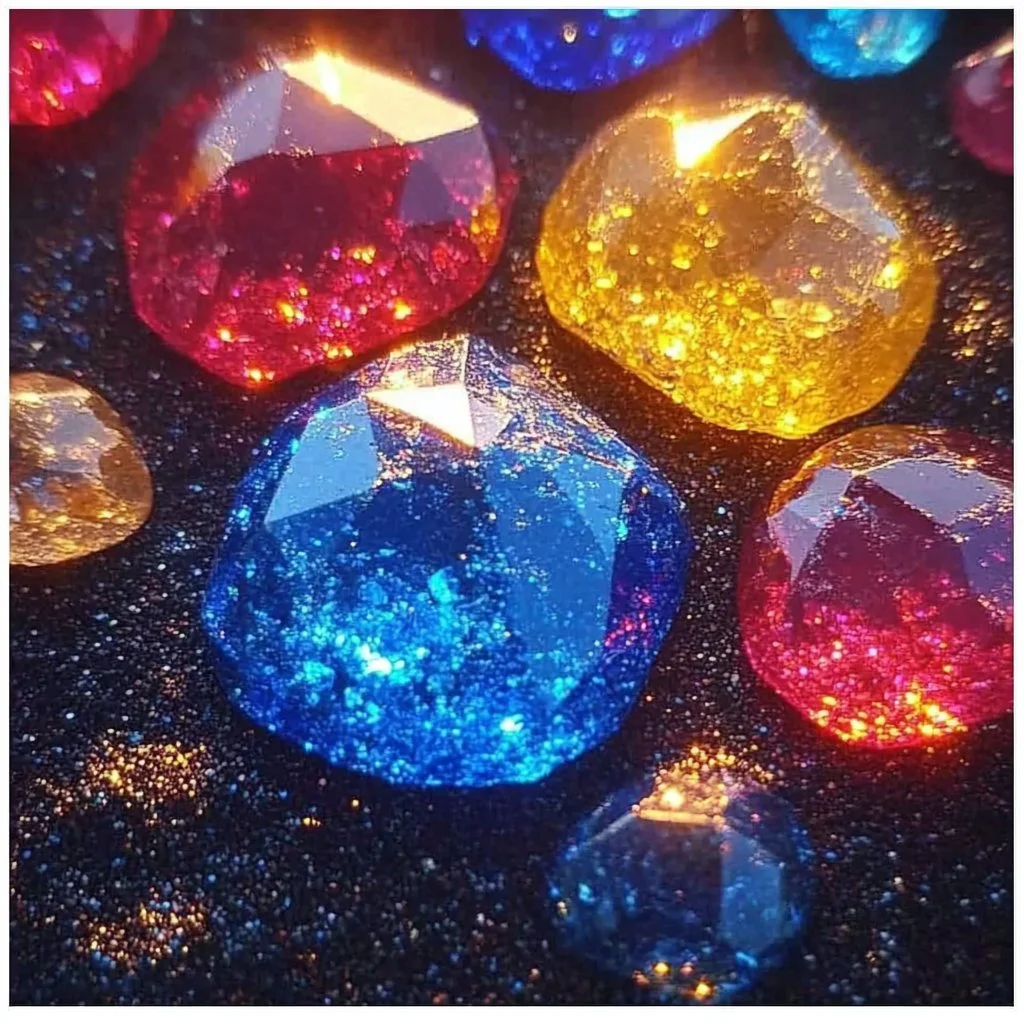
Crafting is an enchanting way to spark creativity and engage with materials in new and exciting ways. One such delightful project is creating Magic Treasure Rocks, which are not only visually stunning but also incredibly fun to make. This hands-on activity combines simple ingredients to produce colorful, jewel-like creations that kids and adults alike will adore. Whether you want to decorate your garden or surprise a friend with a thoughtful gift, these sparkly rocks are a fantastic choice. They serve as a perfect introduction to basic crafting techniques, ignite the imagination, and offer an engaging experience perfect for family gatherings or playdates. Join us in this magical journey to unveil how to make your own dazzling treasures!
Why You’ll Love This Magic Treasure Rocks
- Creative Expression: Personalize your rocks with different colors and patterns.
- Sensory Play: Engage multiple senses by exploring textures and visual appeal.
- Easy to Make: Simple steps that kids can follow with minimal assistance.
- Educational: Teach kids about mixing colors and basic chemistry concepts.
- Fun for All Ages: Suitable for children, teens, and adults alike.
- Unique Decor: Brighten up any space or garden with eye-catching decorations.
Materials
- White glue (PVA glue works best)
- Baking soda
- Acrylic paint (various colors)
- Small clear plastic bag or container
- Water
- Baking sheet (for drying)
- Wax paper (optional, to protect surfaces)
Full Step-by-Step
Step 1: Prepare the Mixture
- In a bowl, combine 1 cup of white glue and 2 cups of baking soda.
- Stir until the mixture is well blended and smooth.
Step 2: Add Color
- Gradually mix in 1-2 tablespoons of water to make the mixture easier to work with.
- Separate the mixture into smaller bowls if using multiple colors.
- Add acrylic paint to each bowl and stir until you achieve your desired colors.
Step 3: Shape Your Rocks
- Use your hands to mold the mixture into small rock shapes.
- Feel free to create various sizes and forms for added uniqueness.
- A sensory cue is the cool, slightly gritty texture of the curing mixture!
Step 4: Drying Process
- Place the shaped rocks on a baking sheet lined with wax paper.
- Allow them to dry for at least 24 hours until fully hardened.
Step 5: Finishing Touches
- Once dry, paint or embellish your rocks with additional designs or glitter for sparkle.
- Let any additional paint dry thoroughly.
Tips & Variations
- Experiment with different glues (like clear glue) for varied results.
- Mix in glitter to the initial glue and baking soda mixture for added shine.
- Use food coloring instead of acrylic paint for less permanence and more vibrant colors.
- Try different shapes; use cookie cutters to create fun designs.
Frequently Asked Questions
Q1: Can I use other types of paint?
A: Acrylic paint is recommended for the best results, but you can experiment with water-based paints.
Q2: What if my mixture is too thick?
A: Simply add a little more water until it reaches a workable consistency.
Q3: How do I store my Magic Treasure Rocks?
A: Keep them in a cool, dry place. If you want to maintain shine, consider sealing them with a clear spray sealer.
Q4: Can I use this method for outdoor decorations?
A: Yes, but it’s best to use an outdoor sealant to protect your rocks from weather elements.
Suggestions
- Create a themed set of treasure rocks (e.g., ocean themes with blues and greens).
- Use them as garden markers by writing plant names on them.
- Gift them as unique party favors for kids’ birthday celebrations.
Final Thoughts
Crafting Magic Treasure Rocks is a rewarding and delightful experience that brings joy and creativity to any space. Whether you’re making them for yourself or as gifts, the process is sure to be filled with laughter and imagination. We encourage you to share your finished projects, variations, or any questions in the comments below. Let your creative spirit shine through this magical craft!
Print
Magic Treasure Rocks
- Total Time: 1470 minutes
- Yield: 10-15 rocks 1x
- Diet: N/A
Description
Create colorful, jewel-like Magic Treasure Rocks with simple ingredients. Perfect for all ages and an engaging crafting experience!
Ingredients
- 1 cup white glue (PVA glue works best)
- 2 cups baking soda
- Acrylic paint (various colors)
- 1–2 tablespoons water
- Small clear plastic bag or container
- Baking sheet (for drying)
- Wax paper (optional, to protect surfaces)
Instructions
- In a bowl, combine 1 cup of white glue and 2 cups of baking soda. Stir until well blended and smooth.
- Gradually mix in 1-2 tablespoons of water. Separate the mixture into smaller bowls if using multiple colors and add acrylic paint, stirring until desired colors are achieved.
- Mold the mixture into small rock shapes using your hands, creating various sizes for uniqueness.
- Place the shaped rocks on a baking sheet lined with wax paper. Allow to dry for at least 24 hours until fully hardened.
- Once dry, paint or embellish with additional designs or glitter. Let any additional paint dry thoroughly.
Notes
Experiment with different glues and shapes for diverse results. Mix in glitter for added shine. Store finished rocks in a cool, dry place.
- Prep Time: 30 minutes
- Cook Time: 1440 minutes
- Category: Craft
- Method: Crafting
- Cuisine: N/A
Nutrition
- Serving Size: 1 rock
- Calories: 0
- Sugar: 0g
- Sodium: 0mg
- Fat: 0g
- Saturated Fat: 0g
- Unsaturated Fat: 0g
- Trans Fat: 0g
- Carbohydrates: 0g
- Fiber: 0g
- Protein: 0g
- Cholesterol: 0mg

