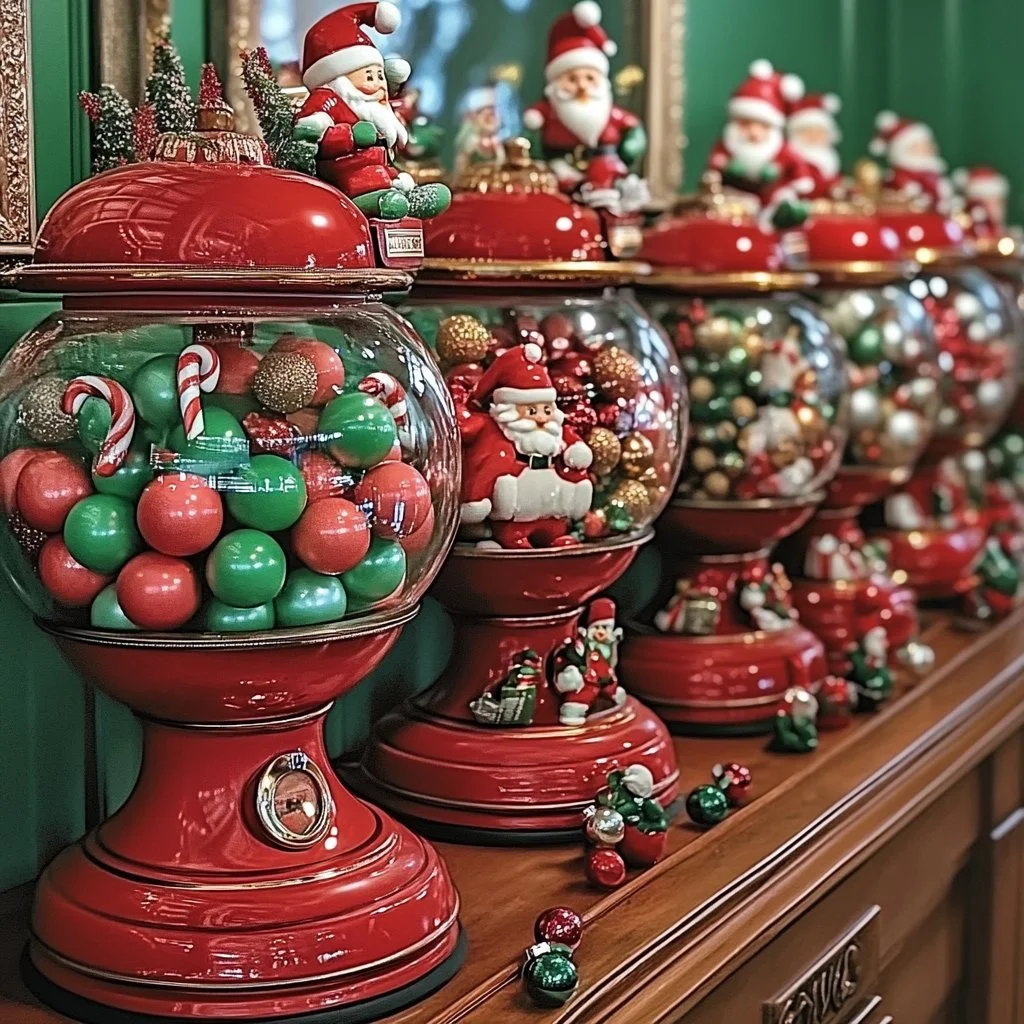
Creating festive decorations can be one of the most enjoyable activities during the holiday season. These DIY Mini Cup Candy Ornaments add a personal touch to your holiday décor while being a delightful treat to savor or share with family and friends. The project is simple enough for all ages and can be customized to match your home’s color scheme or holiday theme. Whether you are looking to craft some unique gifts or just want to fill your home with sweet cheer, these ornaments are sure to bring joy. Plus, making these candy-stuffed cuties can become a cherished family tradition, allowing everyone to join in on the fun.
Why You’ll Love This DIY Mini Cup Candy Ornaments:
- Creative Fun: An engaging craft that sparks creativity in adults and kids alike.
- Customizable: Change colors, candies, and themes to fit any season or celebration.
- Festive Décor: Brighten up your home with cheerful and colorful ornaments.
- Easy to Make: Simple steps make it perfect for crafters of all skill levels.
- Sweet Treats: Fill them with delicious candies for a fun, edible surprise.
Materials:
- Mini paper cups (disposable or reusable)
- Craft glue or glue dots
- Assorted candies (like gummies, chocolates, or hard candies)
- Ribbon or twine
- Scissors
- Decorative items (stickers, markers, glitter)
Full Step-by-Step:
Prepare Your Cups
- Gather your mini paper cups. Choose a design or pattern that you love.
- If you want to paint or personalize them, do this first and let them dry completely.
Fill with Candies
- Select your favorite candies. The more colorful, the better!
- Carefully fill each mini cup with candy until they’re about three-quarters full.
Decorate
- Cut a length of ribbon or twine to use for hanging. Loop it through the rim of the cup.
- Secure with a knot.
- Add decorative elements. Try sticking on festive stickers, or use markers to draw designs on the cups.
Final Touches
- Once decorated, display them on your tree, mantle, or as a table center-piece.
- Enjoy sharing them with friends and family or as a sweet surprise for guests.
Tips & Variations:
- Candy Swap: Use themed candies for different festivities (like pastel candies for Easter or chocolates for Valentine’s Day).
- Cup Alternatives: Use small jars or other containers if you can’t find mini cups.
- Add a Note: Attach a small tag with a holiday message for a personal touch.
- Lighting Boost: Add tiny LED lights in the cups for a sparkly effect at night.
Frequently Asked Questions:
Q: Can I use different types of containers?
A: Absolutely! Small jars or even cardboard boxes can work well if mini cups aren’t available.
Q: What if I want to make these for a party favor?
A: Simply choose a variety of candies, and you can include a fun thank-you note or label inside each cup.
Q: How can I ensure the contents stay fresh?
A: Make sure to use airtight containers if using sealed candies or wrap them tightly with plastic before decorating.
Q: How do I store these ornaments after the season?
A: Store them in a cool, dry place in a container to keep the decorations intact until next year.
Suggestions:
- Incorporate themes based on holidays or personal interests (beach-themed with candy seashells or autumn with pumpkin spice candies).
- Pair your ornaments with handmade gift tags for a complete gift experience.
- Host a crafting party, allowing everyone to create their own versions!
Final Thoughts
These DIY Mini Cup Candy Ornaments are not just fun to create; they also add a warm, personal touch to your holiday celebrations. Whether you showcase them on your tree or use them as gifts, they are bound to spread joy and festivity. We’d love to see your unique creations! Share your versions or leave a comment below!
Print
DIY Mini Cup Candy Ornaments
- Total Time: 30 minutes
- Yield: 12 ornaments
- Diet: N/A
Description
Create festive Mini Cup Candy Ornaments for your holiday décor, filled with colorful candies and personalized designs.
Ingredients
- Mini paper cups (disposable or reusable)
- Craft glue or glue dots
- Assorted candies (like gummies, chocolates, or hard candies)
- Ribbon or twine
- Scissors
- Decorative items (stickers, markers, glitter)
Instructions
- Gather your mini paper cups and personalize them if desired. Let them dry completely.
- Fill each cup with your favorite colorful candies until they’re about three-quarters full.
- Cut a length of ribbon or twine, loop it through the rim of the cup, and secure with a knot.
- Add decorations like stickers or drawn designs on the cups.
- Display the ornaments on your tree, mantle, or as a centerpiece, and enjoy sharing them with others.
Notes
Consider using themed candies for different occasions and attaching small tags for a personal touch.
- Prep Time: 30 minutes
- Cook Time: 0 minutes
- Category: Crafts
- Method: Crafting
- Cuisine: N/A
Nutrition
- Serving Size: 1 ornament
- Calories: 50 (approximate based on candy contents)
- Sugar: 10g
- Sodium: 5mg
- Fat: 1g
- Saturated Fat: 0g
- Unsaturated Fat: 0g
- Trans Fat: 0g
- Carbohydrates: 12g
- Fiber: 0g
- Protein: 0g
- Cholesterol: 0mg

