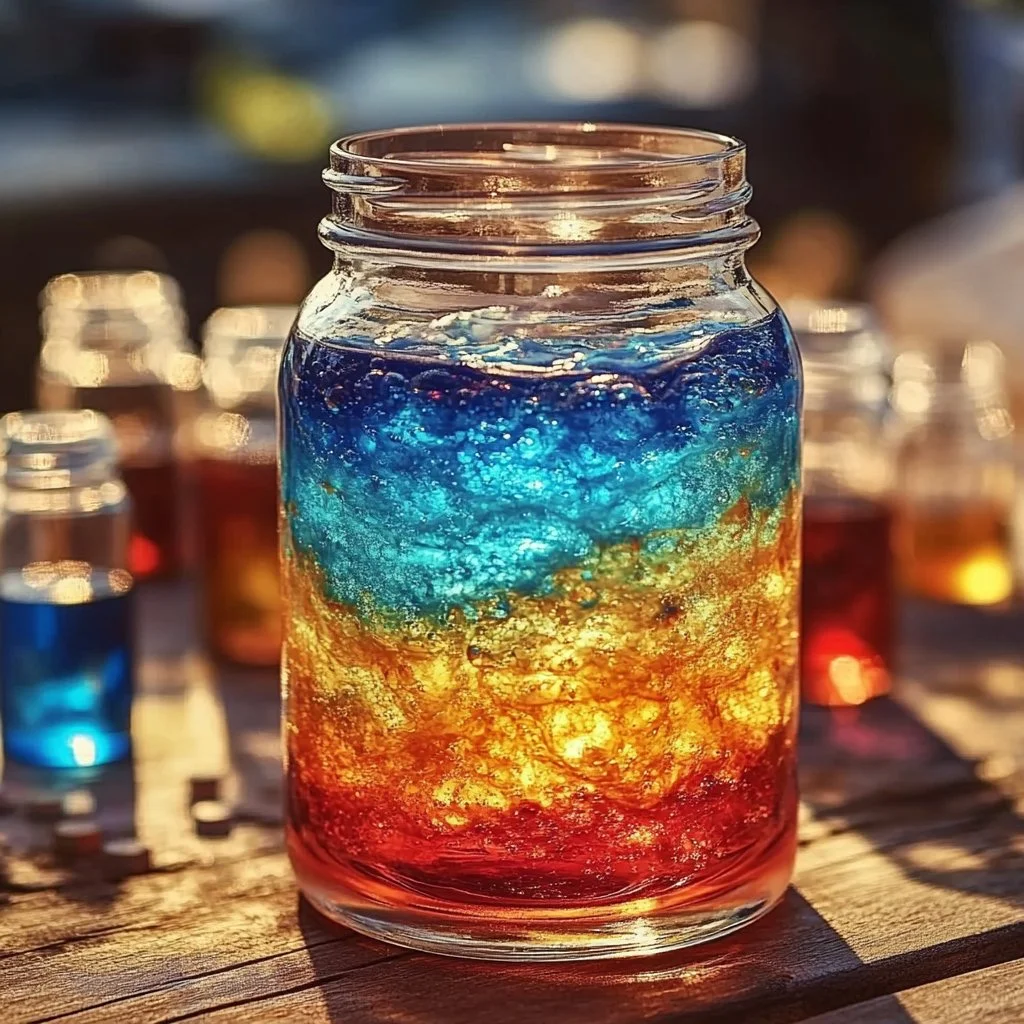
Creating a captivating "Fire & Rain Rainbow in a Jar" is a delightful way to explore colors and sensory experiences with your friends or family. This simple craft encourages creativity while allowing participants to enjoy the beauty of a rainbow captured in a jar. Ideal for both children and adults, it can serve as a vibrant centerpiece or a heartwarming gift. As you layer the colorful ingredients, you’ll witness the magic of science and art coming together. Whether you’re seeking a fun rainy-day activity or a creative project for a gathering, this craft recipe will spark joy and inspire wonder. So grab your materials, roll up your sleeves, and let’s make a mesmerizing rainbow in a jar!
Why You’ll Love This Fire & Rain Rainbow In A Jar:
- Colorful Creation: Watch as vibrant layers form a stunning rainbow.
- Engaging Activity: Perfect for kids and adults alike.
- Educational: Teaches about density and liquid layering.
- Sensory Delight: Feel the textures and see the bright colors.
- Customizable: Experiment with different bases and colors.
- Great Gift Idea: Create a personalized gift for loved ones.
- Easy Cleanup: Uses easily accessible materials.
Materials:
- Clear glass jar or container
- Water
- Food coloring (red, orange, yellow, green, blue, purple)
- Sugar or corn syrup
- Light oil (vegetable or baby oil)
- Spoon for stirring
- Measuring cups
- Optional: glitter or small beads for extra decoration
Full Step-by-Step:
-
Prepare Your Base:
- Measure equal parts of sugar or corn syrup into separate bowls.
- Add food coloring to each bowl:
- Red for the bottom layer
- Orange for the next
- And so on until purple.
-
Mix the Colors:
- Stir each bowl until the color is mixed thoroughly.
- Each colored mixture will represent a layer in your jar.
-
Layer the Ingredients:
- Carefully spoon the red mixture into the bottom of your jar.
- Allow it to settle.
-
Build the Rainbow:
- Gently add the orange mixture on top of the red.
- Use the back of a spoon to slow down the pour to prevent mixing.
-
Repeat for the Remaining Colors:
- Follow the same technique for yellow, green, blue, and purple.
- Take your time to create distinct layers.
-
Add the Oil:
- Slowly pour the light oil on top of the colored layers.
- The oil will create a shimmering layer that sits above the colors.
-
Finishing Touches:
- If desired, sprinkle glitter or small beads on top for added sparkle.
-
Display Your Creation:
- Place your completed rainbow jar in a sunny spot where the light can enhance its beauty.
Tips & Variations:
- Customize the Layers: Use different colored liquids or even flavored liquids.
- Thickness Matters: Experiment with different amounts of sugar for thicker or thinner layers.
- Add Scents: Consider adding essential oils to your mixtures for a scented rainbow jar.
- Make It a Learning Experience: Discuss concepts of density and dissolve while layering.
Frequently Asked Questions:
-
Can I use other liquids instead of water for the layers?
- Yes! You can try using flavored drinks or other liquids with different densities, but be sure to test their layering.
-
What if my layers are mixing together?
- Pour slowly and use the back of a spoon to help create separation between layers.
-
How long will the rainbow layers last?
- If kept undisturbed, your rainbow jar can last for several weeks. However, over time, colors might blend a bit.
-
Can I use less sugar to make it simpler?
- Absolutely! Just note that using less sugar will affect the density, possibly mixing the colors more easily.
Suggestions:
- Try hosting a rainbow jar party where everyone makes their own creations.
- Use smaller jars for party favors or classroom activities.
- Pair with a related science lesson on color mixing or liquid densities.
Final Thoughts
This "Fire & Rain Rainbow in a Jar" is more than just a craft; it’s a vibrant representation of creativity and learning. As you explore this delightful project, we encourage you to share your versions or any unique twists you’ve made! Leave a comment with your insights or photos of your beautiful rainbow jars. Happy crafting!
Print
Fire & Rain Rainbow in a Jar
- Total Time: 15 minutes
- Yield: 1 rainbow jar
- Diet: N/A
Description
A delightful and colorful craft project that teaches about density while creating a vibrant rainbow in a jar.
Ingredients
- Clear glass jar or container
- Water
- Food coloring (red, orange, yellow, green, blue, purple)
- Sugar or corn syrup
- Light oil (vegetable or baby oil)
- Spoon for stirring
- Measuring cups
- Optional: glitter or small beads for extra decoration
Instructions
- Measure equal parts of sugar or corn syrup into separate bowls.
- Add food coloring to each bowl, using red for the bottom layer and continuing with orange, yellow, green, blue, and purple.
- Stir each bowl until the color is mixed thoroughly.
- Carefully spoon the red mixture into the bottom of your jar and allow it to settle.
- Gently add the orange mixture on top of the red, using the back of a spoon to slow down the pour.
- Repeat for the remaining colors: yellow, green, blue, and purple.
- Slowly pour the light oil on top of the colored layers.
- If desired, sprinkle glitter or small beads on top for added sparkle.
- Place your completed rainbow jar in a sunny spot where the light can enhance its beauty.
Notes
Customize the layers with different colored or flavored liquids. Discuss density and dissolution during the process for an educational twist.
- Prep Time: 15 minutes
- Cook Time: 0 minutes
- Category: Craft
- Method: Crafting
- Cuisine: N/A
Nutrition
- Serving Size: 1 jar
- Calories: N/A
- Sugar: N/A
- Sodium: N/A
- Fat: N/A
- Saturated Fat: N/A
- Unsaturated Fat: N/A
- Trans Fat: N/A
- Carbohydrates: N/A
- Fiber: N/A
- Protein: N/A
- Cholesterol: N/A

