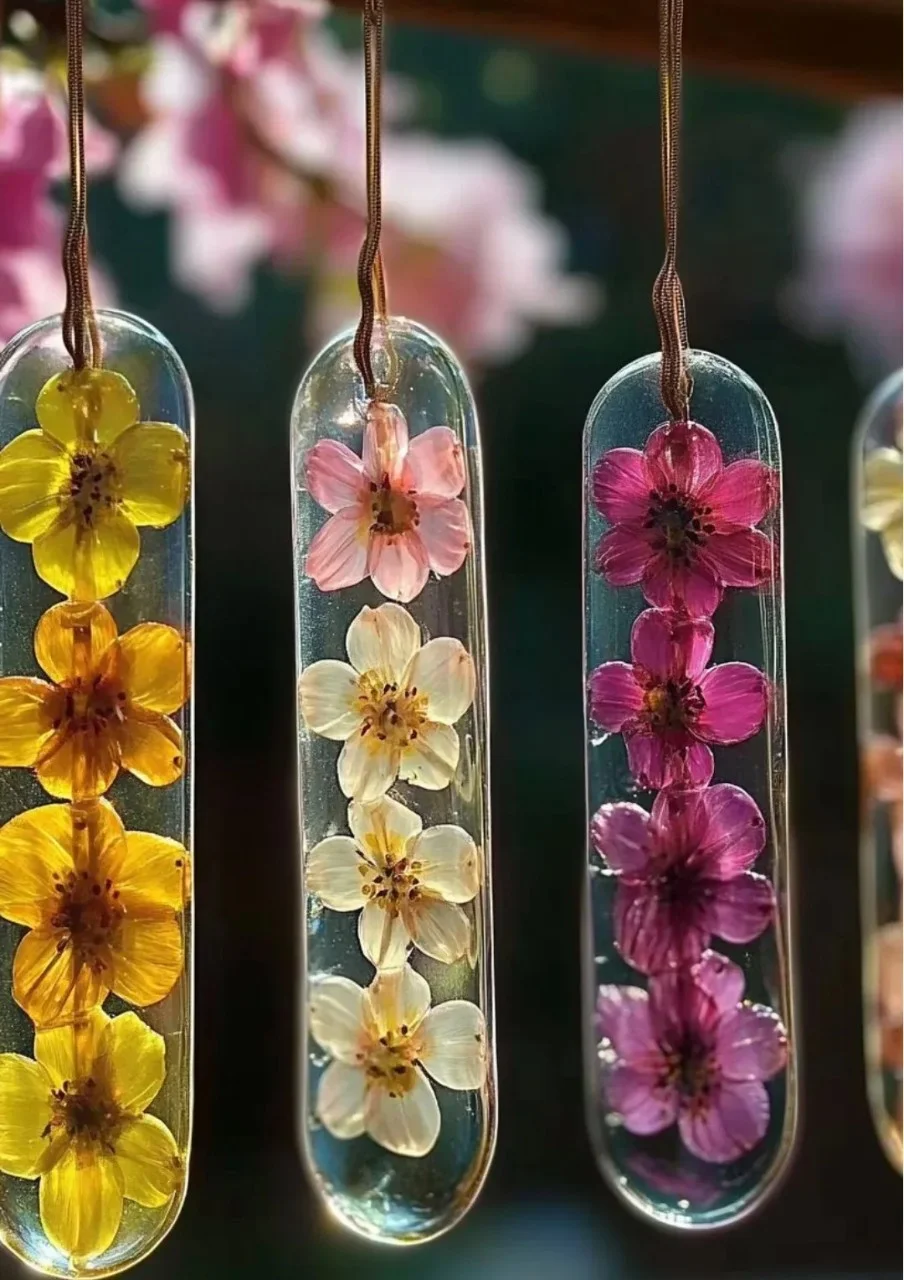
Creating DIY bioplastic suncatchers is a fun and sustainable project that not only brightens up your home but also encourages creativity and environmental consciousness. Utilizing simple ingredients found in your kitchen, this craft showcases the magical transformation of basic components into dazzling pieces of art. Ideal for families, classrooms, or individual artists, bioplastic suncatchers are a fantastic way to explore eco-friendly crafting. The best part? You’ll be reusing materials that would otherwise contribute to waste, all while creating something beautiful to hang in your window. Let’s dive into the world of bioplastic crafting and learn how to make your very own colorful suncatchers!
Why You’ll Love This DIY Bioplastic Suncatchers:
- Eco-friendly: A great way to promote sustainability and reduce plastic waste.
- Easy to make: Simple ingredients and steps that are suitable for all ages.
- Customizable: Endless possibilities for colors and designs.
- Fun sensory experience: The textures and colors are engaging and visually stunning.
- Educational: A great way to teach about bioplastics and environmental awareness.
Materials:
- 1 cup of corn starch
- 1 cup of water
- 1 tablespoon of vinegar
- Food coloring (various colors)
- Non-stick spray or oil
- Cookie cutters or molds
- Wax paper or parchment paper
- Scissors
- String or fishing line (for hanging)
Full Step-by-Step:
Prepare Your Workspace:
- Cover your work area with newspapers or a plastic tablecloth to minimize mess.
- Gather all your materials and tools.
Mix the Bioplastic:
- In a medium saucepan, combine corn starch, water, and vinegar.
- Stir thoroughly until the mixture is smooth and free of lumps.
- Place the saucepan over medium heat, stirring continuously. The mixture will start to thicken.
Add Color:
- Once thickened, remove from heat.
- Divide the mixture into small bowls and add a few drops of food coloring to each.
- Stir well to achieve your desired colors.
Shape Your Suncatchers:
- Lightly spray your cookie cutters or molds with non-stick spray.
- Pour the colored mixture into the molds, filling them about halfway.
- Use a toothpick or skewer to make holes if you want to hang them later.
Drying Process:
- Place the filled molds on wax paper and let dry for 24-48 hours until completely hard.
- Once dry, carefully remove the suncatchers from the molds.
Finishing Touches:
- Trim any rough edges with scissors.
- Cut a length of string or fishing line to hang your suncatchers.
Tips & Variations:
- Customize Colors: Mix different food colorings together for unique shades.
- Shape: Use different molds or cookie cutters for various designs such as flowers, stars, or geometric shapes.
- Add Glitters: Incorporate environmentally friendly glitter for extra sparkle.
- Textures: Experiment with adding textures, like leaf prints or fabric.
Frequently Asked Questions:
1. Can I use regular plastic instead of bioplastic?
- It’s recommended to stick with the bioplastic recipe for sustainability, as regular plastic isn’t eco-friendly and won’t decompose.
2. How long can I store bioplastic suncatchers?
- When stored in a cool, dry place, bioplastic suncatchers can last for months, but they should be kept out of direct sunlight to prevent fading.
3. What if my mixture is too runny?
- If the mixture is too thin, return it to the heat and stir until it thickens more, then cool before using.
4. Can I make smaller suncatchers?
- Absolutely! Just use smaller molds or cookie cutters for tiny suncatchers; adjust drying time as necessary.
Suggestions:
- Consider making a mobile with multiple suncatchers for an eye-catching display.
- Host a crafting party where friends and family can create together.
- Pair your suncatchers with painted rocks or other natural elements for a beautiful garden decoration.
Final Thoughts
Incorporating DIY bioplastic suncatchers into your crafting routine is a rewarding experience, combining creativity with environmental mindfulness. We encourage you to share your versions of this craft or leave a comment below with your insights or variations. Let’s inspire each other with our imaginative suncatchers!
Print
DIY Bioplastic Suncatchers
- Total Time: 30 minutes
- Yield: Approximately 10 suncatchers 1x
- Diet: Eco-Friendly
Description
Create beautiful and eco-friendly bioplastic suncatchers with simple kitchen ingredients, promoting sustainability and creativity.
Ingredients
- 1 cup of corn starch
- 1 cup of water
- 1 tablespoon of vinegar
- Food coloring (various colors)
- Non-stick spray or oil
- Cookie cutters or molds
- Wax paper or parchment paper
- Scissors
- String or fishing line (for hanging)
Instructions
- Prepare Your Workspace: Cover your work area with newspapers or a plastic tablecloth to minimize mess. Gather all your materials and tools.
- Mix the Bioplastic: In a medium saucepan, combine corn starch, water, and vinegar. Stir thoroughly until the mixture is smooth and free of lumps. Place the saucepan over medium heat, stirring continuously until the mixture starts to thicken.
- Add Color: Remove from heat, divide the thickened mixture into small bowls, and add a few drops of food coloring. Stir well to achieve desired colors.
- Shape Your Suncatchers: Lightly spray cookie cutters or molds with non-stick spray. Pour the colored mixture into the molds, filling them about halfway. Use a toothpick or skewer to make holes for hanging.
- Drying Process: Place filled molds on wax paper and let dry for 24-48 hours until completely hard. Once dry, carefully remove suncatchers from molds.
- Finishing Touches: Trim any rough edges with scissors. Cut a length of string or fishing line to hang your suncatchers.
Notes
Customize colors and shapes; add environmentally friendly glitters for extra sparkle, and explore textures for unique designs.
- Prep Time: 15 minutes
- Cook Time: 5 minutes
- Category: Crafting
- Method: DIY Crafting
- Cuisine: N/A
Nutrition
- Serving Size: 1 suncatcher
- Calories: 0
- Sugar: 0g
- Sodium: 0mg
- Fat: 0g
- Saturated Fat: 0g
- Unsaturated Fat: 0g
- Trans Fat: 0g
- Carbohydrates: 0g
- Fiber: 0g
- Protein: 0g
- Cholesterol: 0mg

