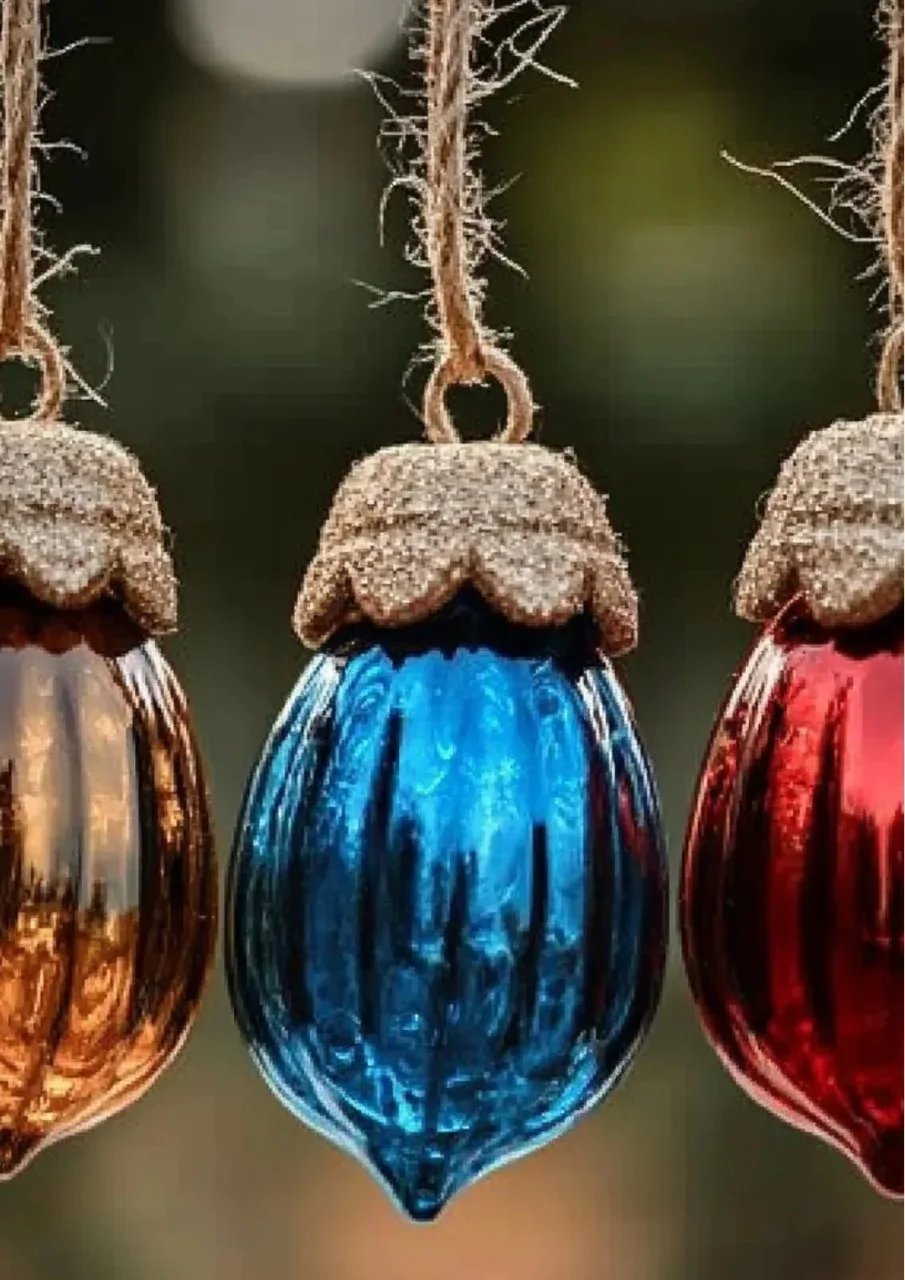
Acorn ornaments are a delightful craft that combines nature’s bounty with creative expression. These charming decorations capture the essence of autumn and can be a beautiful addition to your home, or they can serve as thoughtful handmade gifts during the holiday season. Whether you’re a seasoned crafter or a beginner looking for an enjoyable project, making acorn ornaments is a wonderful way to connect with the beauty of the outdoors while unleashing your artistic flair. With just a few simple materials and easy-to-follow steps, you can transform ordinary acorns into whimsical, eye-catching ornaments that reflect your personal style.
Why You’ll Love This Acorn Ornaments:
- Natural Aesthetic: Adds a rustic touch to your decor.
- Fun for All Ages: Perfect for family crafting sessions.
- Eco-Friendly: Utilizes materials from nature, reducing waste.
- Customizable: Personalize with colors, patterns, and embellishments.
- Easy and Inexpensive: Affordable materials and simple techniques.
Materials:
- Acorns (with caps)
- Acrylic paint (optional)
- Paintbrushes
- Twine or ribbon
- Hot glue gun and glue sticks
- Optional embellishments (e.g., glitter, sequins, small beads)
Full Step-by-Step:
Step 1: Gather Materials
Start by collecting your acorns from the ground. Choose acorns that are intact and have their caps. Make sure to clean them by gently brushing off any dirt.
Step 2: Prep Your Workspace
Lay down newspaper or an old tablecloth to protect your work surface from paint and glue.
Step 3: Paint the Acorns
- If you’d like to add a pop of color, use acrylic paint to paint the acorns.
- Allow each acorn to dry completely before proceeding.
Step 4: Assemble Your Ornaments
- For each ornament, take a piece of twine or ribbon and cut it to your desired length.
- Using the hot glue gun, carefully apply a small amount of glue to the top of the acorn and press the cap back in place.
Step 5: Attach Twine or Ribbon
- While the glue is still warm, lay the twine or ribbon across the top, making sure it is secure.
- Allow the glue to cool and set.
Step 6: Add Embellishments (Optional)
- If desired, use hot glue to attach sequins, glitter, or beads to your painted acorns for a decorative touch.
- Let it all dry thoroughly.
Tips & Variations:
- Customization: Use different colors of paint or patterns for a unique look.
- Swap Materials: Instead of twine, use decorative string or even old jewelry chains for hanging.
- Add Scents: Consider incorporating scented oils to give your ornaments a delightful aroma.
Frequently Asked Questions:
Q1: Can I use acorns that don’t have caps?
Yes, you can use acorns without caps, but the ornament may have a different look.
Q2: How long will these ornaments last?
With proper care and storage, acorn ornaments can last for years, but they are best kept indoors to prevent deterioration.
Q3: Can I make this craft with kids?
Absolutely! This craft is very kid-friendly with adult supervision, especially when using hot glue.
Q4: What if I don’t have a hot glue gun?
You can use craft glue instead, but be aware that it may take longer to set.
Suggestions:
- Hang your acorn ornaments on a fall or winter-themed wreath.
- Use them as part of a table centerpiece during festive gatherings.
- Create a garland by stringing multiple acorns together.
Final Thoughts
Acorn ornaments are not only a fun craft project but also a beautiful way to bring the essence of nature indoors. Get creative, enjoy the process, and don’t forget to share your versions in the comments below! We’d love to see how you personalize your acorn ornaments! Happy crafting!
Print
Acorn Ornaments
- Total Time: 15 minutes
- Yield: Multiple ornaments
- Diet: N/A
Description
A delightful craft project that transforms ordinary acorns into whimsical ornaments perfect for home decor or gifts.
Ingredients
- Acorns (with caps)
- Acrylic paint (optional)
- Paintbrushes
- Twine or ribbon
- Hot glue gun and glue sticks
- Optional embellishments (e.g., glitter, sequins, small beads)
Instructions
- Gather Materials: Collect intact acorns with caps and clean them by brushing off dirt.
- Prep Your Workspace: Protect your work surface with newspaper or an old tablecloth.
- Paint the Acorns: Use acrylic paint to add color to the acorns, allowing them to dry completely.
- Assemble Your Ornaments: Cut a piece of twine or ribbon, apply glue to the top of the acorn, and press the cap back in place.
- Attach Twine or Ribbon: Lay the twine or ribbon across the top while the glue is warm and allow it to set.
- Add Embellishments (Optional): Glue sequins, glitter, or beads to enhance your painted acorns and let dry thoroughly.
Notes
Customize with different colors or patterns. Consider using decorative string or adding scented oils.
- Prep Time: 15 minutes
- Cook Time: 0 minutes
- Category: Craft
- Method: Crafting
- Cuisine: N/A
Nutrition
- Serving Size: 1 ornament
- Calories: N/A
- Sugar: N/A
- Sodium: N/A
- Fat: N/A
- Saturated Fat: N/A
- Unsaturated Fat: N/A
- Trans Fat: N/A
- Carbohydrates: N/A
- Fiber: N/A
- Protein: N/A
- Cholesterol: N/A

