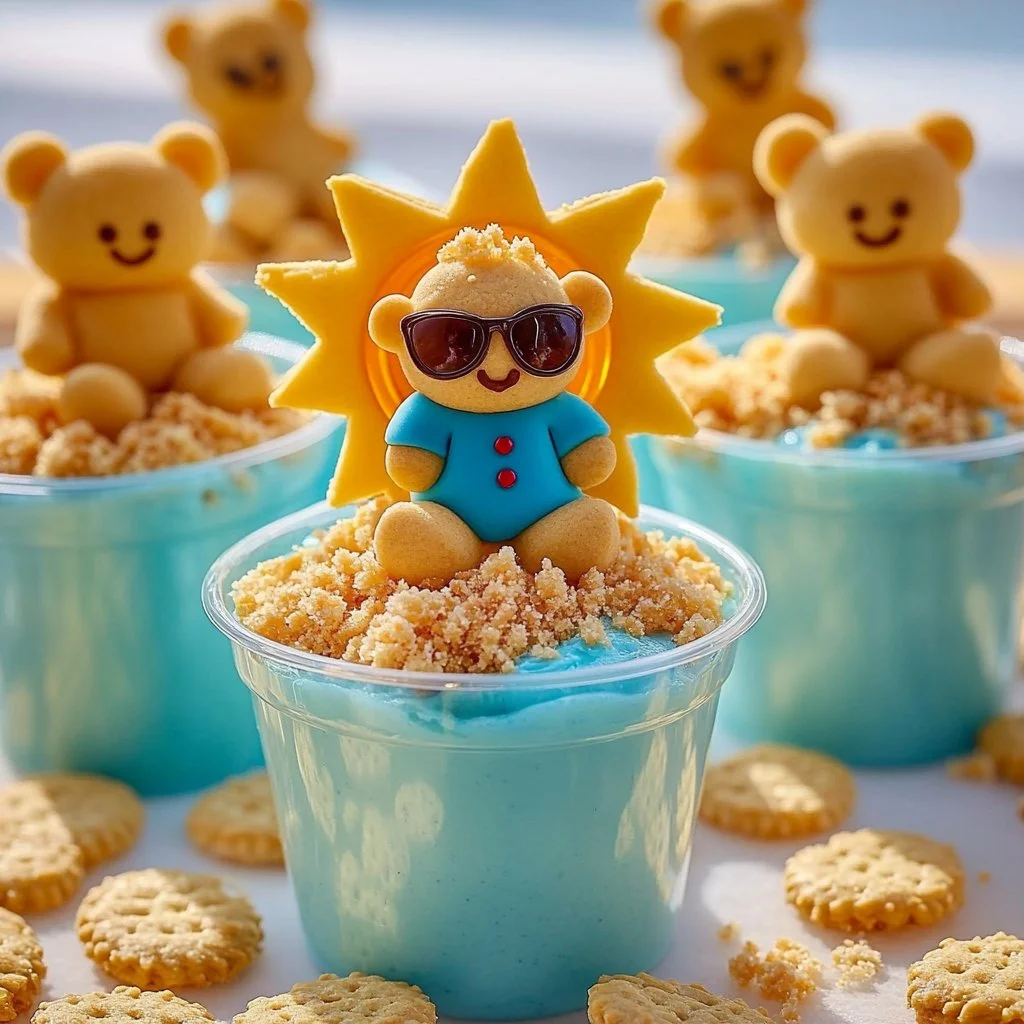
Creating delightful Sand Pudding Cups is a fun and engaging craft recipe that combines creativity with deliciousness. Perfect for parties, playdates, or a fun afternoon with the kids, this recipe leaves room for artistic expression while satisfying sweet tooth cravings. Made with simple ingredients, these pudding cups mimic sandy textures and vibrant colors, providing a feast for the eyes and the taste buds. Plus, they offer a unique way to explore textures and flavors, making them a favorite among children and adults alike. Whether you’re looking to spruce up a festive table or simply want to enjoy a whimsical dessert, these Sand Pudding Cups are sure to impress.
Why You’ll Love This Sand Pudding Cups:
- Creative Fun: Kids can get involved in crafting and layering their own pudding creations.
- Visually Stunning: The vibrant colors and layered textures resemble a beachy oasis.
- Tasty Treat: Delicious flavors and textures come together for a delightful dessert.
- Customizable: Easily swap ingredients to suit dietary needs or flavor preferences.
- Simple Preparation: Quick and straightforward steps make it easy for all ages.
Materials
- Vanilla instant pudding mix
- Milk (preferably whole)
- Crushed graham crackers
- Brown sugar
- Food coloring (blue and yellow for a beach theme)
- Clear plastic cups or jars
- Shovel or small spoon for serving
- (Optional) Gummy sea creatures or candy shells for decoration
Full Step-by-Step
Step 1: Prepare the Pudding
- In a mixing bowl, combine 2 cups of milk with one packet of vanilla instant pudding mix.
- Whisk until well blended and smooth, about 2 minutes. Feel the creamy texture as it thickens.
Step 2: Color Your Pudding
- Divide the pudding mixture into two bowls.
- Add a few drops of blue food coloring to one bowl for “water” and yellow to the other for “sand.”
- Stir until the colors are evenly distributed, adjusting as desired.
Step 3: Layer the Ingredients
- Start with a layer of crushed graham crackers at the bottom of your clear cup, about 1-2 tablespoons.
- Follow with a layer of blue pudding (water), then another layer of graham crackers.
- Repeat the layers, finishing with a final layer of yellow pudding on top.
Step 4: Add Decorations
- Sprinkle some brown sugar on the top layer for extra “sand.”
- Insert gummy sea creatures or candy shells to bring your beach scene to life.
Tips & Variations
- Flavor Swap: Try using chocolate pudding for a chocolate beach dessert.
- Dairy-Free Option: Substitute regular milk with almond, coconut, or oat milk.
- Add Toppings: Consider adding shredded coconut for a tropical vibe or mini marshmallows for clouds.
- Size Variation: Use larger cups for parties or shot glasses for smaller portions.
Frequently Asked Questions
1. Can I use homemade pudding instead of instant pudding?
Yes! Just ensure the consistency matches that of instant pudding for layering.
2. How can I make this gluten-free?
Use gluten-free graham crackers or crushed nuts instead of regular graham crackers.
3. Can I make these a day ahead of time?
Yes, you can prepare them the day before. Just cover and refrigerate to maintain freshness.
4. What other decorations can I use?
Consider using edible glitter, candy fish, or even colorful fruit for added flair!
Suggestions
- Pair your Sand Pudding Cups with beach-themed cookies or cupcakes for a festive spread.
- Serve along with some fun beach games for a memorable party celebration.
- Set up a DIY station for guests to create their own unique pudding cups.
Final Thoughts
Sand Pudding Cups are not only a tasty dessert but also an opportunity to unleash your creativity. We’d love to see your unique versions of this craft recipe! Feel free to leave a comment or share your own ideas and twists on this fun treat.
Print
Sand Pudding Cups
- Total Time: 15 minutes
- Yield: 4 servings 1x
- Diet: Vegetarian
Description
Delightful and creative dessert cups that mimic sandy textures, perfect for parties and playdates.
Ingredients
- 1 packet vanilla instant pudding mix
- 2 cups whole milk
- 1 cup crushed graham crackers
- 2 tablespoons brown sugar
- Blue food coloring
- Yellow food coloring
- Clear plastic cups or jars
- Gummy sea creatures or candy shells (optional)
Instructions
- In a mixing bowl, combine 2 cups of milk with one packet of vanilla instant pudding mix. Whisk until well blended and smooth, about 2 minutes.
- Divide the pudding mixture into two bowls. Add blue food coloring to one bowl for ‘water’ and yellow food coloring to the other for ‘sand’. Stir until colors are evenly distributed.
- Start layering: add a layer of crushed graham crackers, then a layer of blue pudding, followed by another layer of graham crackers, and finish with yellow pudding on top.
- Sprinkle brown sugar on top and add gummy sea creatures or candy shells for decoration.
Notes
You can use chocolate pudding for a different flavor. To make it dairy-free, substitute regular milk with almond milk or any plant-based milk.
- Prep Time: 15 minutes
- Cook Time: 0 minutes
- Category: Dessert
- Method: No-Bake
- Cuisine: American
Nutrition
- Serving Size: 1 cup
- Calories: 250
- Sugar: 20g
- Sodium: 150mg
- Fat: 8g
- Saturated Fat: 4g
- Unsaturated Fat: 4g
- Trans Fat: 0g
- Carbohydrates: 36g
- Fiber: 1g
- Protein: 3g
- Cholesterol: 15mg

