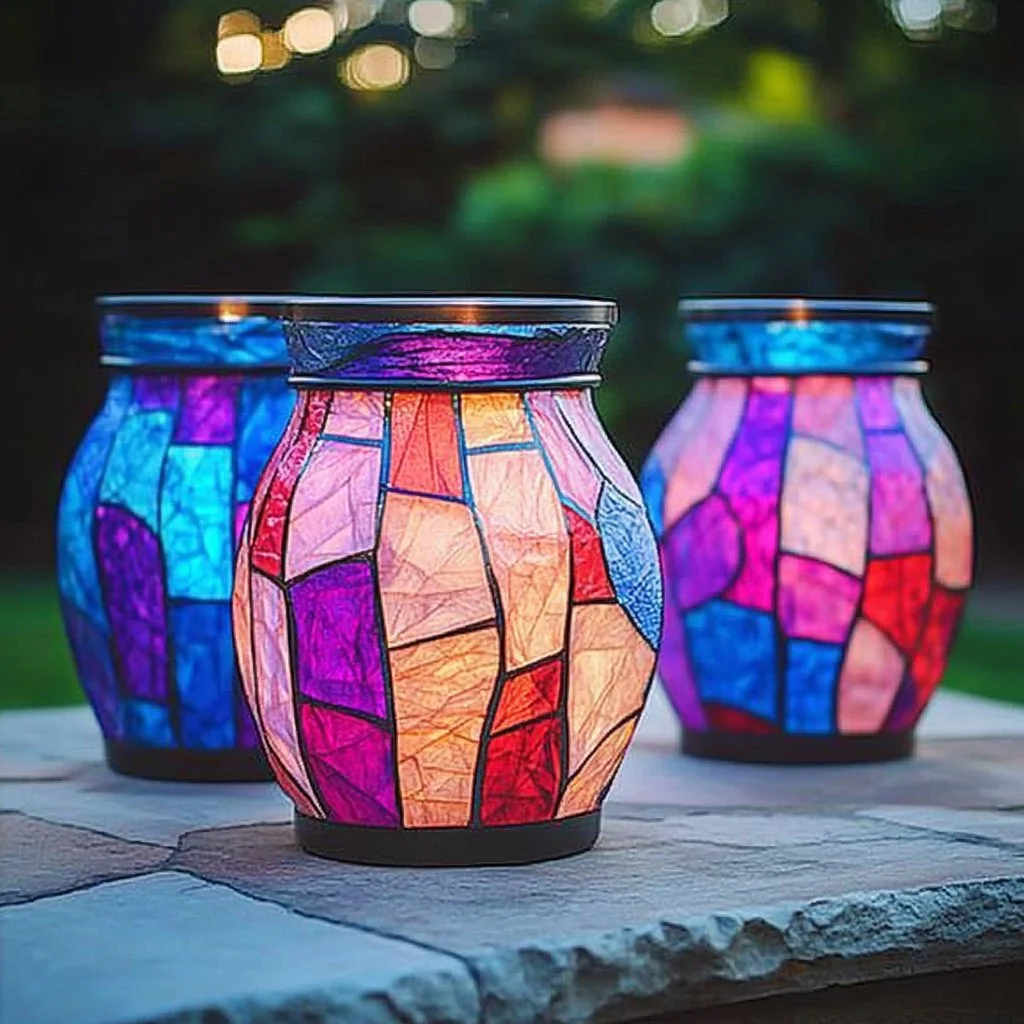
Creating beautiful lanterns can transform any space into a cozy haven, especially as they cast a gentle glow in the evening hours. Tissue paper jar lanterns are an easy and delightful craft project that can brighten up parties, holidays, or even just your everyday home décor. This craft is not only budget-friendly but also allows for a wide range of creativity, whether you go for a colorful explosion or a subtle, elegant theme. Plus, this project is suitable for all ages, making it a great activity to enjoy with family or friends. With simple materials and easy-to-follow steps, you can make these charming lanterns in no time, creating an inviting atmosphere for any occasion.
Why You’ll Love This Tissue Paper Jar Lanterns:
- Affordable Materials: Use items you likely already have at home.
- Easy to Make: Perfect for crafters of any skill level.
- Customizable Designs: Choose your colors and patterns to match any theme.
- Reusable Decor: Store and use them for multiple occasions.
- Fun for All Ages: Great crafting activity for kids and adults alike.
- Eco-Friendly: Repurpose glass jars and use paper scraps.
Materials:
- Clean glass jars (mason jars or empty food jars)
- Tissue paper (various colors)
- Mod Podge or white school glue
- Paintbrush or foam brush
- Tea lights or LED tea lights (for safety)
- Scissors
- Twine or string (optional for decoration)
Full Step-by-Step:
Step 1: Prepare Your Workspace
- Gather all materials on a flat surface.
- Lay down newspaper or a plastic tablecloth for easy cleanup.
Step 2: Cut the Tissue Paper
- Cut the tissue paper into small squares or shapes, about 2-3 inches each.
- Experiment with layering different colors for a vibrant look.
Step 3: Apply the Glue
- Using your paintbrush, apply a thin layer of Mod Podge or glue to the outside of the jar.
- Work in small sections to prevent the glue from drying out.
Step 4: Attach Tissue Paper
- Press the tissue squares onto the glued area.
- Smooth out wrinkles gently, allowing some overlap between pieces for texture.
Step 5: Seal the Lantern
- Once all the tissue paper is applied, brush a final layer of glue over the surface to seal it.
- Allow it to dry completely, which might take a few hours.
Step 6: Add Lighting
- Place an LED tea light inside the jar or a regular wax candle if using a heatproof jar.
- If desired, tie twine around the neck of the jar for added decoration.
Tips & Variations:
- Use metallic or glittery tissue paper for a festive touch.
- Experiment with layering different colors to see how they blend when lit.
- For outdoor use, consider sealing with a waterproof spray.
- Add embellishments like beads, ribbons, or painted details to personalize your lantern further.
Frequently Asked Questions:
Q1: Can I use regular glue instead of Mod Podge?
A1: Yes, white school glue works well, but it may be less durable.
Q2: How do I safely light the lantern?
A2: It’s best to use LED tea lights to prevent any fire hazards.
Q3: Can I use other types of paper?
A3: Yes, you can experiment with colorful paper, scrapbook paper, or even decorative napkins.
Q4: How do I clean the jars for this project?
A4: Soak the jars in warm, soapy water to remove labels, then scrub with a sponge to ensure they are clean and dry before starting.
Suggestions:
- Host a lantern-making party with friends and colleagues.
- Use these lanterns to light a pathway for a festive event.
- Create a themed set of lanterns that match your home decor for a cohesive look.
- Use them as centerpieces for special occasions like weddings or birthdays.
Final Thoughts
Crafting tissue paper jar lanterns is a fun and simple way to add warmth and personalization to your space. We encourage you to share your creations by leaving a comment or posting your versions! Let your imagination shine, and enjoy the process of bringing light into your home.
Print
Tissue Paper Jar Lanterns
- Total Time: 60 minutes
- Yield: 4 lanterns
- Diet: N/A
Description
Create beautiful and customizable tissue paper jar lanterns that brighten any space and are perfect for any occasion.
Ingredients
- Clean glass jars (mason jars or empty food jars)
- Tissue paper (various colors)
- Mod Podge or white school glue
- Paintbrush or foam brush
- Tea lights or LED tea lights (for safety)
- Scissors
- Twine or string (optional for decoration)
Instructions
- Prepare Your Workspace: Gather all materials on a flat surface. Lay down newspaper or a plastic tablecloth for easy cleanup.
- Cut the Tissue Paper: Cut the tissue paper into small squares or shapes, about 2-3 inches each. Experiment with layering different colors for a vibrant look.
- Apply the Glue: Using your paintbrush, apply a thin layer of Mod Podge or glue to the outside of the jar. Work in small sections to prevent the glue from drying out.
- Attach Tissue Paper: Press the tissue squares onto the glued area. Smooth out wrinkles gently, allowing some overlap between pieces for texture.
- Seal the Lantern: Once all the tissue paper is applied, brush a final layer of glue over the surface to seal it. Allow it to dry completely, which might take a few hours.
- Add Lighting: Place an LED tea light inside the jar or a regular wax candle if using a heatproof jar. If desired, tie twine around the neck of the jar for added decoration.
Notes
For outdoor use, consider sealing with a waterproof spray. Use metallic or glittery tissue paper for a festive touch.
- Prep Time: 15 minutes
- Cook Time: 0 minutes
- Category: Craft
- Method: Crafting
- Cuisine: N/A
Nutrition
- Serving Size: 1 lantern
- Calories: 0
- Sugar: 0g
- Sodium: 0mg
- Fat: 0g
- Saturated Fat: 0g
- Unsaturated Fat: 0g
- Trans Fat: 0g
- Carbohydrates: 0g
- Fiber: 0g
- Protein: 0g
- Cholesterol: 0mg

