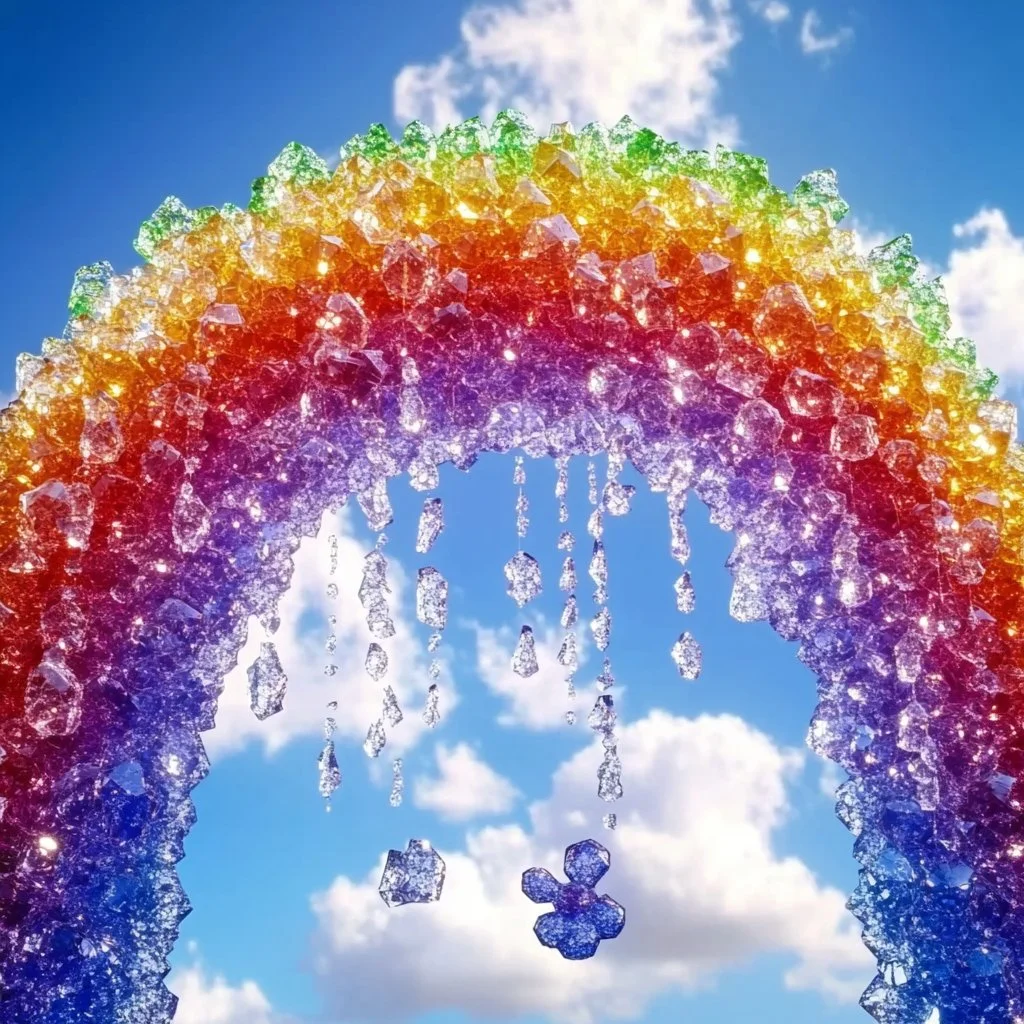
Creating rainbow crystals is a delightful craft project that combines science and art, making it perfect for both kids and adults. This mesmerizing activity not only results in beautiful, colorful crystals but also teaches valuable lessons about solutions, evaporation, and crystallization. Whether you’re looking for a fun afternoon activity, a unique gift idea, or an eye-catching decoration, making rainbow crystals is an engaging way to explore creativity and curiosity in a hands-on way. Plus, the satisfaction of watching your creations grow day by day makes this project especially rewarding. Let’s dive into why you’ll love making these enchanting crystals!
Why You’ll Love This Rainbow Crystals:
- Visually Stunning: Create vibrant, eye-catching crystals that look great in any setting.
- Educational: Learn about chemistry and the crystallization process while having fun.
- Customize: Easily adjust colors and sizes for personalized creations.
- Great for All Ages: Perfect for kids, teens, and adults to enjoy together.
- Simple Steps: A straightforward recipe that doesn’t require special tools or equipment.
Materials
- 1 cup of water
- ½ cup of sugar (or salt, for a different texture)
- Food coloring (various colors)
- Clear glass jars or containers
- A spoon for stirring
- A heat source (like a stove or kettle)
- String or a skewer (optional, for hanging crystals)
Full Step-by-Step
Step 1: Prepare the Solution
- Heat the Water: Begin by boiling 1 cup of water in a pot.
- Add the Sugar/Salt: Gradually stir in ½ cup of sugar (or salt). Tip: Keep stirring until completely dissolved.
Step 2: Color It Up
- Add Food Coloring: Split the solution into separate containers and add different colors of food coloring to each. Sensory Cue: Watch as the colors mix and swirl!
Step 3: Set Up the Crystals
- Transfer the Solution: Pour each colored solution into clean glass jars.
- Insert String/Skewer: If using string, hang it with a pencil or skewer placed on top to suspend it in the solution.
Step 4: Let It Grow
- Place in a Safe Spot: Set the jars somewhere undisturbed for about 3-7 days.
- Watch Them Form: Observe as crystals slowly form and grow. Visual Cue: Look for colorful formations lining the jars.
Tips & Variations
- Experiment with Solvent: Swap sugar for salt for different types of crystals.
- Add Glitter: For extra sparkle, mix in a pinch of glitter before letting them set.
- Change the Size: Use larger containers to encourage bigger crystals, or smaller jars for tiny gems.
Frequently Asked Questions
1. Can I use other types of sugar?
Yes, you can experiment with brown sugar, powdered sugar, or even glucose. Each gives a different texture and appearance.
2. Why did my crystals not form?
Crystals may not form if the solution was not saturated enough. Make sure to stir until all the sugar or salt is dissolved, and you have extra in the solution.
3. How can I make my crystals glow in the dark?
You can add a small amount of fluorescent paint to the solution before it starts crystallizing for a glowing effect in low light.
4. Can I reuse the solution?
It’s best to create a fresh solution for each batch, as residual impurities may affect the growth of new crystals.
Suggestions
- Gift Idea: Present your finished crystals in a lovely box for a unique gift.
- Educational Craft: Pair this activity with a science day for school kids to enhance learning.
- Decorative Pieces: Use them to create centerpieces or festive décor.
Final Thoughts
Making rainbow crystals is a fulfilling craft that not only showcases your artistic flair but also underscores scientific principles. We’d love to see your creations! Share your versions or leave a comment about your experience. Happy crafting!
Print
Rainbow Crystals
- Total Time: 3-7 days (crystal growth time varies)
- Yield: Varies by jar size
- Diet: N/A
Description
Create stunning rainbow crystals that are not only visually mesmerizing but also educational. Perfect for all ages, enjoy a fun craft that teaches about crystallization and solutions.
Ingredients
- 1 cup of water
- ½ cup of sugar (or salt)
- Food coloring (various colors)
- Clear glass jars or containers
- A spoon for stirring
- A heat source (like a stove or kettle)
- String or a skewer (optional, for hanging crystals)
Instructions
- Prepare the Solution: Heat the water until boiling and gradually add the sugar (or salt), stirring until completely dissolved.
- Color It Up: Divide the solution into separate containers and add food coloring to each.
- Set Up the Crystals: Pour the colored solutions into clean glass jars. If using string, suspend it in the solution using a pencil or skewer.
- Let It Grow: Place the jars in a safe, undisturbed location for 3-7 days and observe the crystal formation.
Notes
Experiment with different types of sugar or add glitter for a sparkling effect. Use larger or smaller containers to vary crystal size.
- Prep Time: 15 minutes
- Cook Time: 0 minutes
- Category: Craft
- Method: Crafting
- Cuisine: N/A
Nutrition
- Serving Size: Not applicable
- Calories: Variable depending on materials used
- Sugar: 0g
- Sodium: 0mg
- Fat: 0g
- Saturated Fat: 0g
- Unsaturated Fat: 0g
- Trans Fat: 0g
- Carbohydrates: 0g
- Fiber: 0g
- Protein: 0g
- Cholesterol: 0mg

