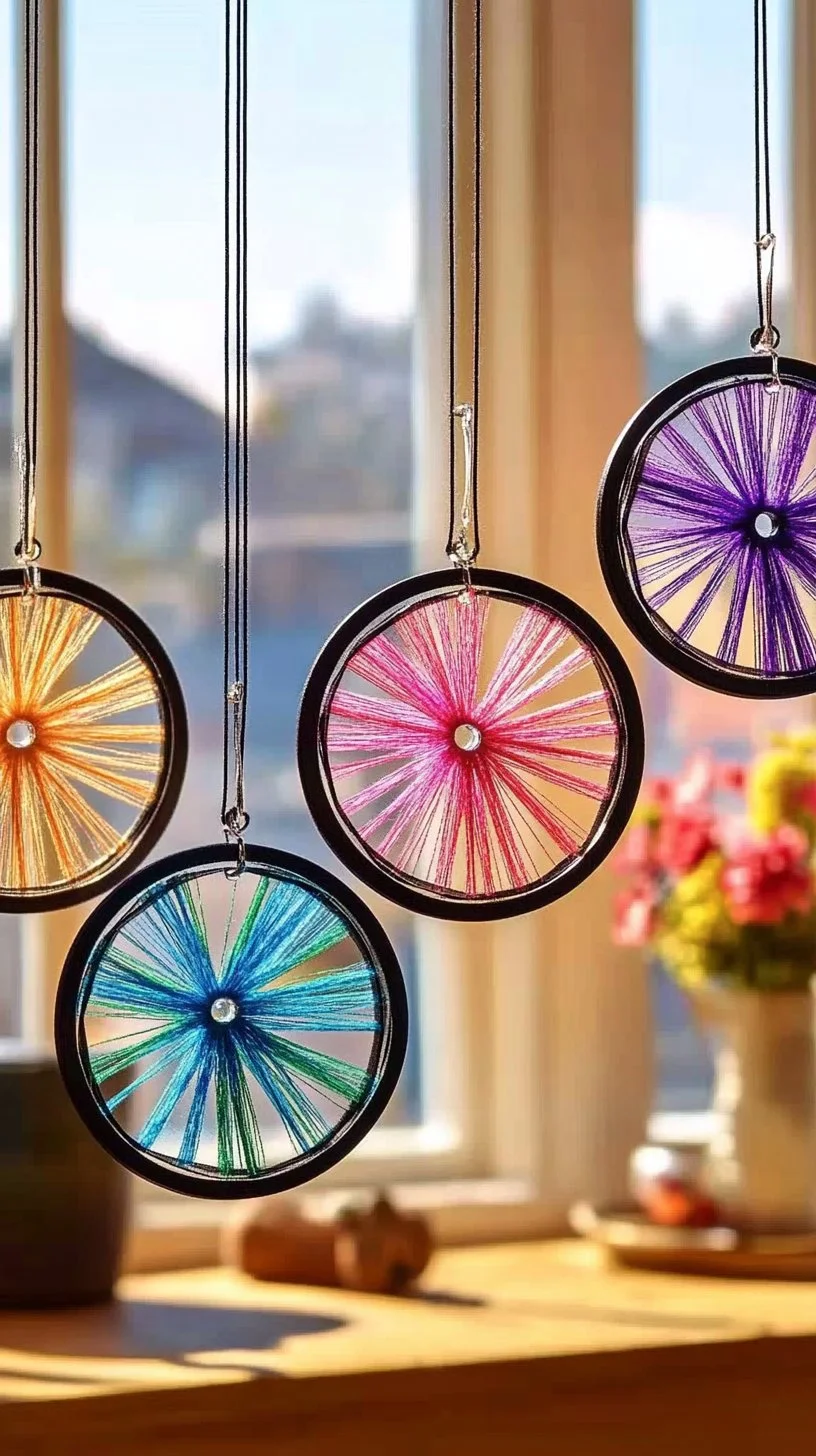
Creating your own DIY Firework Suncatcher is not only a fun craft project but also an excellent way to bring color and creativity into your home or garden. This simple yet mesmerizing activity is perfect for all ages, making it an ideal choice for family bonding, birthday parties, or even as a unique summer camp activity. The vibrant display of colors, reminiscent of fireworks, will add a cheerful touch to any window. Moreover, working on such crafts can enhance motor skills for kids while providing a therapeutic experience for adults. So gather your supplies and let your imagination soar as you create a dazzling piece of art that will catch the sun’s rays and fill your space with joy!
Why You’ll Love This DIY Firework Suncatcher:
- Creative Expression: Let your imagination run wild with colors and patterns.
- Easy to Make: Requires minimal and inexpensive materials.
- Family-Friendly: Perfect activity for kids and adults alike.
- Brightens Up Spaces: Adds a burst of color to your home or garden.
- Seasonal Fun: Great for summer, Independence Day, and festive decor.
- Sensory Experience: Engages sight, touch, and fine motor skills.
Materials:
- Clear contact paper or sturdy transparency sheets
- Colored tissue paper (red, blue, yellow, green, etc.)
- Scissors
- Hole punch (optional)
- String or ribbon (for hanging)
- Markers (optional for added designs)
Full Step-by-Step
Step 1: Prepare Your Workspace
- Clear a flat surface to avoid any mess.
- Lay out materials for easy access.
Step 2: Cut the Tissue Paper
- Take colored tissue paper and cut out various shapes: circles, stars, or triangles.
- Aim for a mix of sizes for a more dynamic suncatcher.
Step 3: Create the Base
- Cut a piece of clear contact paper or transparency sheet to your desired size.
- If using contact paper, remove the backing to expose the sticky side.
Step 4: Arrange Your Shapes
- Start placing the tissue paper shapes onto the sticky side of the contact paper.
- Layer and overlap shapes for added depth and texture.
Step 5: Seal the Suncatcher
- Cut an equal-sized piece of clear contact paper and place it on top of the tissue shapes to seal.
- Press firmly to eliminate air bubbles and ensure everything is secure.
Step 6: Cut and Punch
- Trim any excess contact paper around your shapes.
- Optionally, use a hole punch at the top to create a spot for hanging.
Step 7: Add Hanging Mechanism
- Thread a piece of string or ribbon through the hole and tie it securely.
- Find the perfect window or spot to display your new creation!
Tips & Variations
- Add Glitter: Sprinkle some glitter before sealing for extra sparkle.
- Different Shapes: Experiment with festive themes like hearts or snowflakes based on the season.
- Surface Variation: Try using colored film instead of tissue for different effects.
- Markers: Personalize your suncatcher by adding designs or letters with markers.
Frequently Asked Questions
1. Can I use regular paper instead of tissue paper?
Yes, you can use colored paper, but tissue paper is more translucent and allows more light to pass through.
2. How do I hang my suncatcher?
You can use string or a suction cup hook to hang it in your window.
3. Will the colors fade in sunlight?
Over time, some colors may fade, but it adds to the charm. You can refresh them by making new suncatchers.
4. Can I use this technique for different crafts?
Absolutely! This method can be applied to create window art, greeting cards, or decorations for special events.
Suggestions
- Consider making a themed set for holidays or celebrations.
- Use the suncatcher as a learning tool to teach kids about colors and shapes.
- Pair it with a nature walk and collect leaves to create natural-themed suncatchers.
Final Thoughts
Making a DIY Firework Suncatcher is a delightful way to express creativity while enjoying quality time with loved ones. We’d love to see how your designs turn out! Share your versions of this craft or any questions in the comments below. Happy crafting!
Print
DIY Firework Suncatcher
- Total Time: 15
- Yield: 1 suncatcher
- Diet: N/A
Description
Create a vibrant DIY Firework Suncatcher that brings color and creativity into your home or garden, perfect for family bonding and seasonal decor.
Ingredients
- Clear contact paper or sturdy transparency sheets
- Colored tissue paper (red, blue, yellow, green, etc.)
- Scissors
- Hole punch (optional)
- String or ribbon (for hanging)
- Markers (optional for added designs)
Instructions
- Prepare Your Workspace: Clear a flat surface to avoid any mess and lay out materials for easy access.
- Cut the Tissue Paper: Cut colored tissue paper into various shapes like circles, stars, or triangles.
- Create the Base: Cut a piece of clear contact paper or transparency sheet to your desired size, exposing the sticky side.
- Arrange Your Shapes: Place the tissue paper shapes onto the sticky side of the contact paper, layering them for depth.
- Seal the Suncatcher: Cut another piece of clear contact paper and place it on top to seal, pressing firmly.
- Cut and Punch: Trim excess contact paper and optionally use a hole punch at the top for hanging.
- Add Hanging Mechanism: Thread string or ribbon through the hole and tie it securely.
Notes
Consider adding glitter for extra sparkle or use different themes based on the season. This craft can also be used for window art or decorations.
- Prep Time: 15
- Category: Craft
- Method: Crafting
- Cuisine: N/A
Nutrition
- Serving Size: 1 suncatcher
- Calories: 0
- Sugar: 0g
- Sodium: 0mg
- Fat: 0g
- Saturated Fat: 0g
- Unsaturated Fat: 0g
- Trans Fat: 0g
- Carbohydrates: 0g
- Fiber: 0g
- Protein: 0g
- Cholesterol: 0mg

