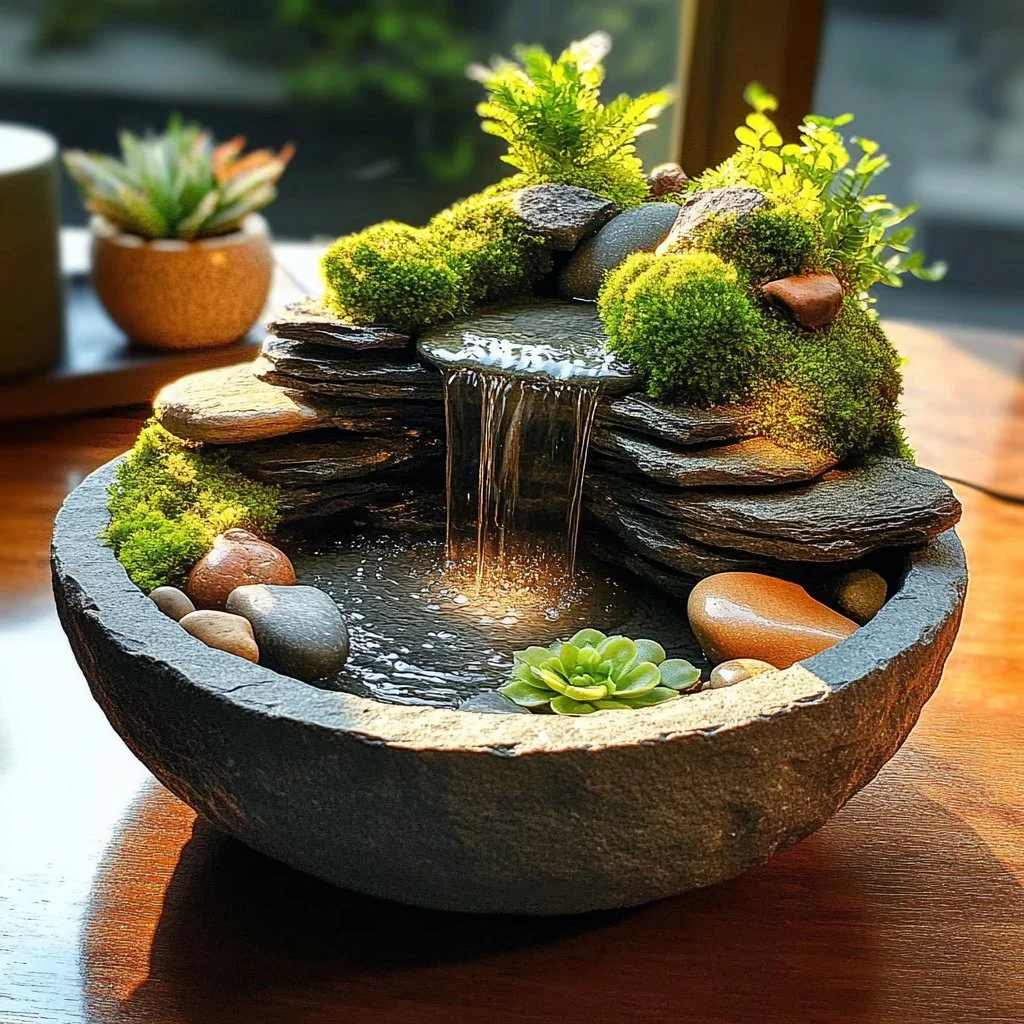
Creating a DIY mini waterfall is not only a delightful craft project but also a fantastic way to bring a sense of tranquility into your home. The gentle sounds of cascading water and the soft movement of flowing liquid can transform any space, providing a peaceful retreat from the bustling world outside. This project combines artistry with relaxation, allowing you to craft your own personal oasis. Whether you’re looking to enhance your meditation corner, beautify your garden, or simply enjoy a hands-on activity, making a mini waterfall is perfect for all ages and skill levels. With just a few materials and some creativity, you can create a soothing masterpiece that invites calm and inspires mindfulness.
Why You’ll Love This DIY Mini Waterfall Relaxing:
- Stress Relief: The sound of flowing water has therapeutic properties that promote relaxation.
- Easy to Make: Suitable for crafters of any skill level; no prior experience required.
- Personalized Design: Customize with different materials and styles to match your decor.
- Fun for Everyone: A great project for families, friends, or solo crafting.
- Great Conversation Piece: A beautiful addition to any space and a topic to share with guests.
Materials
- A small water pump
- Plastic container (for the water reservoir)
- Decorative stones or pebbles
- Waterproof adhesive
- Potted plants or artificial greenery (optional)
- Small plastic tubing
- Decorative elements (e.g., mini figurines, shells)
- Water
- Scissors
- Optional: LED lights for added ambiance
Full Step-by-Step
Step 1: Prepare the Base
- Select a sturdy base for your mini waterfall, such as a wooden board or a decorative tray.
- Ensure it is level to prevent water overflow.
Step 2: Set Up the Water Reservoir
- Place the plastic container at the base of your waterfall; this will hold the pump and water.
- Secure it in place using waterproof adhesive if needed.
Step 3: Attach the Pump
- Insert the water pump into the reservoir, connecting the small plastic tubing to the pump’s outlet.
- Make sure it’s properly submerged to function correctly.
Step 4: Create the Waterfall Structure
- Use additional stones or pebbles to craft the waterfall shape, placing them thoughtfully to guide the flow of water.
- Secure stones using waterproof adhesive where necessary.
Step 5: Add Decorative Elements
- Place potted plants, figurines, or other decorative elements around your waterfall.
- If desired, integrate LED lights for a magical touch.
Step 6: Fill with Water
- Pour water into the reservoir, filling it up to the pump level.
- Plug in the pump and watch the water flow!
Tips & Variations
- Experiment with different materials: Try using driftwood, glass, or even recycled materials.
- Adjust the pump speed, if adjustable, for varying water flow effects.
- Consider adding fish or water plants (if using a larger setup) for an aquarium effect.
Frequently Asked Questions
Q1: What type of water pump should I use?
A1: A small submersible pump is perfect for mini waterfalls; look for one that’s rated for aquariums or fountains.
Q2: Can I scale this project up?
A2: Absolutely! You can increase the size by using larger containers and more materials, just ensure the pump can handle the volume.
Q3: How often should I change the water?
A3: Ideally, change the water every two weeks to prevent algae build-up and keep it clean.
Q4: What can I use if I don’t have a waterproof adhesive?
A4: Consider using silicone sealant, as it’s also water-resistant and can provide the necessary hold.
Suggestions
- Consider creating themed waterfalls such as a tropical paradise or a rocky mountain stream.
- Pair your mini waterfall with natural sounds through a Bluetooth speaker for an immersive experience.
- Use colored water with food coloring for added visual appeal.
Final Thoughts
Crafting your own DIY mini waterfall is an exciting way to personalize your space while fostering relaxation and creativity. We invite you to share your versions or leave a comment about your experience and any unique adaptations you submitted! Happy crafting!
Print
DIY Mini Waterfall
- Total Time: 30
- Yield: 1 mini waterfall
- Diet: N/A
Description
Create your own DIY mini waterfall to enhance any space with soothing sounds and serene visuals.
Ingredients
- A small water pump
- Plastic container (for the water reservoir)
- Decorative stones or pebbles
- Waterproof adhesive
- Potted plants or artificial greenery (optional)
- Small plastic tubing
- Decorative elements (e.g., mini figurines, shells)
- Water
- Scissors
- Optional: LED lights for added ambiance
Instructions
- Select a sturdy base for your mini waterfall, such as a wooden board or decorative tray.
- Place the plastic container at the base to hold the pump and water, securing it with waterproof adhesive if needed.
- Insert the water pump into the reservoir, connecting the small plastic tubing to the pump’s outlet.
- Use additional stones or pebbles to create the waterfall structure, placing them to guide the water flow while securing with adhesive if necessary.
- Place decorative elements around your waterfall, integrating LED lights for added ambiance if desired.
- Pour water into the reservoir, filling it up to the pump level, then plug in the pump and watch the water flow!
Notes
Experiment with different materials and designs to personalize your mini waterfall. Maintain water cleanliness by changing it biweekly.
- Prep Time: 30
- Category: Craft
- Method: Crafting
- Cuisine: N/A
Nutrition
- Serving Size: 1 waterfall
- Calories: 0
- Sugar: 0g
- Sodium: 0mg
- Fat: 0g
- Saturated Fat: 0g
- Unsaturated Fat: 0g
- Trans Fat: 0g
- Carbohydrates: 0g
- Fiber: 0g
- Protein: 0g
- Cholesterol: 0mg

