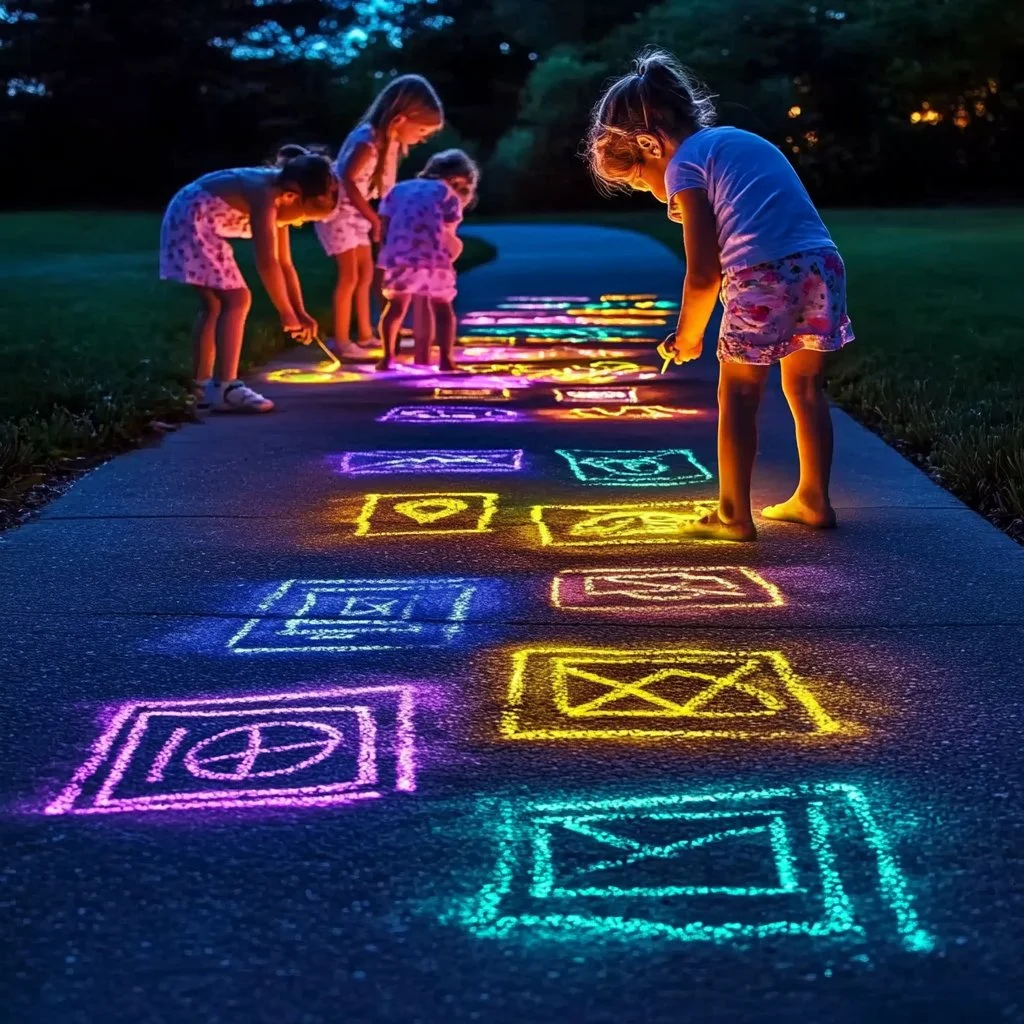
Crafting is a delightful way to express creativity, and glow-in-the-dark chalk adds an enchanting twist to your projects. Whether it’s a backyard event, a nighttime playdate, or simply a way to brighten up your evenings, this craft combines fun with functionality. By making your own glow-in-the-dark chalk, you’ll not only save money but also engage in a captivating activity that’s perfect for kids and adults alike. Plus, it’s a fantastic opportunity to personalize your creations, making them uniquely yours!
Why You’ll Love This Glow-in-the-Dark Chalk:
- Brilliant Glow: Watch your creations come alive at night with a captivating glow.
- Endless Creativity: Perfect for drawing, writing, and marking on various surfaces.
- Customizable Colors: Mix and match colors for unique effects.
- Safe and Fun: Made from non-toxic materials, great for kids.
- Eco-Friendly Option: Use natural ingredients for a sustainable craft.
- Simple DIY: Easy to make with a simple recipe and common materials.
Materials:
- 1 cup of flour
- 1 cup of water
- 1 tablespoon of baking soda
- 1 tablespoon of cornstarch
- 1 tablespoon of glow-in-the-dark powder (ensure it’s non-toxic)
- Food coloring (optional)
- Molds or silicone shapes
- Baking sheet
- Plastic wrap
Full Step-by-Step:
Step 1: Prepare Your Workspace
- Gather all your materials on a flat surface.
- Cover your workspace with plastic wrap to catch any spills.
Step 2: Mix Dry Ingredients
- In a bowl, combine flour, baking soda, and cornstarch.
- Stir well until they are evenly mixed.
Step 3: Combine Wet Ingredients
- In a separate bowl, mix the glow-in-the-dark powder with water.
- Add any food coloring if desired and mix until well combined.
Step 4: Combine Mixtures
- Gradually add the wet mixture to the dry ingredients.
- Stir continuously until you have a smooth, thick batter.
Step 5: Pour into Molds
- Carefully spoon the mixture into your molds.
- Tap the molds gently to remove air bubbles.
Step 6: Allow to Dry
- Place molds on a baking sheet and let them sit for about 24 hours.
- For quicker results, bake at a low temperature (200°F/93°C) for 30 minutes.
Step 7: Remove and Store
- Once dry, carefully remove the chalk from the molds.
- Store in a cool, dry place, or wrap in plastic wrap to keep them fresh.
Tips & Variations:
- Customize the Color: Experiment with different food coloring shades for unique looks.
- Swap Ingredients: Use rice flour or cornstarch instead of regular flour for gluten-free options.
- Shapes & Designs: Use cookie cutters or ice cube trays for fun shapes.
- Add Sparkle: Mix in glitter for additional sparkle when light reflects.
Frequently Asked Questions:
1. Can I use regular chalk instead of the glow-in-the-dark powder?
- No, regular chalk will not glow in the dark. You need specific glow-in-the-dark powder for that effect.
2. How long does the glow last?
- The glow intensity and duration depend on the quality of your glow-in-the-dark powder, but it typically lasts for 30 minutes to an hour.
3. What surfaces can I use this chalk on?
- This chalk works best on sidewalks, driveways, and chalkboards. Always test a small area first.
4. Can I store the chalk for later use?
- Yes! Store your chalk in a cool, dry place, and it should remain good for several months.
Suggestions:
- Host a glow-in-the-dark art party to showcase your creations.
- Pair your chalk with glow sticks for a fun nighttime event.
- Create glowing games, such as hopscotch or twister, for night play.
Final Thoughts
Creating your own glow-in-the-dark chalk is an enjoyable and imaginative project that can light up your world after sunset. Share your creations and experiences in the comments below! We’d love to see your artistic flair and any new designs you invent. Happy crafting!
Print
Glow-in-the-Dark Chalk
- Total Time: 1440 minutes
- Yield: Varies based on mold size
- Diet: N/A
Description
A fun and easy DIY project for making your own glow-in-the-dark chalk, perfect for kids and adults alike.
Ingredients
- 1 cup of flour
- 1 cup of water
- 1 tablespoon of baking soda
- 1 tablespoon of cornstarch
- 1 tablespoon of glow-in-the-dark powder (ensure it’s non-toxic)
- Food coloring (optional)
- Molds or silicone shapes
- Baking sheet
- Plastic wrap
Instructions
- Gather all your materials on a flat surface. Cover your workspace with plastic wrap to catch any spills.
- In a bowl, combine flour, baking soda, and cornstarch. Stir well until they are evenly mixed.
- In a separate bowl, mix the glow-in-the-dark powder with water. Add any food coloring if desired and mix until well combined.
- Gradually add the wet mixture to the dry ingredients. Stir continuously until you have a smooth, thick batter.
- Carefully spoon the mixture into your molds. Tap the molds gently to remove air bubbles.
- Place molds on a baking sheet and let them sit for about 24 hours. For quicker results, bake at a low temperature (200°F/93°C) for 30 minutes.
- Once dry, carefully remove the chalk from the molds. Store in a cool, dry place, or wrap in plastic wrap to keep them fresh.
Notes
Customize colors with food dye and experiment with shapes for unique designs. Ensure to use non-toxic ingredients for safety.
- Prep Time: 15 minutes
- Cook Time: 30 minutes
- Category: Crafts
- Method: DIY
- Cuisine: N/A
Nutrition
- Serving Size: N/A
- Calories: 50
- Sugar: 0g
- Sodium: 1mg
- Fat: 0.5g
- Saturated Fat: 0g
- Unsaturated Fat: 0g
- Trans Fat: 0g
- Carbohydrates: 10g
- Fiber: 0g
- Protein: 1g
- Cholesterol: 0mg

